Tag Archives: Arduino project


DIY Bike GPS

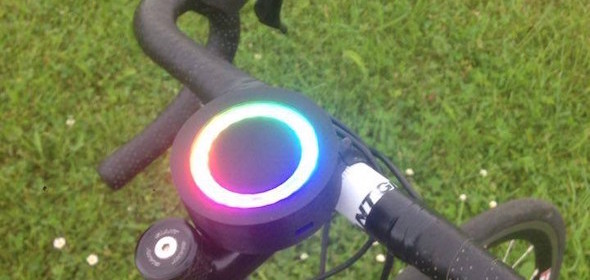
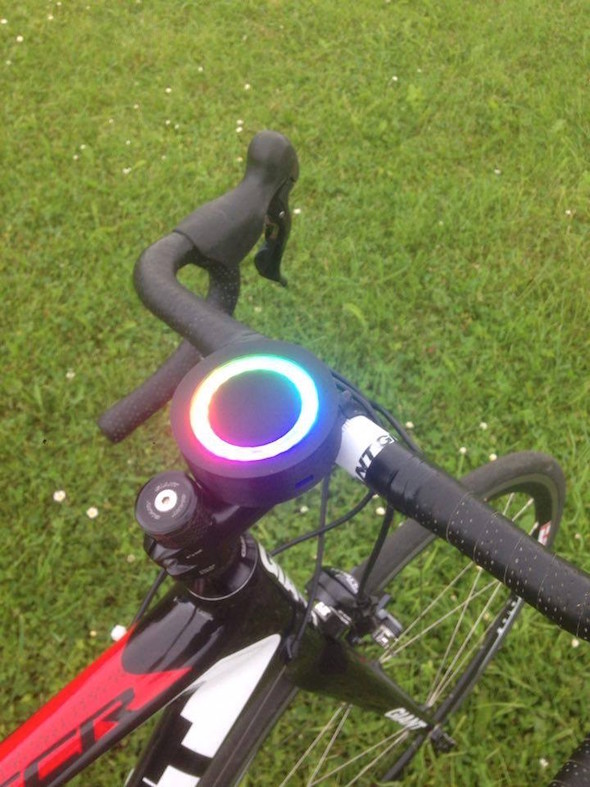
This DIY bicycle GPS can convert any bike into smart bike by adding navigation support. This bike GPS connects to the user’s smartphone GPS via Bluetooth and receives the navigation data from a GPS application on the smartphone. The project uses an Arduino board and a Neopixel LED ring. The destination is set on the GPS application on the smartphone and the directions are shown on the LEDs.

DIY GPS bike

DIY GPS bike

In this project, we will use a GPS application available on Android or IPhone, OsmAnd, a mapping application and navigation with access to free data OpenStreetMap. This application is available offline, that is to say that one can use this application without using the cellular data (3G or 4G).

We use an Arduino micro type microcontroller as it is quite simple to use and is inexpensive. It is connected with a Bluetooth headset.

This headset is the link between the Arduino board and telephone. To indicate the direction to the user, we use a ring of 24 LEDs connected to the Arduino board. These are Neopixel LEDs, they are the most efficient LEDs. We can control the color and light intensity of the LEDs.

Si4844 and Arduino make a full-featured AM/FM/SW radio

Raymond Genovese from All About Circuits has shared his idea of making a full-featured AM/FM/SW radio using SiLab’s Si4844-A10 radio chip, which is the first analog-tuned digital-display digital CMOS AM/FM/SW radio receiver IC integrating the complete receiver function from antenna input to audio output. It works with Host MCU through I2C-compatible 2-wire control interface.

AM

AM/FM/SW radio using Si4844 chip

The idea of a single chip radio is intriguing. The prospect is especially interesting to me because, frankly, I envy the analog skills I associate with building a radio receiver. When I browsed the circuit literature in the area, I came across the Silicon Labs collection. One of their chips, the Si4844-A10 caught my attention. This receiver has AM/FM/SW capability with all the bells and whistles and it is designed to work with a microprocessor. Best of all, the support components required are mainly associated with the microprocessor display and control functions with only a small amount of antenna support needed. I couldn’t resist taking the plunge.

Arduino wireless joystick

taifur has posted great instructions about how he built an Arduino powered wireless joystick that can be used as a console for playing PC games. His design features a joystick module and 5 buttons, with which you can control the mouse cursor as well as implement any 5 keyboard functions (such as W, A, S, D and Space are the most commonly used keyboard buttons for games).

Arduino wireless

Arduino wireless joystick

My Arduino wireless joystick has two parts. One is receiver which will be connected to PC via USB port. Another is transmitter and this is the actual joystick in your hand. As I mentioned earlier, Receiver unit should contains 32U4 comes equipped with a full-speed USB transceiver. For the purpose I used cool & tiny Pro Micro from Sparkfun. You may used others variant like Arduino Micro or DUE.

MAX038 function generator

Milen posted this Instructable on the design of a MAX038 function generator that also implements an Atmega328 and an LCD to display the parameters.

Max038 function generator

Max038 function generator

The function generator is very useful tool for the electronics freaks. It is needed for tuning resonance circuits, testing audio and video equipment, designing of analog filters and for many other different purposes.

Today there are two main types of function generators ; digital, (DSP based, DDS…) which are more and more often used and analog, which were the origins.

Both types have their advantages and disadvantages. The digital generators can generate signals with very stable frequency, but they have problems with generating very pure sine signals (what is not problem for analog one). Also the mainly spread function generators based on DDS approach have not so big frequency generation range.

Since long time I wanted to design a useful function generator, which could somehow combine some of the advantages of both types (analog and digital) generators. I decided to base the design on the Maxim chip MAX038*

Arduino Infrared thermometer

educ8s.tv has posted another great video tutorial on building an Arduino infrared thermometer using the MLX90614 Infrared temperature sensor, which uses the standard I2C protocol to communicate with the Arduino. The measured temperature is displayed on a Nokia 5110 LCD display shield. The device can measure the temperature of an object without any physical contact and with just facing the sensor toward it from a small distance. It can measure temperatures from -70 degrees Celsius to 380 degrees with an of about 0.5 degree at room temperature.

DIY Arduino infrared thermometer

DIY Arduino infrared thermometer

Demo video showing it in action.

« Older Entries Recent Entries »