ZeroBot: A FPV robot controlled by RPi Zero
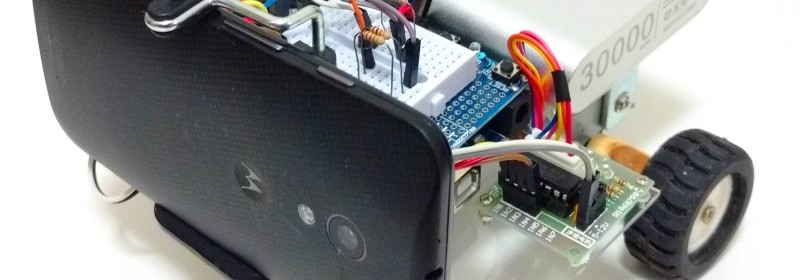
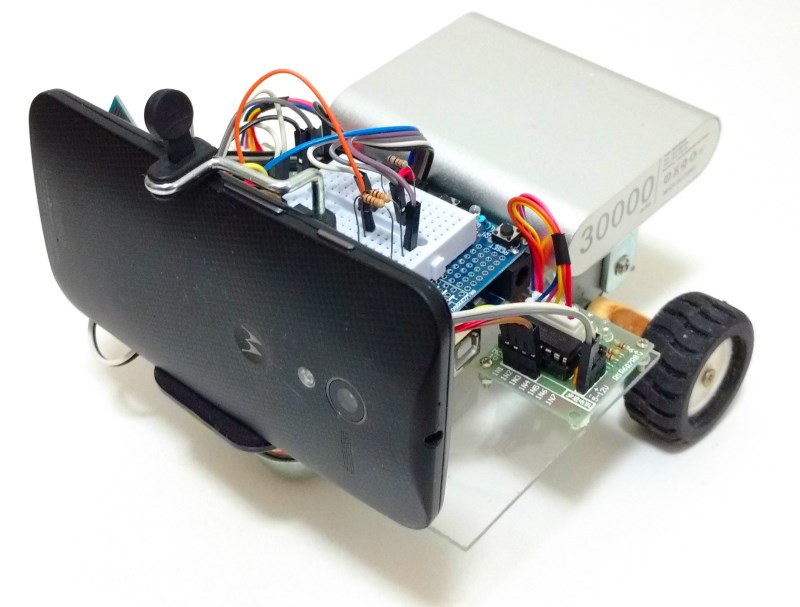
Max Kern introduces ZeroBot, a Raspberry Pi Zero W based FPV robot that can be controlled over a WiFi access point (no router is required). With an integrated camera module, it provides you a live video feed with minimal latency. It can be controlled using any computer or smartphone via a web browser. The body parts and the wheels are made with a regular 3D printer.
Some of the key features are:
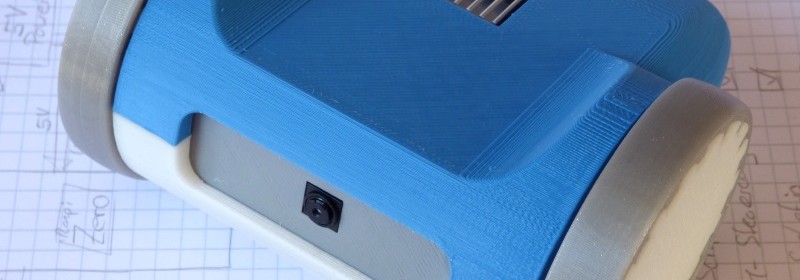
– Compact CAD design with 3D printed components
– Analog control via a joystick (and multitouch)
– Simple battery solution using only a standard power bank
– Low latency streaming (~0.3s)
– Easy and cheap to build using widely available components
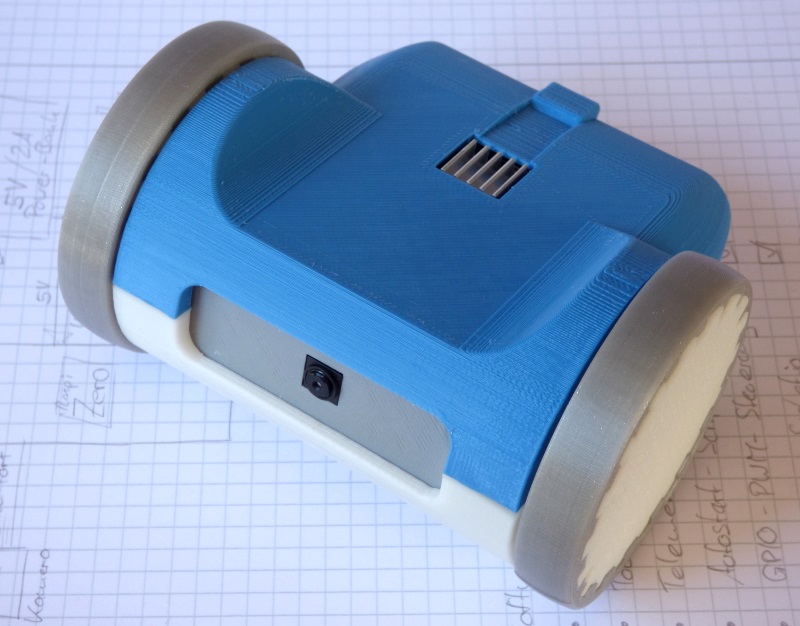
RPi Zero W controlled FPV robot
For more details, visit Max’s project page on Hackday.io.