Monthly Archives: July 2013


Proper PCB grounding for mixed-signal designs
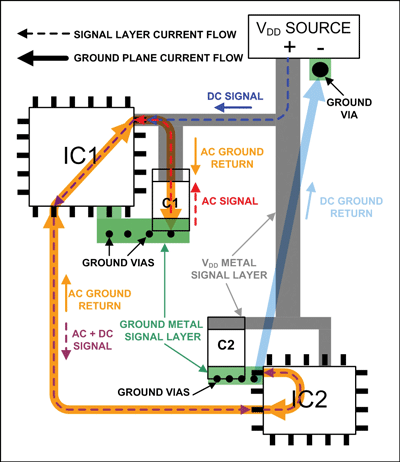
Circuit board designers have always concerns about the proper way to handle grounding for integrated circuits (ICs), which have separate analog and digital grounds. This tutorial from MAXIM integrated discusses proper printed-circuit board (PCB) grounding for mixed-signal designs. For most applications a simple method without cuts in the ground plane allows for successful PCB layouts with this kind of IC. Next, we learn how to place components and route signal traces to minimize problems with crosstalk. Finally we move on to consider power supply-currents and end by discussing how to extend what we have learned to circuits with multiple mixed-signal

Read more
Raspberry Pi based surveillance system for an injured bird

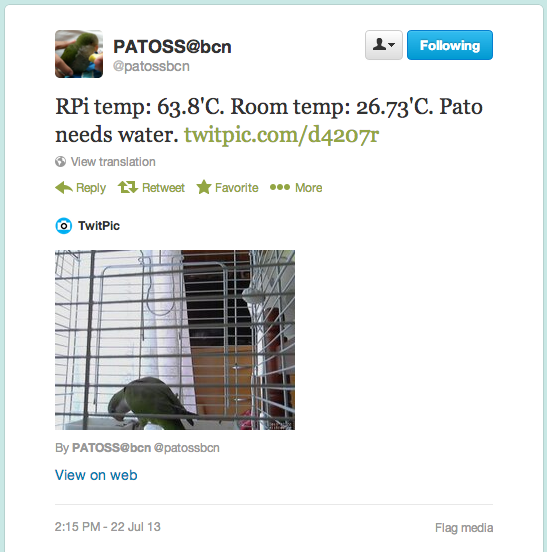
Jorge RancĂ© found a wounded bird on street which he brought home. Until the bird gets recovered completely, he needed a tool to monitor the health progress of the bird from remote when he is not at home. He built this raspberry Pi based surveillance system that not only feeds live video of the injured bird through internet but also tweets automatically every hour to update the surrounding ambient temperature as well as the level of drinking water in a vessel for the bird. Here’s one snapshot of a tweet it made.

Read more

Chip-On-Glass (COG) technology for LCD displays

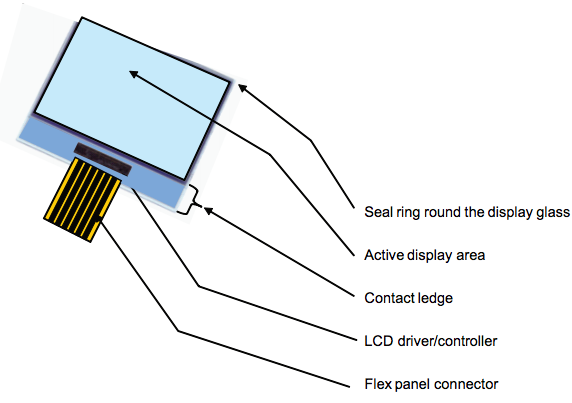
LCD displays are commonly supplied as a module with a built-in driver circuitry usually mounted on a PCB at the rear of the module. While this strengthen the module mechanically, it has some drawbacks such as it increases the thickness of the display module and raises the manufacturing cost. NXP semiconductors describes the Chip-On-Glass technology (COG) in this white-paper, whereby the integrated circuit driving the display mounts directly on the display glass, thus reducing the system cost. COG is a very reliable and well established technology, and offers very thin profile LCD display modules at lower cost.

Read more

Laser gun shooting game

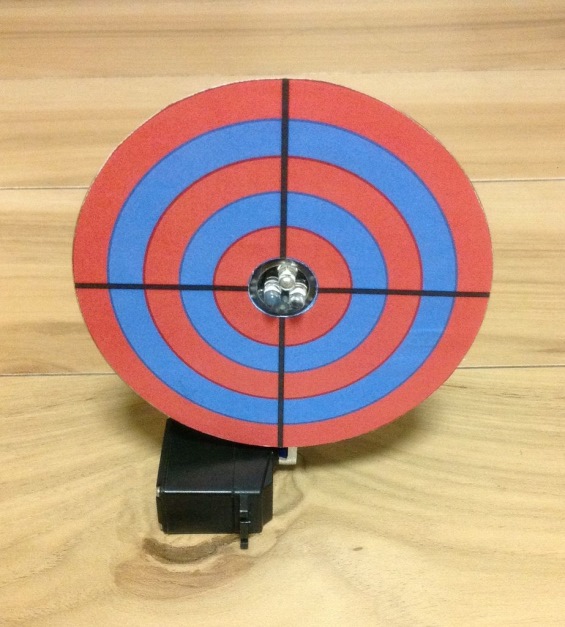
Summer is at its peak and if you are looking for an indoor fun project, you might be interested to build this Laser Shooting Game. The project uses two Arduino mini boards; one for a target board and other for a laser gun. The target board has three IR photodiodes placed at the center to receive the laser beam. When the laser hit the target dead center, it is flat on the ground through a servo mechanism for a few seconds and rise up again for another shot. Here’s a video showing the game in action.

Read more

Arduino RoverBot receives commands from a TV remote

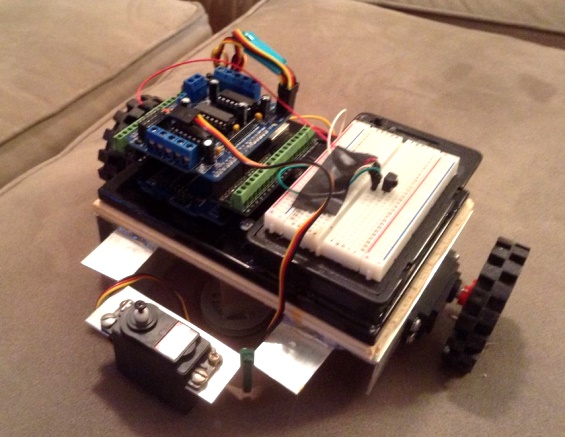
A 15 year old Arduino hacker has written this instructable on building an Arduino RoverBot that is controlled through a TV remote. The Arduino-IRremote library is used to decode the IR signals received from the remote. The RoverBot is coded to drive forward and backward by pressing buttons ‘2’ and ‘8, whereas turn left and right using ‘4’ and ‘6’ buttons on the remote. To stop the RoverBot you need to press ‘5’.

Read more
« Older Entries