A very simple posture sensor for your chair
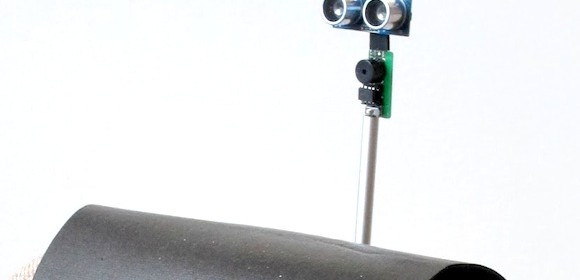
If your job involves sitting in front of a computer for long hours everyday, a poor posture might result in neck, shoulder, and back pain. Sitting up straight helps to get rid of some of these problems. This ATtiny85 based posture sensor uses the HC-SR04 ultrasonic ranging module to sense the position of your head while you are sitting on a chair, and generates an acoustic alarm if you are not sitting up straight.
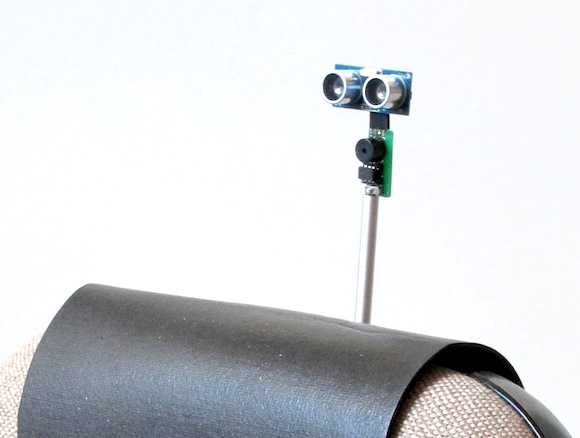
Ultrasonic posture sensor
[via]