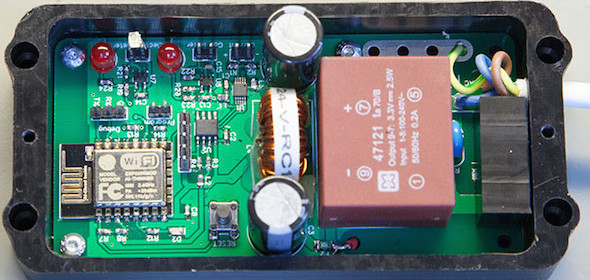
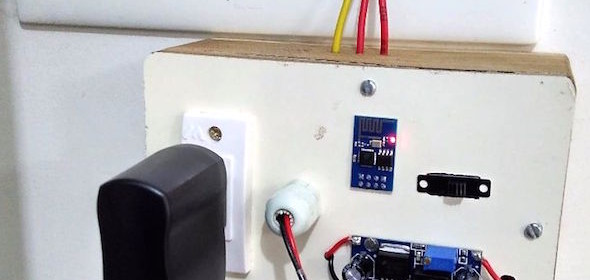
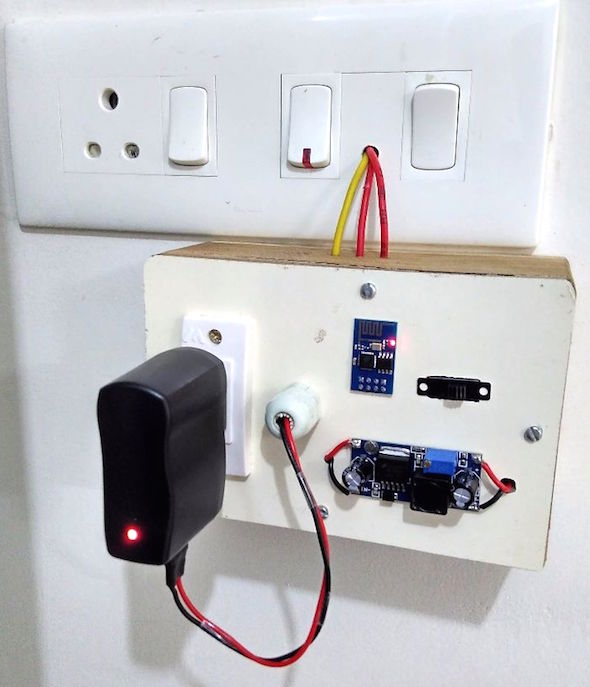
Brian Dorey designed a standalone home energy monitor using the ESP8266 and a bunch of sensors that to monitor the mains current, the consumption of electric energy, as well as the gas usage. His ESP8266 energy monitor measures the mains current using the iSnail current sensor, which is a self powered AC current transducer that provides a 0-5V dc analog signal proportional to the AC current flowing through it. The output from the current sensor is digitized using the ADS1115 16-bit ADC from Texas Instruments and is fed to the ESP8266 through I2C bus. His electric meter has a blinking LED on the front panel that blinks once for every Wh of energy used. So he monitored the blinking LED to track the energy usage using a phototransistor placed in front of the electric meter.
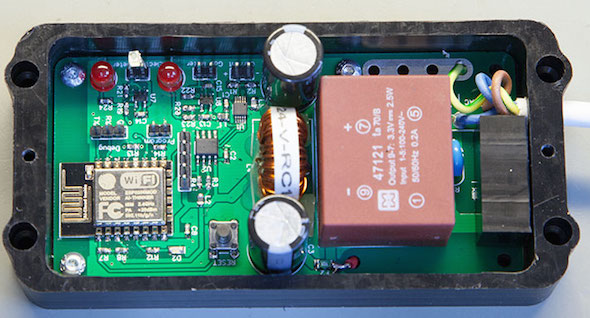
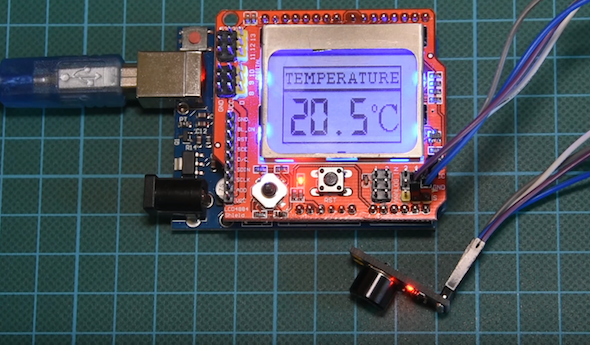
ESP8266 energy monitor
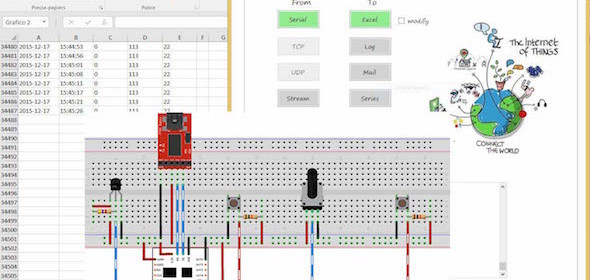
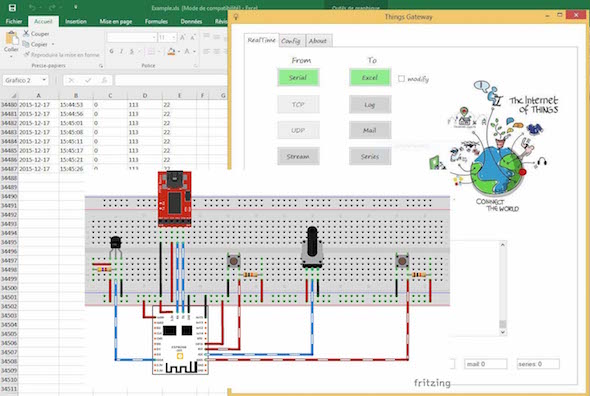
The software was designed in Visual Studio 2015 using the Visual Micro plugin which allowed us to write the Arduino based code in an IDE that is far more user friendly than the normal Arduino editor. The code is basically a web server that allows you to view the various data on a web page or return an xml feed with the same data values. The ADC is sampled once a second and stored in an array of 60 samples allowing us to average the current usage over a minute. Interrupts were used for the gas and electric meter inputs which increment the variables for each meter and then set a flag to tell the main program loop to save the values to FRAM on its next loop.
The values returned on the xml feed are the meter readings for the gas and electric meter, the mains current usage at the time of the reading, the average current value over the last minute and the maximum current value for the last minute. A web page was also added for updating the gas and electric values for when the data logger is originally set up, and if it goes out of sync with the gas meter due to a power cut.