PiNoculars – A Raspberry Pi powered Binoculars
Joshdont has shared his Pinoculars- a raspberry pi powered binoculars project on Instructables:
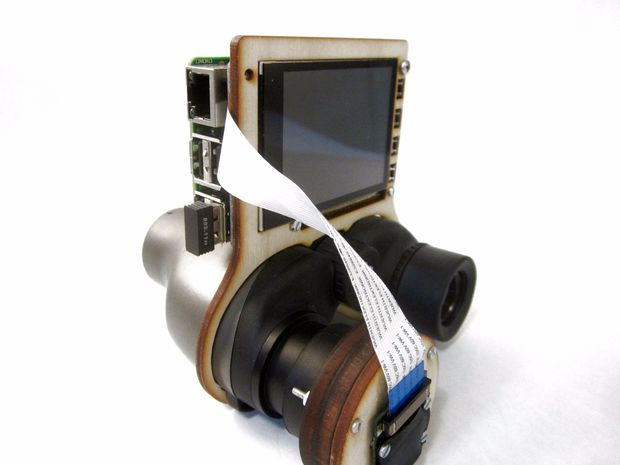
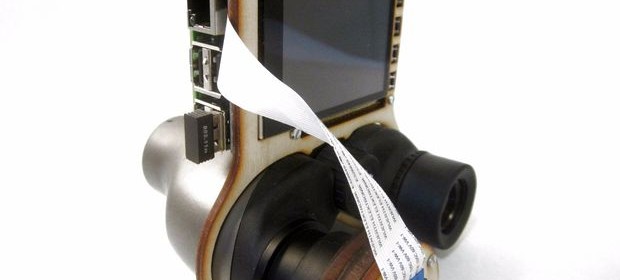
Raspberry Pi powered binoculars
Strap a Raspberry Pi 2 + Camera to a pair of binoculars (or telescope, microscope, etc.) and use one of adafruit’s touch LCDs + custom raspbian image to view and take pictures. (Scroll through the photos above for examples / comparisons)
This project takes more time, money and is clunkier than if you were to purchase a commercial product. You’re probably not on instructables because you wanted to buy a solution ; )
There are two sets of instructions here! See the images and video above for a brief overview. The first few prep steps are the same for both. Once construction starts you have a choice between a “Quick & Dirty” version that anyone can do, and an “Over-engineered” edition requiring fancier tools (laser cutter or power tools) and more time.