Arduino capacitance meter
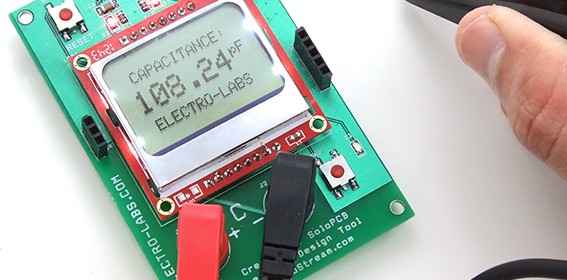
Electro-Labs’ DIY capacitance meter can measure capacitors rated from picofarads to millifarads. The circuit is based on Atmega328P and is Arduino IDE compatible. The capacitance is computed by measuring the capacitor charging time and is displayed on a Nokia 5110 LCD.
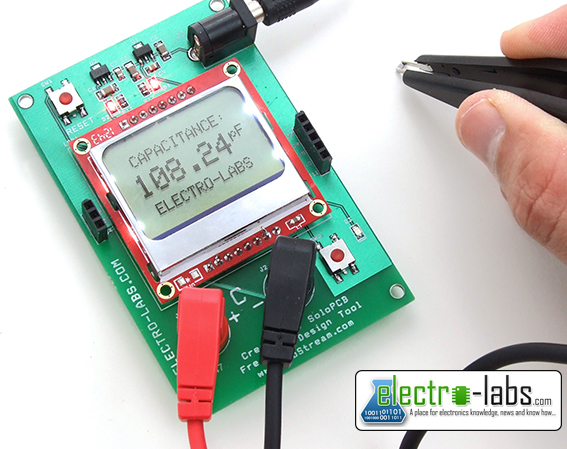
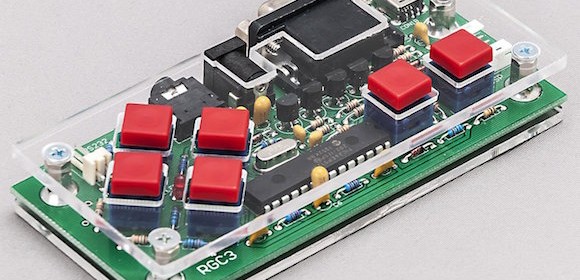
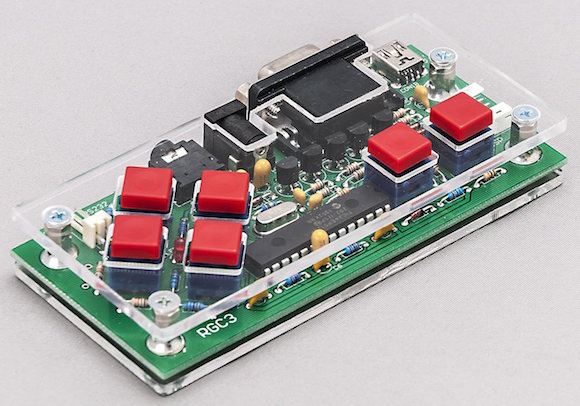
DIY capacitance meter
The main component of the circuit is Atmega328P microcontroller (MCU) and it runs at 16MHz. RESET, MOSI, MISO, SCK, RX, TX, 5V and GND pins are extended to the connectors from J4 to J11 to let the user use an Arduino or an AVR programmer to program the microcontroller in ICSP mode. MCU reset button, a general purpose button and a general purpose LED are also connected to the MCU. You can check out this tutorial to see how to burn a Arduino bootloader to a new microcontroller and then program it using the Arduino IDE.
There are two linear voltage regulators on the board. L78L05 and L78L05 generate 5V and 3.3V from 9V input. The MCU needs 5V and the LCD needs 3.3V to operate. The current consumption of the board is low, so no cooling is required.