Arduino Fireworks controller
JonBush has posted great instructions on building an Arduino-powered firework controller.

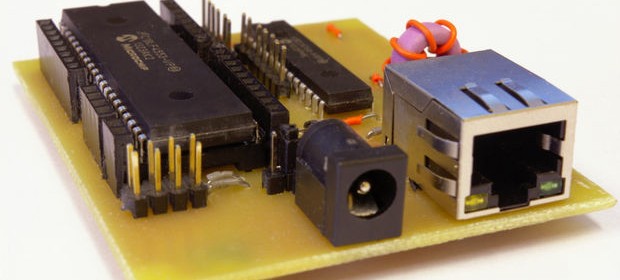
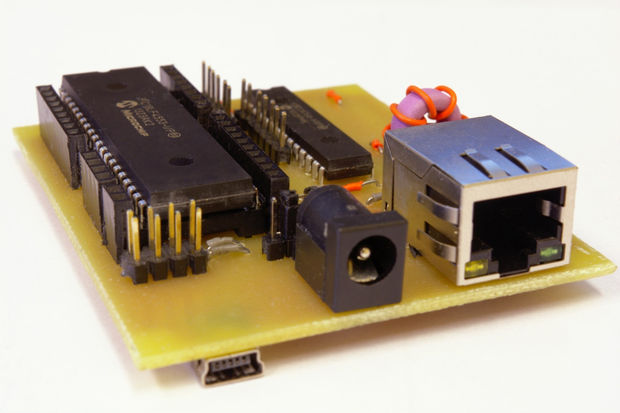
Arduino firework controller
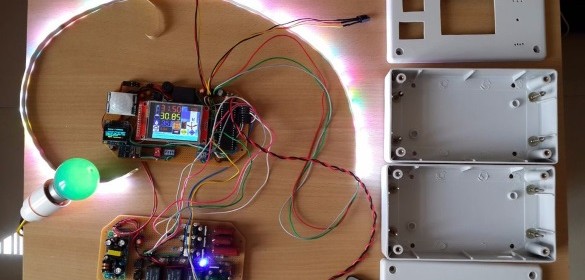
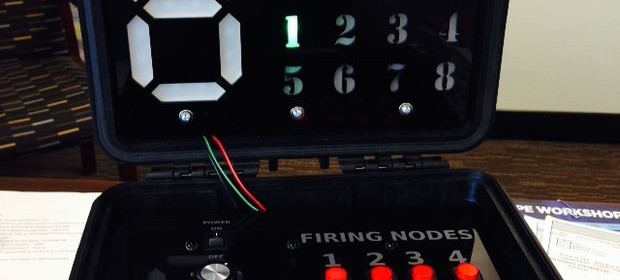
My module is Arduino powered for a few reasons. 1) I need to work on my programming skills. 2) I wanted it to be “smart” or “aware” of what connections were present. 3) I wanted to have control over timing adjustments that a more analog solution wouldn’t allow. 4) I wanted a more graphical user interface that would be fun for my kids. The complete solution was a two part module that allows you, children, babies, etc to safely enjoy launching fireworks from a minimum distance of 50 feet. I wouldn’t have felt comfortable sending my 3 year old up to a mortar tube with a punk, but I would let him launch them all day with this and its included safety features.
I tried to take pictures along the way in order to make a clear Instructable. I succeeded in some step and others I failed. But there is no way I am taking this thing apart for more pictures! Take a look through the Instructable, ask questions if you are curious and I hope you build some version of this for yourself!