MAX7219 LED display driver for ESP8266
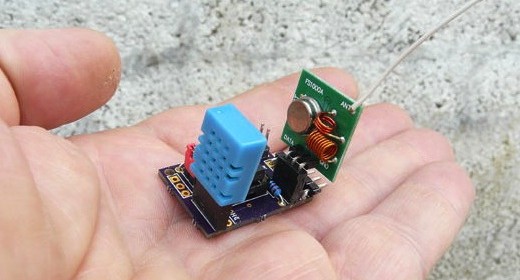
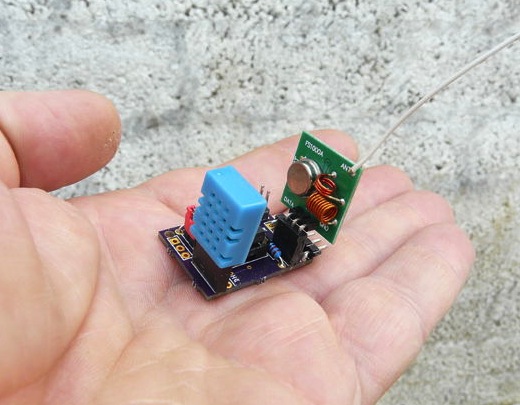
Here is an Instructable on writing a MAX7219 driver for interfacing an 8-digit seven segment LED to ESP8266 platform.
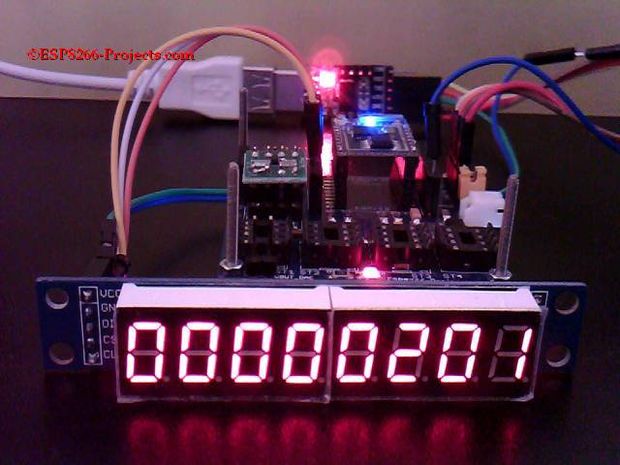
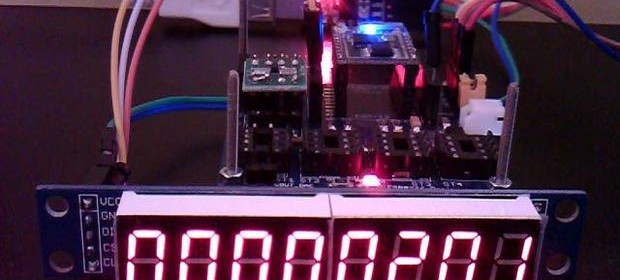
ESP8266 drives MAX7219 based seven segment display
The MAX7219 are compact, serial input/output common-cathode
display drivers that interface microprocessors (µPs) to 7-segment numeric LED displays of up to 8 digits, bar-graph displays, or 64 individual LEDs. Included on-chip are a BCD code-B decoder, multiplex scan circuitry, segment and digit drivers, and an 8×8 static RAM that stores each digit. Only one external resistor is required to set the segment current for all LEDs.A convenient 4-wire serial interface connects to all common µPs. Individual digits may be addressed and updated without rewriting the entire display. The MAX7219 also allow the user to select code-B decoding or no-decode for each digit.
The devices include a 150µA low-power shutdown mode, analog and digital brightness control, a scan-limit register that allows the user to display from 1 to 8 digits, and a test mode that forces all LEDs on.