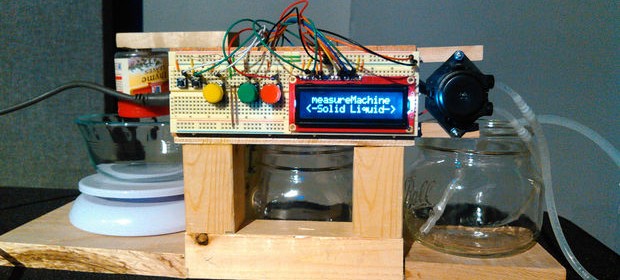
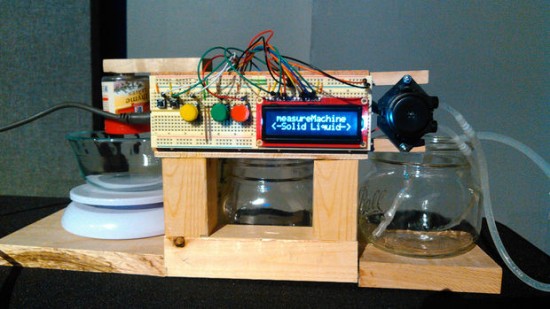
An open source chocometer to measure blood glucose level using IR light

Diabetes mellitus is a global problem, in 2013, 382 million people have diabetes worldwide, most with more than 45 years, and global economic cost in 2014 was estimated to be $612 billion USD.The future projections are not encouraging.All forms of diabetes increase the risk of long-term complications (cardiovascular disease, blindness, chronic kidney desease, etc.), however, the complications of diabetes are far less common and less severe in people who have well-managed blood sugar levels.
Today, the diary glucose level check can be done at home, nervertheless, its need a little drop of blood and a chemical reaction strip. So, this check becomes painful and expensive (each strip could cost 0.33 USD). These drawbacks decrease the patient adhesion to treatment.
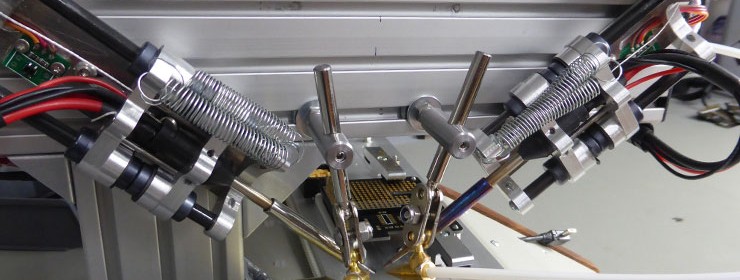
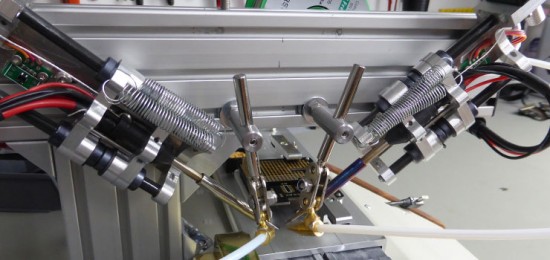
I propose a glucose meter design based on light absorbance of glucose that already been extensively studied and sucessful applied in laboratory scale.
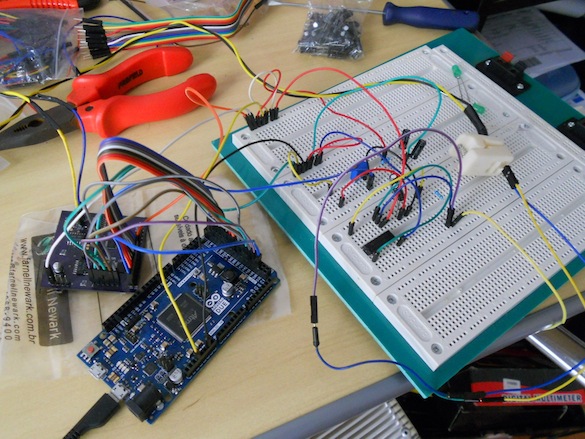
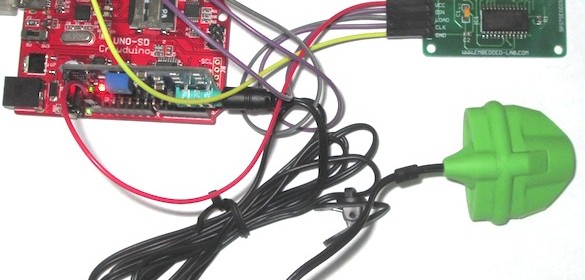
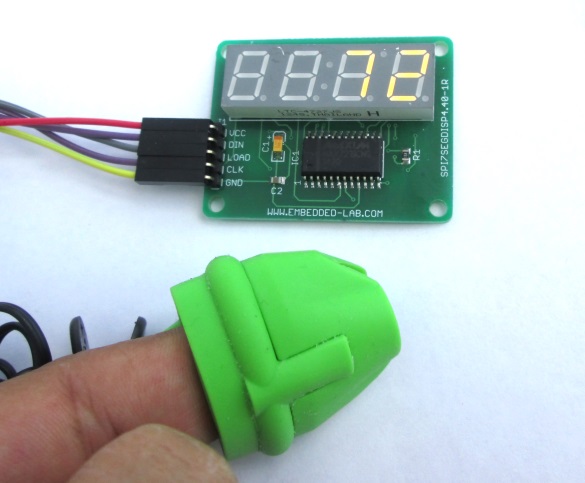
Open source chocometer