Author Archives: R-B

Hacking IKEA LAMPAN table lamp

Last month, we looked at a IKEA Molgan Lamp hack and adding ESP8266 connectivity to it. Here is another IKEA lamp enhancement project by Jesus Echavarria from Spain, where he hacked IKEA LAMPAN to include features like manual RGB controller to set the light colour, a timeout to turn off the light after 30 minutes without changes and a bluetooth connection to control the lamp with a smartphone or tablet.

ikea1

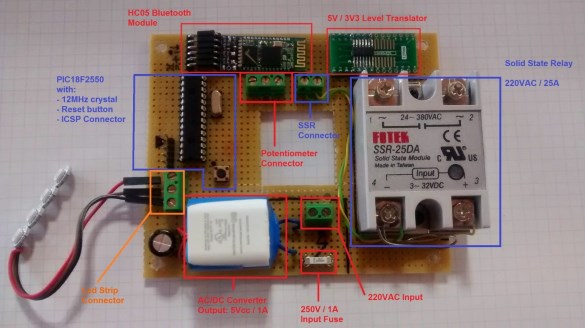
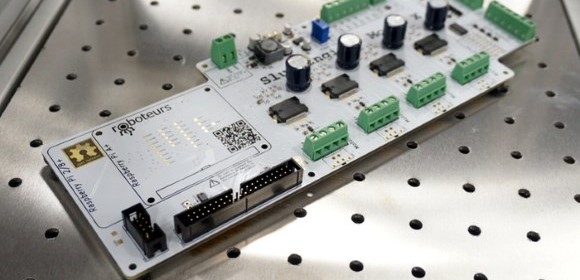
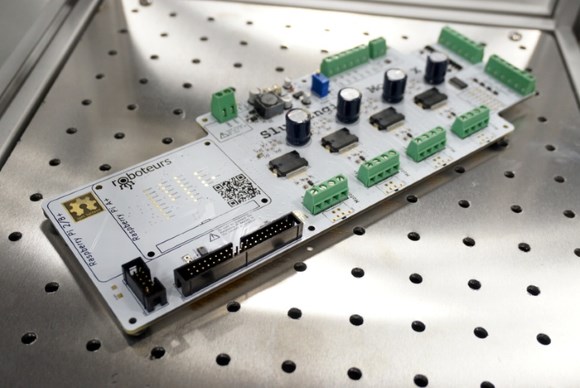
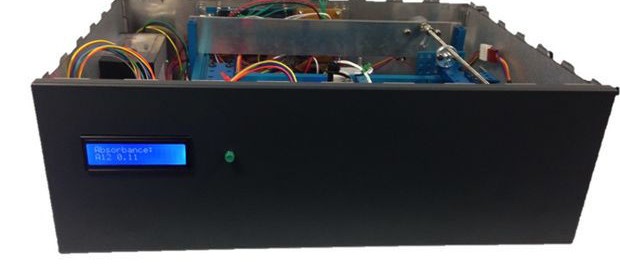
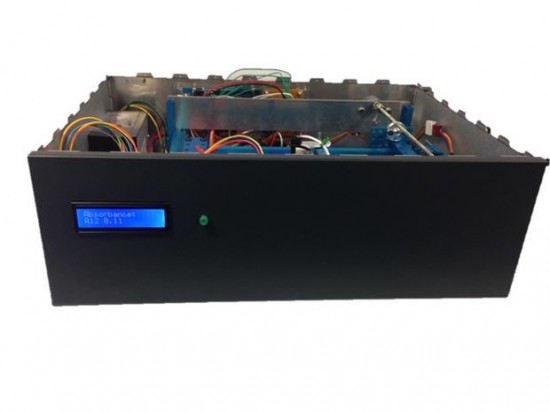
Modified IKEA Lamp controller

Adding Bluetooth RGB controller to IKEA L

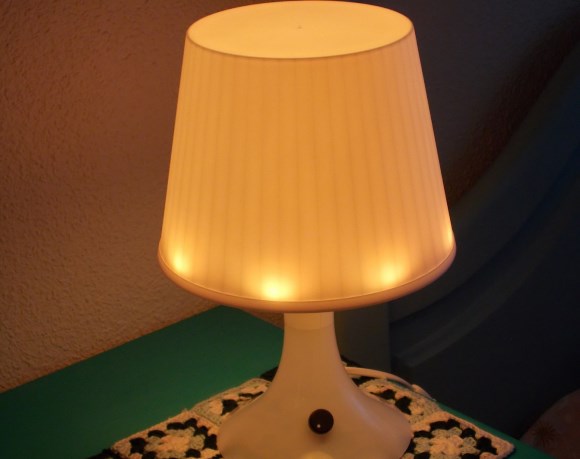
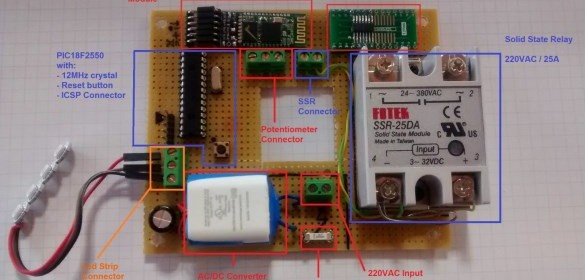
Adding Bluetooth RGB controller to IKEA LAMPAN

The system is based on a PIC18F2550 microcontroller, with a 12MHz external crystal. This allows run up to 48MHz internal code (using the internal PLL), necessary to manage the RGB leds. The RGB led’s I use are this ones, that has built-in the WS2811 controller (are compatible with Adafruit Neopixel ones). I use 8 leds for the lamp illumination. Note the 100uF capactitor (C3) near of the led connector, to prevents the initial onrush of current from damaging the pixels. Also, R2 resistor (330 ohm) is bwtween the microcontroller pin and the first led to prevent voltage spikes. Check Adafruit Neopixel Guide for more info.

Improving PWM-to-Analog voltage conversion

Modern day microcontrollers are equipped with one or more dedicated PWM peripherals built-in that can be used to generate analog output voltages with varying range by just using a basic RC filter circuit. While this is a very simple and practical approach, it has some limitations such as it can only drive high impedance load and the processor should continuously output the PWM signal to maintain the output voltage constant, which prohibits the processor to be put into a low power shutdown state when required. This application note from Linear Technology describes the use of LTC644 and LTC2645 chips, which are dual and quad PWM-to-voltage output DACs, to overcome these problems by directly measuring the duty cycle of the incoming PWM signal and sending the appropriate 8-, 10- or 12-bit code to a precision DAC at each rising edge.

Improving

Improving PWM-to-Analog conversion

Meet SlushEngine, an easy controller for up to 4 bi-polar stepper motors

Roboteurs, Inc., a Canada-based company introduces SlushEngine, a smart stepper motor driver for the Raspberry Pi platform to control stepper motors with precision, speed, and simplicity. It is compatible with varieties of stepper motors and is controlled through a Pythan code running on the Raspberry Pi.

SlushEngine: Stepper motor controller for Raspberry Pi

SlushEngine: Stepper motor controller for Raspberry Pi

SlushEngine: Model X technical specifications

  • Controls up to 4 bi-polar stepper motors
  • Max 7A / motor
  • 9-35 V DC operating range
  • 1-128 microstepping capabilities
  • Integrated motion engine in stepper driver
  • 4 limit switch inputs
  • 4 general purpose industrial inputs
  • 4 general purpose industrial outputs (3A / 24V)
  • 8 additional logic level I/O
  • Thermistor temperature sensing
  • UEXT expansion connector
  • Raspberry Pi fused power source

Domino: Another wifi hardware development platform

A global team of Makers has announced the launch of Domino, which is an affordable and high-performance 802.11 bgn WiFi hardware platform for IoT applications with a modular design architecture, unlimited extension capabilities and Arduino compatibility.

Domino WiFi development platform

Domino WiFi development platform

Domino.IO features a modular design architecture.

At the heart of all boards is the Domino Core, which is a low-cost, high-performance 802.11n WiFi module based on Qualcomm/Atheros AR9331 WiSoC. Domino Core is completed by Domino Pi and Domino Qi.

Domino Pi breaks out all the pins of the Domino Core to easy 2.54mm pitch headers, integrates an USB-UART bridge, +5V/2A DC/DC power supply, power and wireless LEDs and a PCB Antenna. Domino Pi can be further extended with the 7 already available tile boards. It is a small Linux computer that you can customize yourself.

Domino Qi extends the Domino Core with an ATMega32U4 MCU, and is fully compatible with the Arduino Yun, but crammed into a tiny form factor. Plug the Domino Qi Mini board onto the Domino Qi baseboard to turn it into a board fully compatible with the ubiquitous Arduino Shield form factor and benefit from hundreds of already existing shields for rapid prototyping. Domini Qi Mini can also be extended using 4 tile boards if equipped with female headers.


DIY Spectrophotometer using Arduino

Spectrophotometery is a quantitative measurement of the transmission properties of a chemical substance as a function of wavelength, and the device used for this purpose is known as Spectrophotometer. It operates by passing a beam of light through a sample and measuring the intensity of light reaching a detector through the sample. This Instructable describes an Arduino controlled DIY Spectrophotometer made by two undergraduate biochemistry students-Peter Elphick and Ed Tye, for their final-year lab project.

Arduino powered Spectrophotometer

Arduino powered Spectrophotometer

We wanted to make a spectrophotometer that would measure the concentration of a dye called OPD; a common dye in biological assay kits. In addition to reading the absorbance of the samples, we wanted to make a spectrophotometer that worked with 96-wellmicroplates. These are disposable, multi-sample plastic dishes and are the backbone of assays in academic and pharma bioscience labs. They hold 96 samples of up to 0.35mL, arranged in a grid. Pharma labs like them because they lend themselves to robotic handling and high-throughput assays.

We reckon that the final machine cost about £500 ($750), although a lot of that could be saved if you machine your own frame.


« Older Entries Recent Entries »