A simple IoT demo using ESP8266 and Arduino
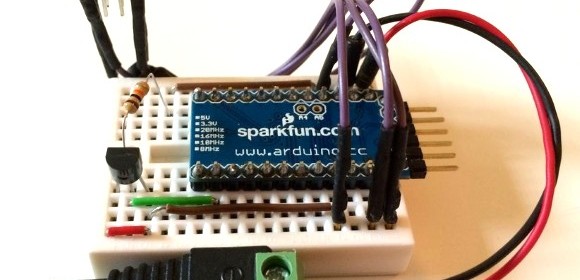
ESP8266 is a highly integrated serial-to-wifi tranceiver chip that can be used to connect any microcontroller with a serial port to a WiFi network for Internet of Things (IoT) applications. The best part of it is that the breakout board for this chip costs only $3 on Ebay, and the chip itself can be programmed/customized for a complete IoT solution. This instructable describes a simple demo of using the ESP8266 and Arduino to send temperature measurements to a remote webserver using WiFi connection. In this example, the remote server is ThingSpeak and the tenperature sensor used is Maxim’s DS18B20.
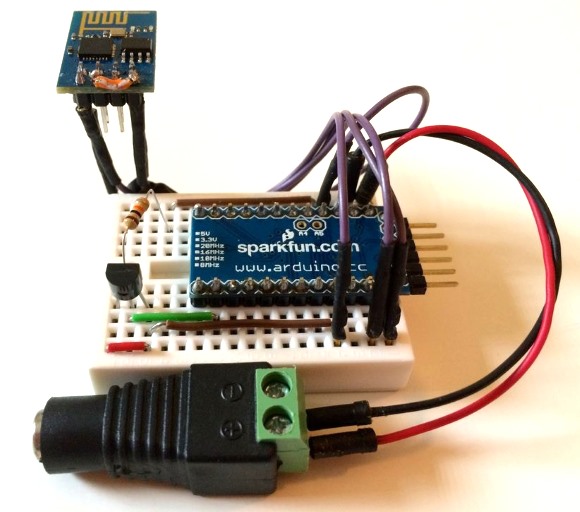
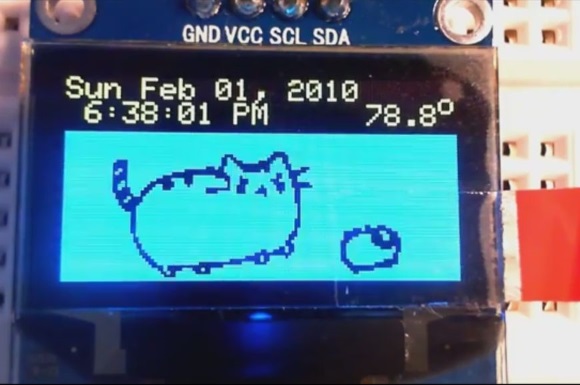
Temperature web logger using ESP8266