Author Archives: R-B

Alexabot: An Amazon Alexa controlled robot using Raspberry Pi
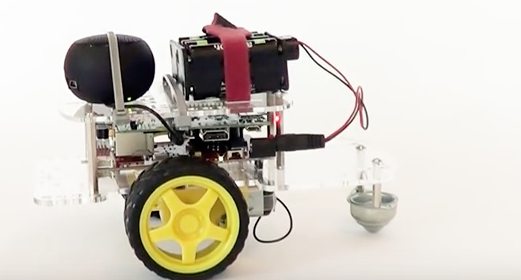
Alexabot is a fusion of Amazon’s Alexa Voice Service (AVS) with Raspberry Pi to build a robotic vehicle that follows your voice commands. You can ask the Alexabot to move around, do some stuff, and find answers to your questions. The body of the robot is built using the GoPiGo kit, while a Raspberry Pi 3 is used as the brain of the robot.

Alexabot: A Raspberry Pi and Amazon Alexa controlled robot

Alexabot: A Raspberry Pi and Amazon Alexa controlled robot

Following video is a demo of Alexabot.
Fingerprint controlled door lock

This fingerprint lock is described in an Instructable posted by JetLab and is about building an Arduino-based electronic door lock that can be installed on almost any access point in your house. The project uses a keypad and fingerprint scanner to grant access to the users by controlling an electric door strike with a relay.

Fingerprint door lock

Fingerprint door lock

I started this project because I was wanted to work with a keypad and fingerprint sensor as well as become more familiar working with LCD’s, I also needed a way to lock my door from the outside so I thought an electronic door-lock would be a great opportunity to over-engineer something and learn some cool stuff.

On power up the device displays a message on the LCD and a red status led lights up, indicating that the door is locked. The user then has the option of pressing a button for entering the password or for changing the password. To change the password the user would need to know the current/default password. If the password is input incorrectly then the display will show that the code was invalid and then revert to the default screen. When the code is entered correctly,the fingerprint scanner activates. If the scanner recognizes a fingerprint that has been enrolled then it will activate the relay and the a green status led for a few seconds, enough to open the door, enter and close it.

Arduino synthesizer with a 1-octave capacitive touch keyboard

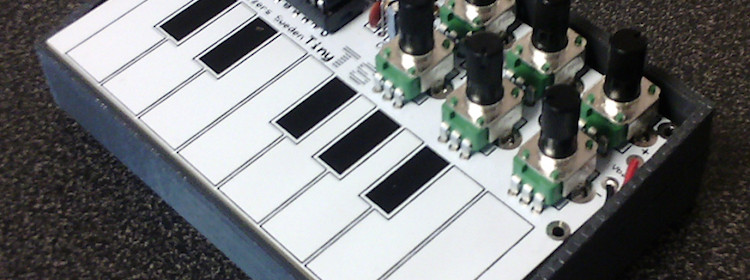
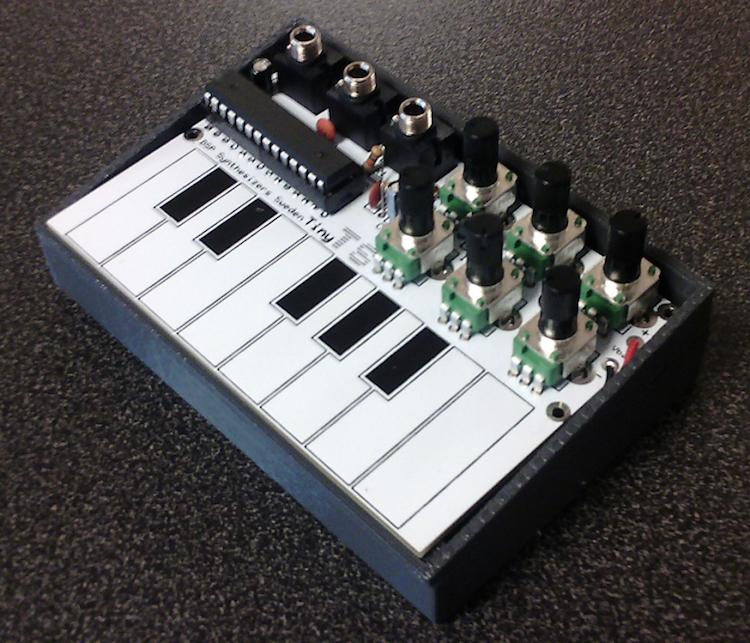
DIY audio synthesizers are not new. We have seen before some really cool synthesizer builds using Raspberry Pi and NXP LPC1114FN28 ARM. Here comes TinyTS, an Arduino-based credit card sized (100x65mm) synthesizer. It is a fully open-sourced design with a 1-octave capacitive touch keyboard.

TinyTS: A credit-card sized synthesizer with 1-octave touchpad keyboard

TinyTS: A credit-card sized synthesizer with 1-octave touchpad keyboard

The synthesizer parameter knobs includes:
DCO: Coarse pitch and Double. The CV out follows the keyboard and coarse pitch.
DCF: Filter peak and ENVmod.
ENV: Attack and Release affecting amplitude.

More details can be found here.

Here’s a demo video showing the TinyTS in action.

Another minimalist wrist watch, but with binary display

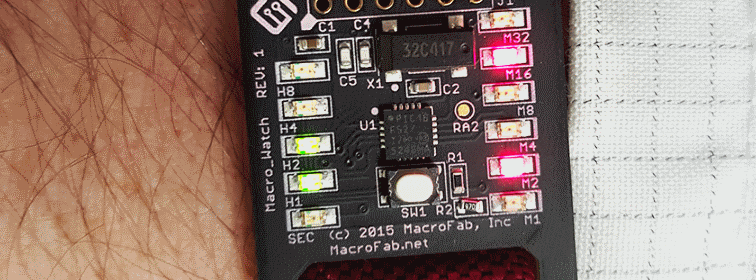
Earlier this week, we saw David Johnson-Davies’ minimalist ATtiny85 wrist watch that displays time using 12 LEDs arranged in a circle like a watch dial. I found another interesting LED-based wrist watch design shared by MACROFAB. It is a low cost watch based on Microchip PIC16F527 and it displays time in binary format. The PIC microcontroller runs in low-power crystal mode using a 32.768 KHz external crystal, that helps to achieve an accurate 1Hz signal required for timekeeping.

Wrist watch with binary display

Wrist watch with binary display

The Macro_Watch has 11 LEDs. Four LEDs for the Hour (H1 – H4), Six LEDs for the Minute (M1 – M6), and a single Seconds LED for timing purposes. This guide will not go into how to read binary but a good guide can be found here. Pressing the switch on the front will lit up the LEDs for 10 seconds to allow reading of the time. Holding the switch for 3 seconds will allow setting the current time. The time advances with acceleration so the longer the button is pressed the faster the time will increase. There is no AM/PM indicator on the watch. The SEC LED can be repurposed for AM/PM use or the user can look outside and see if the sun is out.

« Older Entries Recent Entries »