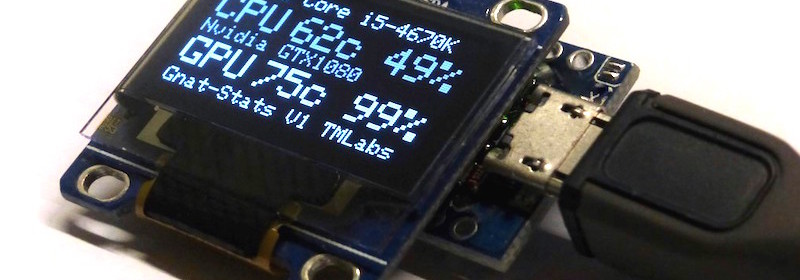
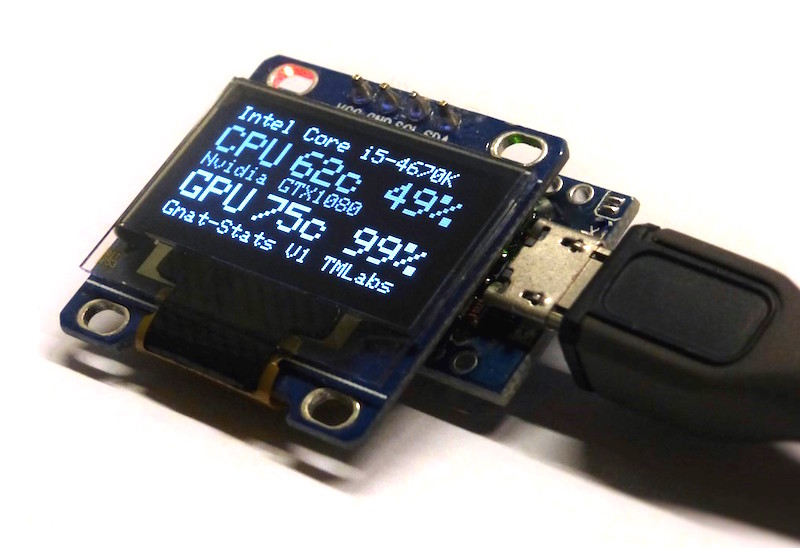
USB media volume control
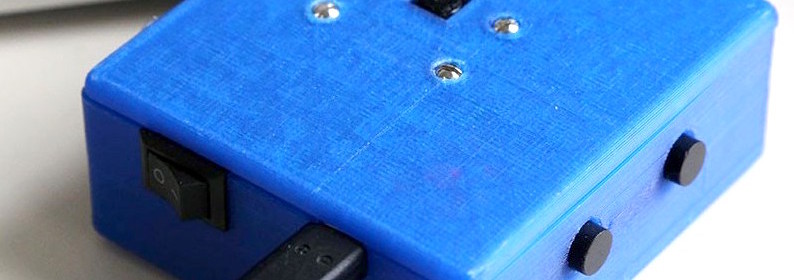
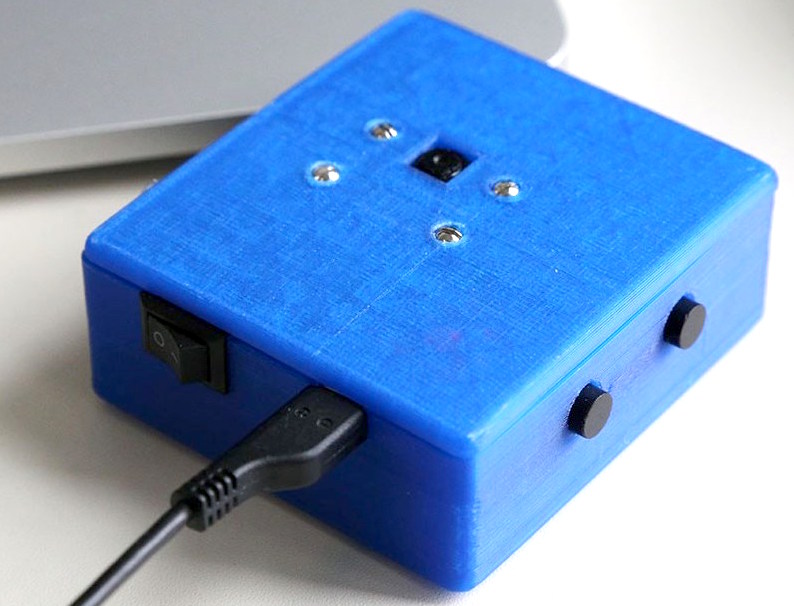
This simple ATTiny 2313-based USB media controller design from Rupert Hirst lets you add an external volume and mute control to your PC. It uses V-USB, a software implementation of a USB 1.1 compliant for lower end AVR microcontrollers that do not natively support USB.
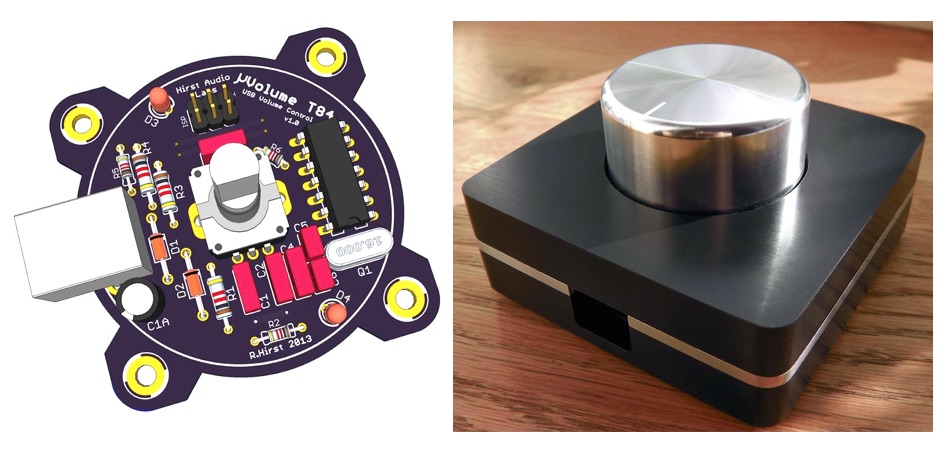
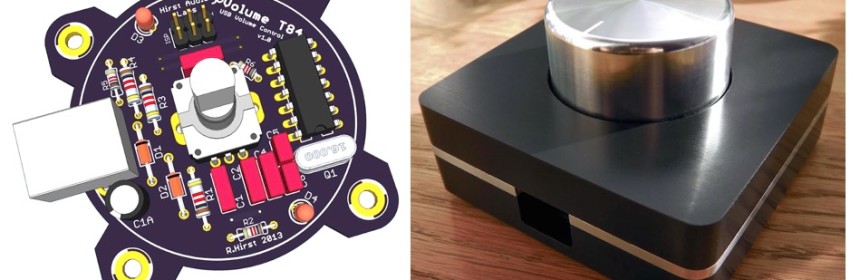
USB media control using ATTiny2313
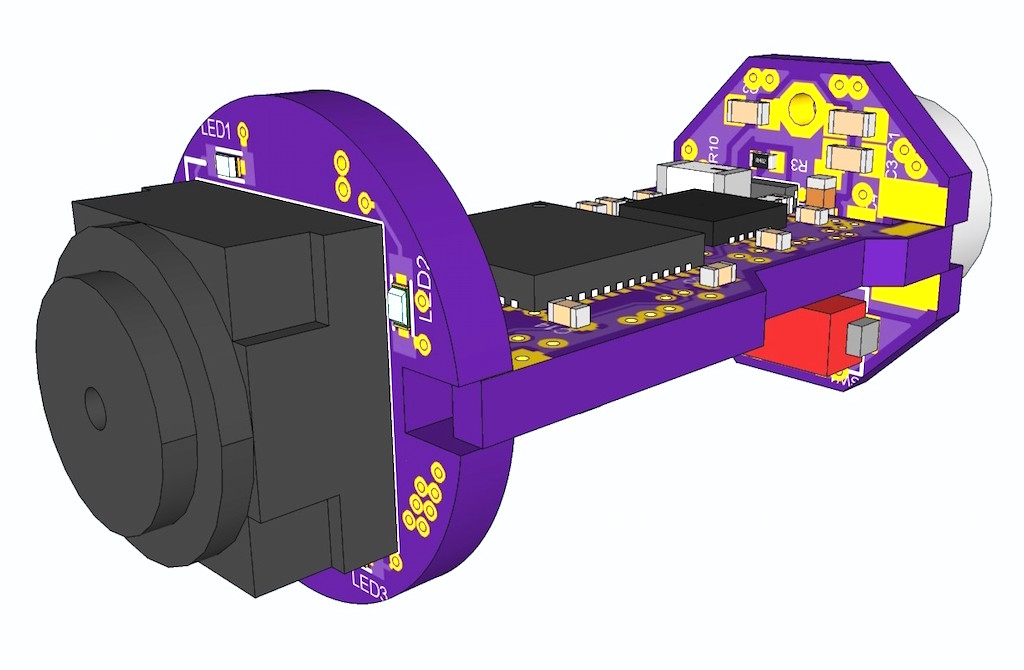
I chose to go with the Zener 3V6 (3.6volts) diode approach to keep the Micro power rails at 5volts as I have in most of my experiments.The specification of the 3V6 type Zener is very important to the design, the total power consumption of the part must be no more than 500mw (0.5w)! due to extra capacitance on the USB -DATA and +DATA lines. A Zener rated at 250mw (0.25w) would be ideal yet I have yet to find any in a through hole part.