Raspberry Pi All Sky Camera
Thomas Jacquin built this Raspberry Pi based all sky camera to capture the Northern Lights. Capable of taking pictures of the entire sky over a certain amount of time, the camera is best suitable for recording meteor showers and other astronomical phenomena.
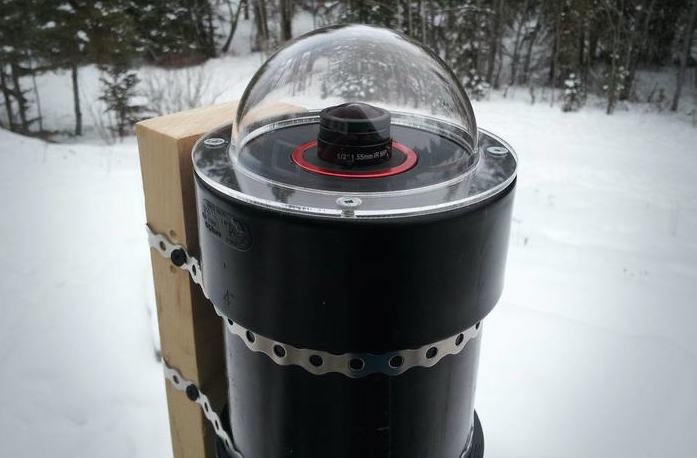
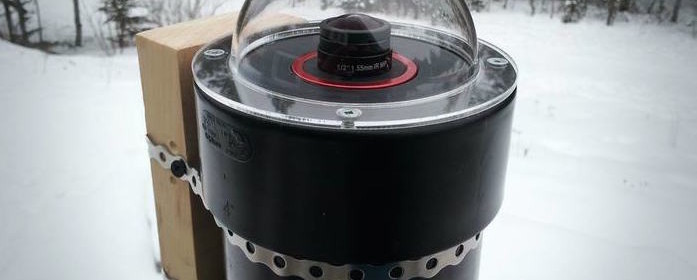
All sky camera to photograph the sky
I built mine to monitor the northern lights. I live in the Yukon and we sometimes get beautiful aurora displays during the night. However, I also have a day time job and I need my 8 hours of sleep. I created this camera to record a movie of the entire night. That way, I can replay the movie in the morning and never miss any aurora night.