Category Archives: Embedded Labs


Lab 6: Seven segment display
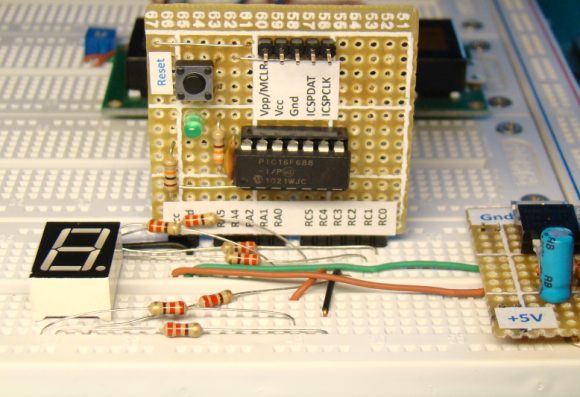
Introduction Seven segment LED displays are often found in clock radios, VCRs, microwave ovens, toys and many other household items. They are primarily used to display decimal numbers but they can also display a few alphabets and other characters. This experiment describes interfacing a seven segment LED display to a PIC16F688 microcontroller. You will make a hexadecimal counter that counts from 0 (00h) to 15 (0Fh) and display the value on the seven segment LED display. Required Theory A seven segment LED display is an special arrangement of 7 LED elements to form a rectangular shape using two vertical segments on each

Read more
Lab 5: Analog-to-digital conversion (ADC)

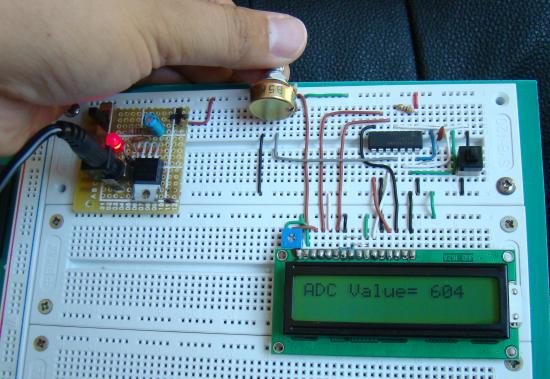
Description Analog-to-digital conversion (ADC) is necessary because, while embedded systems deal with digital values, their surroundings typically involve many analog signals such as, temperature, speed, pressure, the output of a microphone, etc. They all need to be converted into digital data before being processed by the microcontroller. Today, we will see how to read an external analog signal using a PIC16F688 microcontroller, and display the conversion output (a digital number) on a LCD. The input analog signal will be a varying voltage between 0-5V derived using a potentiometer. Required Theory The PIC16F688 microcontroller has a built-in 10-bit ADC with eight

Read more

Lab 3: Four bit binary counter

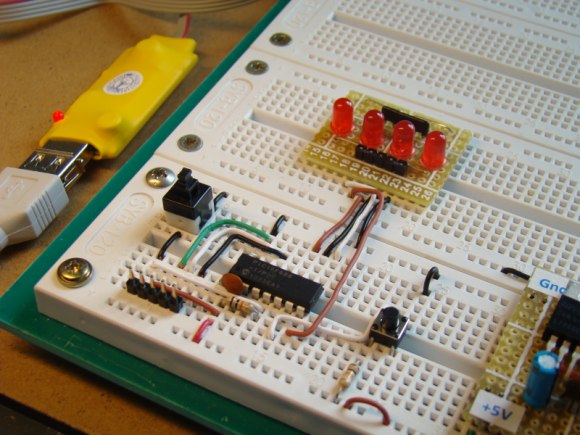
Description Today’s lab session is about binary counting LEDs. The binary 1 and 0 will be represented by turning LEDs on and off. You will make a 4-bit binary counter (using 4 LEDs) that counts from 0 to 15 (0000-1111 binary). The four LEDs are connected to RC0 through RC3 port pins of PIC16F688 with current limiting resistors (470? each) in series. A push button switch is connected to pin RC4 to provide input for the counter. The counter starts from 0, and increase by 1 every time the button is pressed. When the counter reaches 15 (all LEDs on),

Read more

Lab 4: Interfacing a character LCD

Description HD44780 based LCD displays are very popular among hobbyists because they are cheap and they can display characters. Besides they are very easy to interface with microcontrollers and most of the present day high-level compilers have in-built library routines for them. Today, we will see how to interface an HD44780 based character LCD to a PIC16F688 microcontroller. The interface requires 6 I/O lines of the PIC16F688 microcontroller: 4 data lines and 2 control lines. A blinking test message, “Welcome to Embedded-Lab.com”, will be displayed on the LCD screen. Required Theory All HD44780 based character LCD displays are connected through

Read more

Lab 1: Flashing an LED

Description Today is our first session in PIC microcontroller lab, and we will begin with an experiment that flashes an LED on and off. While this looks very simple it is the best project to start because this makes sure that we successfully wrote the program, compiled it, loaded inside the PIC, and the circuit is correctly built on the breadboard. In this lab session we will connect an LED to one of the port pin of PIC16F688 and flash it continuously with 1 sec duration. Required Theory You must be  familiarized with, digital I/O ports (PORTA and PORTC) of PIC16F688

Read more
« Older Entries Recent Entries »