Matej Blagšič posted instructions for building a Bluetooth-enabled Arduino-based mini weather station that can measure ambient temperature, pressure and humidity.
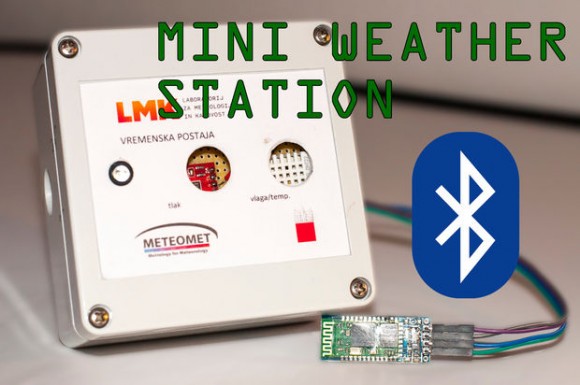
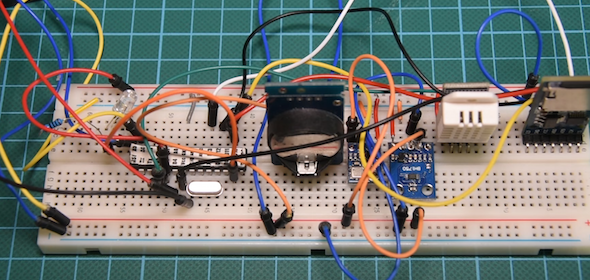
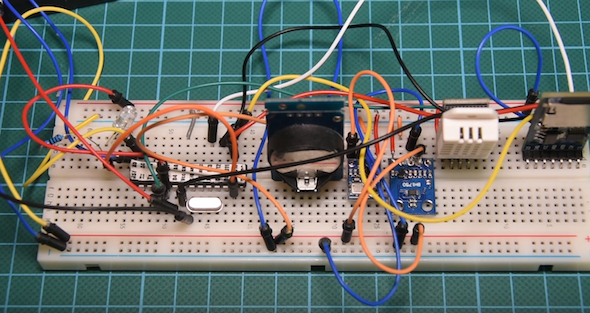
Arduino mini weather station
The main question is why did I/we choose the Seeeduino V4. If we were going for a cheap Chinese alternative, we could have gone with Funduinos or anything like that, as the Seeeduino is only a few bucks cheaper. The answer is the features. I see it as an upgrade to the Arduino Uno. It has all the features labeled with arrows. Some are subtle like the micro USB port, as many of us have smart phones that uses the same plug, option for soldering male headers parallel to female ones and the convenience of the already built in ports form I2C and serial data.
The major ones are really blessed by me. The 3.3V – 5V logic switch is priceless because so many arduino peripherals and mostly sensors work with 3.3V. I wasn’t aware about this a few years ago, as 5V stood to me as a standard but really a lot of sensors work with 3.3V and the most of 5V ones can operate with that voltage without any problem. Refer to the sensors datasheet for that information.
This board will work on 3.3V great with one of our I2C sensor and the other one that operates with 5V. Also some of the bluetooth modules work with 5V, but the logic works with 3.3V. I will address this topic in the bluetooth step of this tutorial.