Tag Archives: Arduino project


Making an audio treasure hunt box
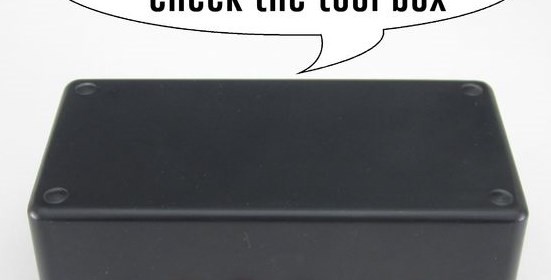
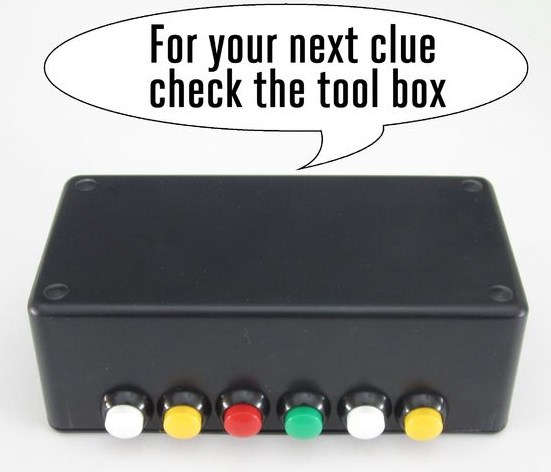
Treasure hunts are a great adventure to play inside or outside of house. Jasen Smith’s audio treasure hunt box project is a unique variation of this game, where the treasure hunters are given a code to enter into the box, and the box plays a short audio clip containing a clue as to where to look for next. As they arrive at this location, they get a new code, which has to be entered into the box again to get next clue. This continues until the treasure is found.

Treasure hunt box

Treasure hunt box

The wave shield connects to the Arduino board with header pins on the bottom side of the wave board. These pins fit into the pin sockets on the Arduino. Adjacent to the pin holes where these header pins are mounted is a second set of holes that are connected to them. These let you connect external components to the pins on the Arduino. You can solder wires directly to these holes or you can use header pins for removable connections. The kit comes with eight additional header pin connectors. Two of these I soldered to the 5V and GND pin holes. The remaining six I connected to the analog input pins.
Arduino calculator box

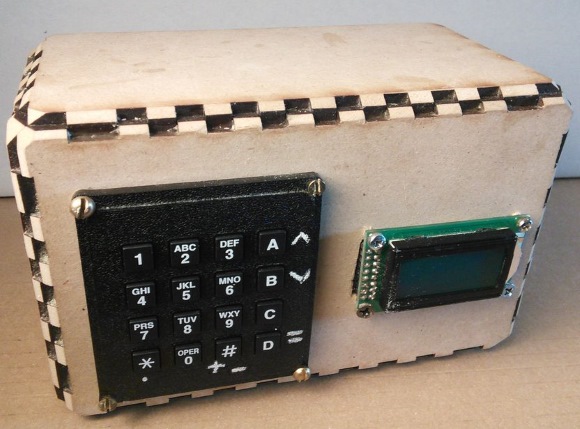
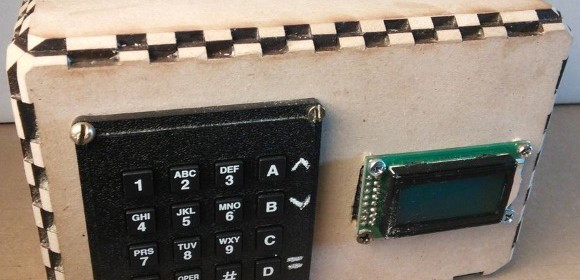
Kale_3D has posted this instructable about his build of an Arduino-based calculator with a laser cut wooden enclosure.

In this Instructable I will show you how to make an Arduino calculator that is just as good as any other calculator (well… sort of). Even though it’s probably not practical due to it’s size, repetitive use of the equals button (due to the lack of keys), and cost (You can probably buy a calculator that does the same thing for $2), It is really fun and adds a few skills to your inventory. Let me tell you how I got started on this project. It all starts at school where the original calculator was made by my friend/teacher Gabe. If your curious how the old version looked click here. Soon enough students began to play with it and soon broke it. I was the only student who knew how to fix it so I decided I might as well try. In the process I basically took the whole thing apart and started from scratch. I also rewrote most of the code. I learned alot, spent lots of time debugging, and added many new features. In the end it was a project definitely worth doing. The good thing is that now that I figured it out you don’t have to. Let’s get started.


Arduini-powered calculator

Arduini-powered calculator

This personalized word clock is very cool

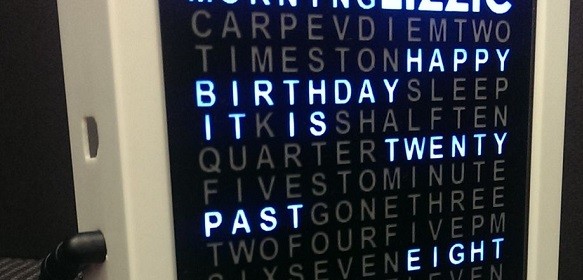
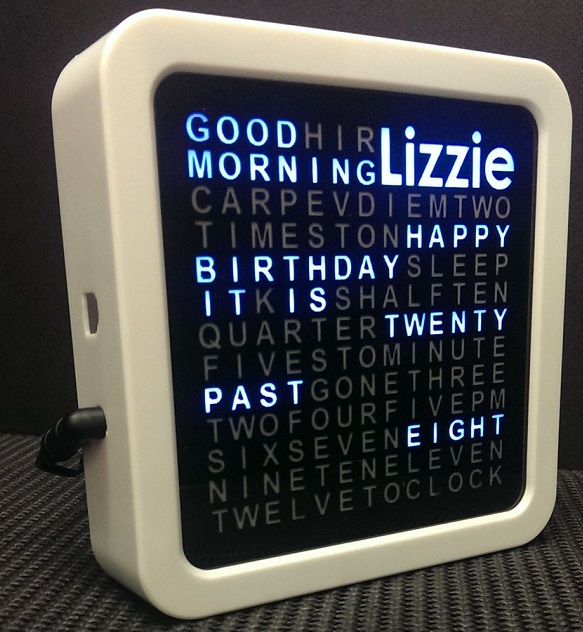
Word clocks are really cool. They tell the time using words. A neat thing about them is you can customize the display to show some personalized messages. Yes, TechKiwi’s new instructable is about making a personalized word clock gift, which displays the recipient’s name as well as some personalised messages such as birthday greetings. The project uses the Arduino Mega board as main controller and the DS3231 RTC chip for time-keeping.

Personalized word clock

Personalized word clock

Recent Entries »