chipKIT Tutorial 7: Using Nokia 5110 LCD
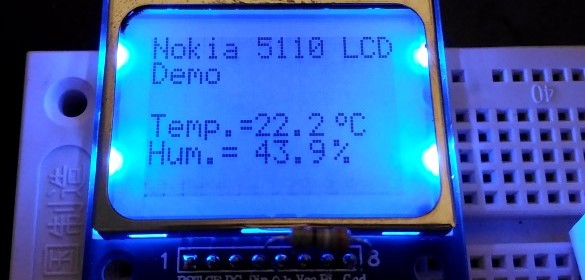
In Tutorial 4, we learnt interfacing an HD44780-based LCD to a chipKIT board for displaying alphanumeric output. Today, we will see how to connect a NOKIA 5110 graphical LCD (used in Nokia 5110 cell phones), which is a 84×48 pixel monochrome display of about 1.5″ diagonal in size. The display can be used for graphics, text, and bitmaps.
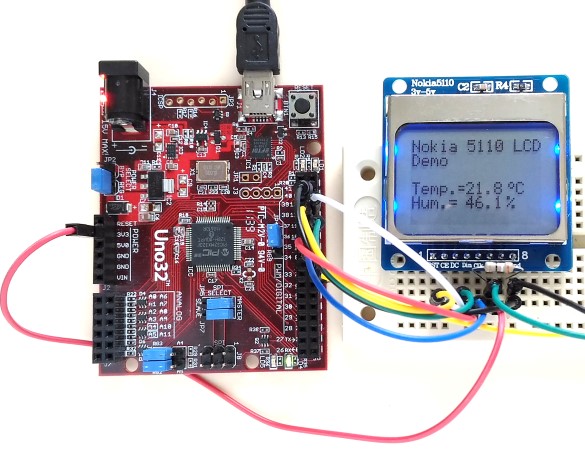
chipKIT Nokia 5110 LCD interfacing
Theory
Nokia 5110 LCD was used in Nokia’s popular 5110 and 3310 model cell phones. It is a 48×84 pixels matrix LCD driven by the low-power PCD8544 controller chip. It is powered by 3.3V and includes on-chip generation of LCD supply and bias voltages, thus requiring minimum external components for its operation. The PCD8544 receives display data and commands from a microcontroller through a serial bus interface. There are multiple Nokia 5110 LCD modules in the market; they all come pre-mounted on a PCB and look similar but the pin arrangements might be different in some modules. This is a very popular display among the Arduino community because of its low cost (~$3 on eBay) and simplicity to use with easily available open-source libraries. The LCD requires 5 I/O pins for full control. The pins available in almost every Nokia 5110 LCD modules are listed below: Read more

