Arduino Crowtail and Easy Pulse Plugin
|
|
Arduino Crowtail is a modular and ready-to-use building block set from Elecrow for rapid prototyping with Arduino. It consists of a base Arduino Uno shield to which various sensor and I/O modules can be conveniently interfaced through standardized connectors. In this example, I am going to illustrate how to use the Easy Pulse Plugin sensor with a Crowtail base shield and a Crowtail OLED module to make a stand-alone pulse meter.
Easy Pulse Plugin and Grove shield
Things needed
You will need the following items to complete this project.
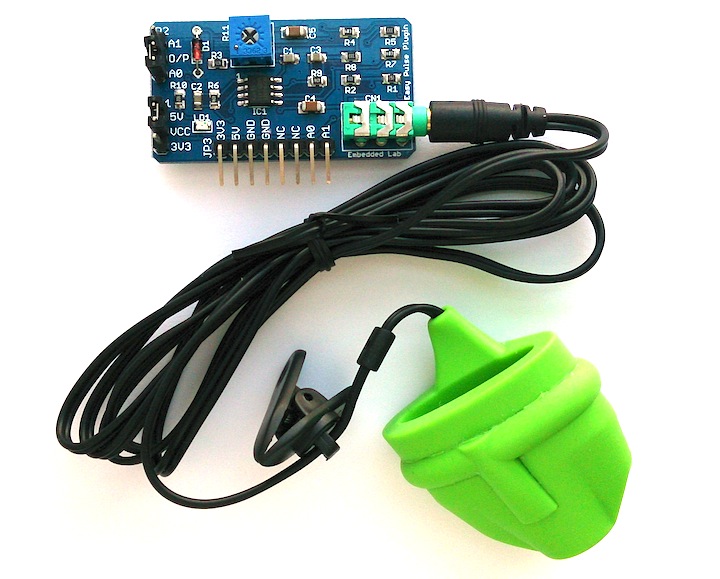
Easy Pulse Plugin module
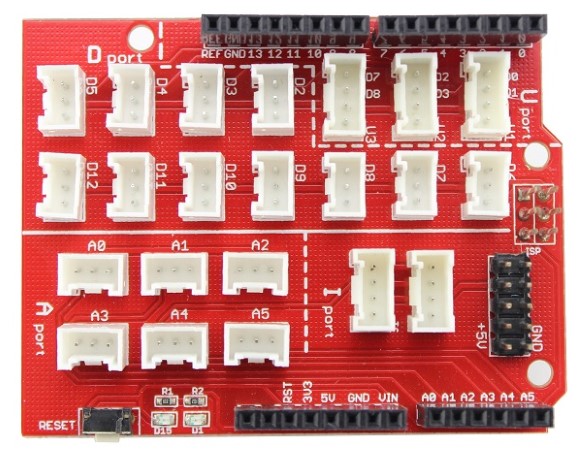
Crowtail Base shield
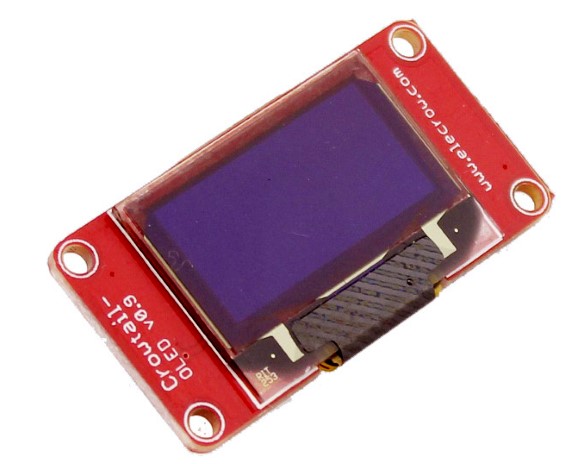
Crowtail OLED module
You can now get all of these items from Elecrow.
Connections
The connections for setting up a stand-alone pulse meter are very easy and can be done in the following steps.
- Insert the Crowtail base shield on top of Arduino Uno.
- Insert the Easy Pulse Plugin sensor directly into the left-side headers of the base shield as shown below. The A0 and A1 pins on the Easy Pulse Plugin board should match with the A0 and A1 analog pins on the base shield. Please read the Easy Pulse Plugin sensor description page for details of these pin functions. Make sure that the JP1 and JP2 shunt jumpers are placed to 5V and A0 pins, respectively, on the Easy Pulse Plugin board.
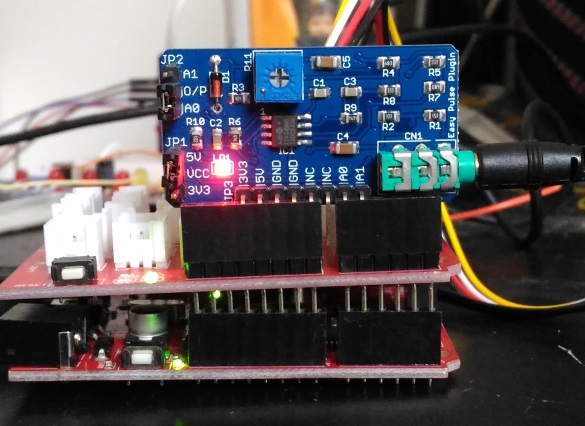
Easy Pulse Plugin and Crowtail base shield
- Connect the OLED module to the I2C port of the base shield with a standard 4-pin cable provided with the OLED module.
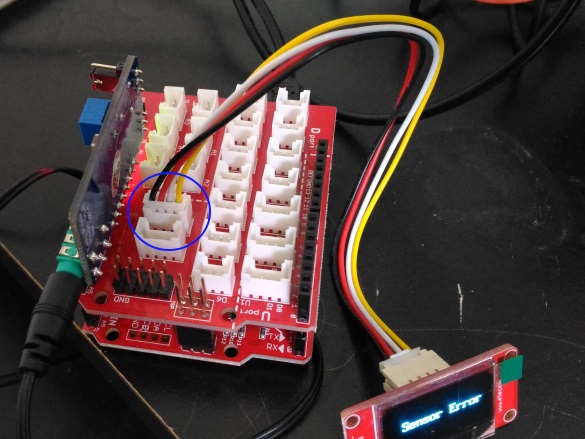
Connecting the I2C OLED module
Software
You will need to install Stanley Huang’s micro LCD library first to your Arduino Libraries directory before compiling the Arduino Sketch for this project. You can download the library and Arduino program from the links below.
For more details on how the program computes the heart beat rate from the PPG output, please read my previous posts Arduino Pulse meter and ChipKIT Easy Pulse Meter.
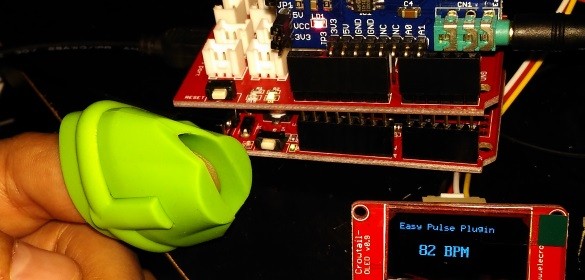
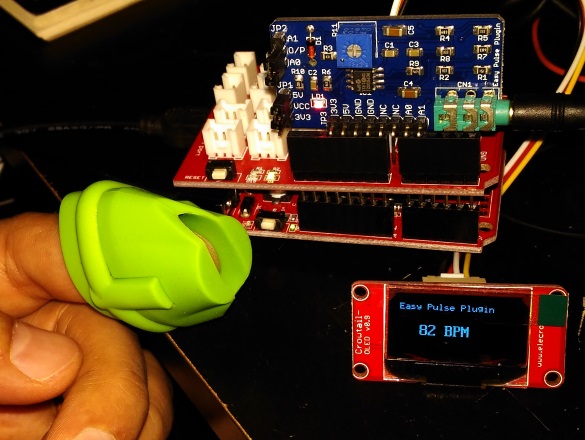
Upload the Arduino sketch and your stand-alone pulse meter is ready to rock. The pulse rate is displayed in beats per minute (BPM) and is refreshed in every 3 seconds.
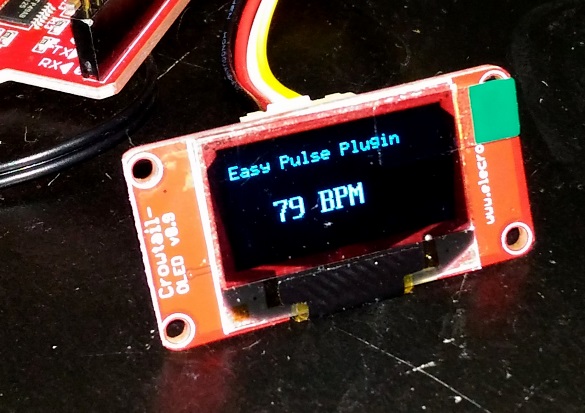
Stand-alone Pulse Meter
|
|
Pingback: Arduino Crowtail and Easy Pulse Plugin