Tips and Tricks
The following collection of microcontroller Tips and Tricks can be applied to a variety of applications to help make the most of your design.
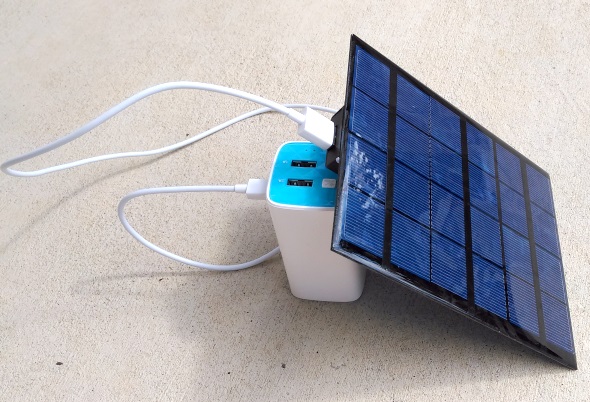 |
DIY solar-powered USB chargerYesterday, I built a very simple DIY solar-powered USB charger for my TP-link 10400mAh USB Power Bank. All I needed was a 6V/3.5W solar panel and the TD1410-based 5V buck converter module. I bought both of them on Aliexpress for less than $8. |
 |
Testing active analog temperature sensors with a multimeterThere are quite a variety of active analog temperature sensor ICs that provide an output voltage proportional to the temperature. They usually don’t require any external calibration and signal conditioning, and as such their output can be directly fed to the input of an ADC for digital processing. A few examples of such sensors are LM34, LM35, TMP35/36/37, and MCP9701. If you are having any trouble using any of these sensors in your project, here is a quick way to test if your sensor is working or not. |
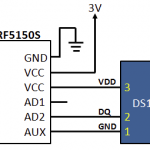 |
Building wireless sensor applications with DRF4432A and DRF5150S RF modulesDRF5150S and DRF4432S are two complimentary GFSK RF transmitter and receiver modules working in 433 MHz ISM band and are manufactured by Dorji Applied Technology. The presence of a pre-programmed microcontroller on board allows to connect selected analog and digital sensors directly to the DRF5150S module, which collects data from the sensor and sends out to the DRF4432S module at a configurable interval. |
 |
Measure amps with ACS712 current sensorThis tutorial talks about Allegro ACS712 device which works on the principle of Hall-effect and provides an economical and precise way of sensing AC and DC currents. |
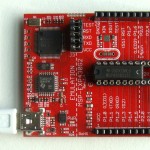 |
Setting up CCS v4 build and debug environment for MSP430 LaunchpadHere’s a step-by-step guide to set up the CCS v4 build and debug environment to get started with the MSP-EXP430G2 experimenter board. |
|
|
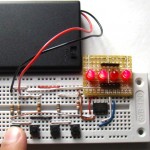 |
Connecting multiple tact switches on a single input pin of a microcontrollerHere’s a trick of connecting multiple tact switches on a single input pin of a PIC microcontroller. The input pin must be an ADC channel for this technique to work. |
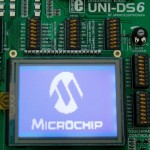 |
Use mikroElektronika’s GLCD bitmap editor tool to convert a BMP image in to a data arrayThis tutorial describes how to use the mikroElektronika’s GLCD bitmap editor tool to convert a monochromatic bit map (BMP) image file into a data array so that it could be displayed on a graphics LCD using a microcontroller. |
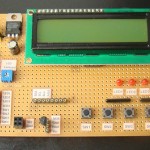 |
Experimenter’s I/O board for rapid prototypingThis article describes a general purpose I/O board that is easy to construct and is very useful for rapid prototyping of microcontroller-based projects. It can be connected to your breadboard circuit through male jumper wires. |
Pingback: Blog J.Schweiss | AVR Tutorials