A very simple DIY solar-powered USB charger
|
|
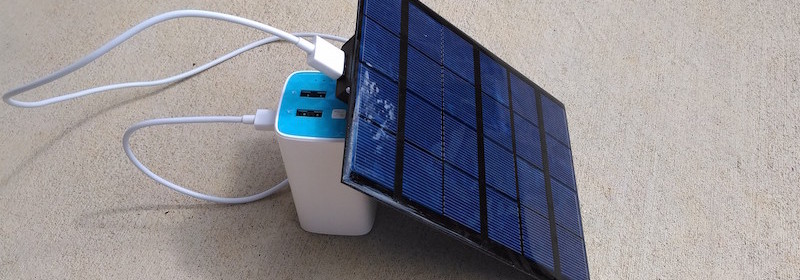
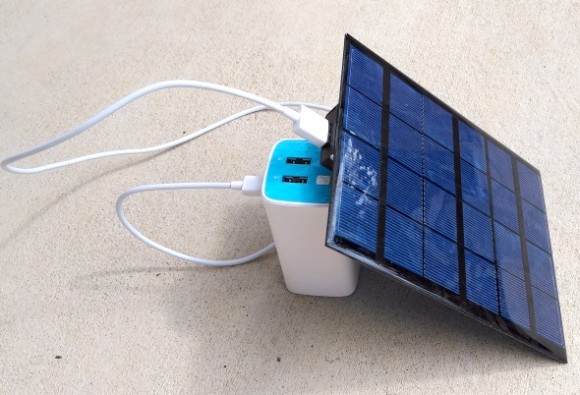
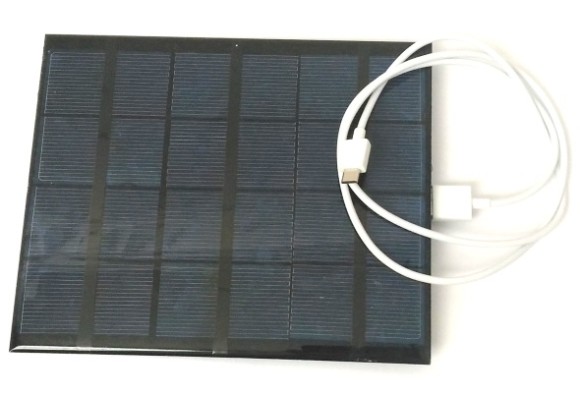
Yesterday, I built a very simple DIY solar-powered USB charger for my TP-link 10400mAh USB Power Bank. All I needed was a 6V/3.5W solar panel and the TD1410-based 5V buck converter module. I bought both of them on Aliexpress for less than $8.
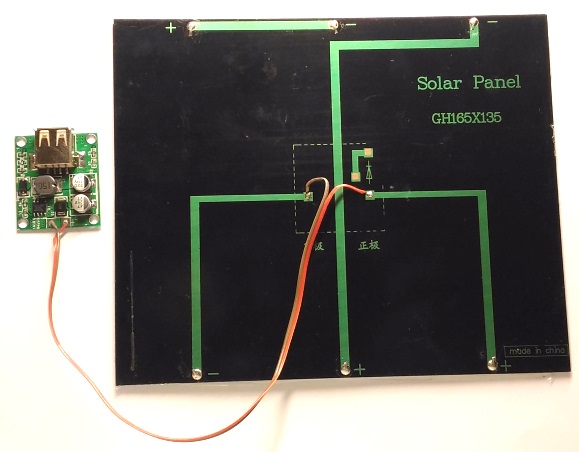
It was one of the easiest projects I built. All I needed to do was to connect the input of the 5V step-down buck converter to the output of the solar panel using two wires.
From TD1410 datasheet,
The TD1410 is a 380 KHz fixed frequency monolithic step down switch mode regulator with a built in internal Power MOSFET. It achieves 2A continuous output current over a wide input supply range with excellent load and line regulation. The device includes a voltage reference, oscillation circuit, error amplifier, internal PMOS and etc.
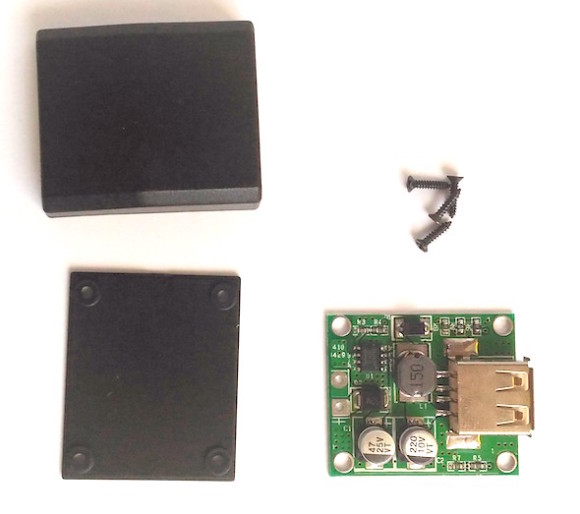
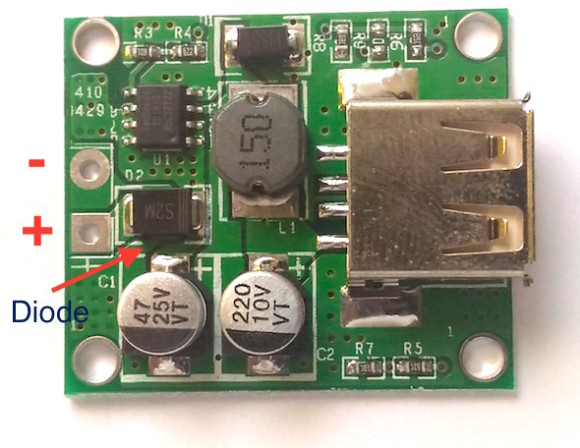
For 5V output from TD1410, the input voltage can range from 5.5V to 20V (from the datasheet). I measured the solar panel open-circuit voltage under sunny conditions to be ~ 6.5V. Under the load of 200 mA, the solar panel output voltage was reduced to ~6.0V. The TD1410-based 5V buck converter module that I purchased on Aliexpress already has a diode at its input for polarity protection. So I didn’t need any extra diode for the solar panel output as it directly goes to the input of the buck converter. The nice thing about this buck converter is it has a USB-A female port for output, which is same as found in standard USB chargers. It also comes with a plastic enclosure (see pictures below).
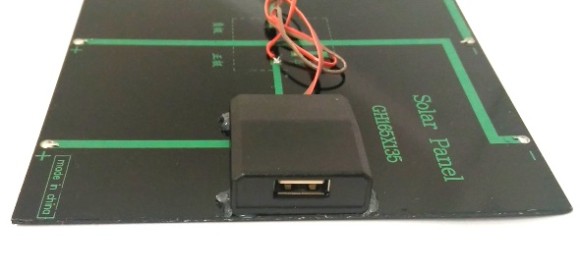
The positive and negative outputs from the solar panel connects to the + and – inputs of the buck converter, respectively. I put the buck converter inside the enclosure and glued it on the back of the solar panel as shown below.
The USB output voltage from the buck converter was measured to be 5.05V using my TENMA multimeter. I could even charge a Xiaomi Redmi Note 2 smartphone directly from the USB port under full sun conditions. I measured the charging current was ~200 mA. If the sky is partly cloudy, the solar panel might not supply the adequate current for charging the smartphone directly (of course, it also depends upon the smartphone). In the absence of enough input current, the smartphone’s built-in charging circuitry will refuse to go in to the charging mode. If there’s a fluctuation in the incident solar irradiation due to varying cloud condition, it is likely that the smartphone will go back and forth between charging and not charging. So, I would not recommend it for direct charging of smartphones. But it is safe for charging the USB power banks as they can be charged at a lower current input.
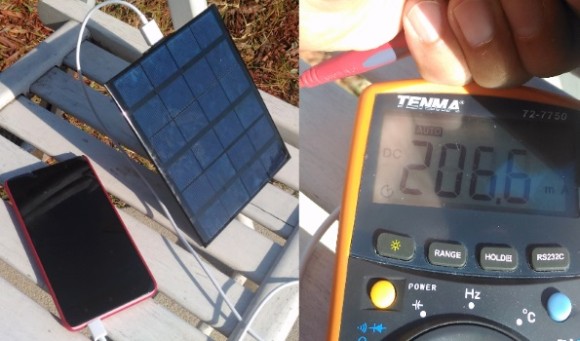
Direct charging of smartphone (at 200 mA) using the solar power. Charging is interrupted under partly cloudy conditions.
In conclusion, this solar-powered USB charger was super simple to build, very portable to carry around and works perfectly for charging USB power banks. Two or more of these solar panels can be connected in parallel to achieve a higher current output.
|
|
Could you answer, what is the effect of attaching a Solar Panel to the DC lines of a ” wire-stripped ” USB Mini C connector as for the type of raw output flow?
please my name is emmanuel, am an electronics engineer from NIGERIA .. i need a foreign electronics engineer as a friend…. reply via okikicrowns1@gmail.com
Thank you very much sir… I’m a PLC programmer and now want to work with microcontroller as a hobby, Would you tell me which microcontroller i should prefer as per latest trend?
Pingback: A very simple DIY solar-powered USB charger - Electronics-Lab