New product: 16×32 RGB LED panel + Arduino Uno connector shield
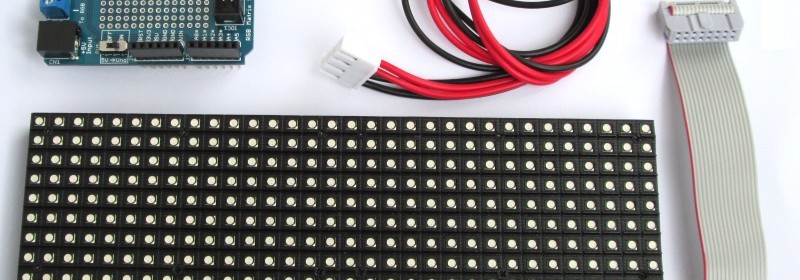
Today, we have added a new and colorful product to our Tindie store. It is a colorful RGB LED matrix panel kit that includes a 16×32 RGB panel, a RGB connector shield for Arduino Uno, a 2×8 IDC cable, and a power supply connecting cable for the RGB panel. The RGB panel operates at 5V and requires 12 digital I/O pins of Arduino Uno for full control of the display. We designed the RGB matrix connector shield to allow super easy connection setup between the LED display panel and the Arduino Uno board.
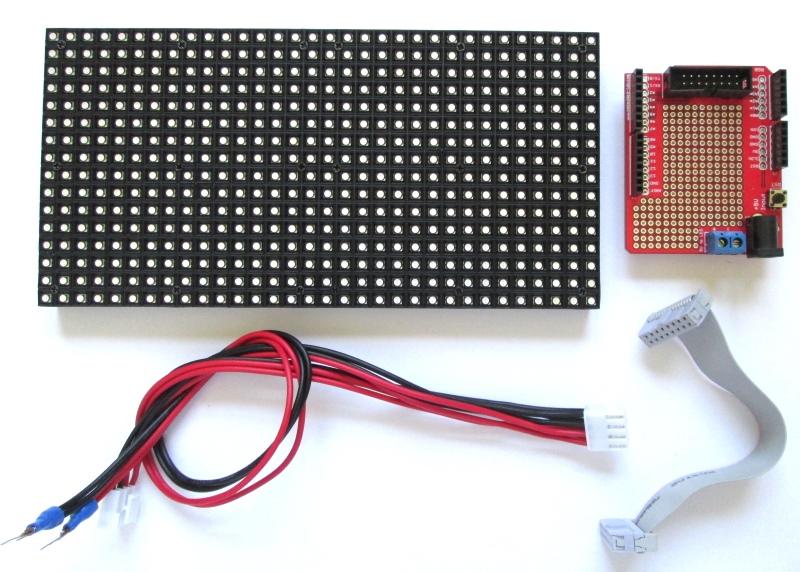
16×32 RGB LED matrix panel kit
Features:
- Operates at 5V (2A rated power supply is recommended)
- Dimensions are 192mm x 96mm (7.6”X3.8”)
- LED spacing or pitch : 6mm
- Compatible with Adafruit’s RGBMatrixPanel Library
- RGB connector shield and IDC cables are included (no additional wires are needed for connecting the matrix to Arduino Uno)
What will you get in the package?
- One 16×32 RGB LED matrix panel
- One RGB connector shield for Arduino Uno
- One IDC cable to connect the RGB matrix panel to the RGB shield
- One power supply connector for the RGB matrix
Note: The power supply is not included. It requires a 5V, 2A power supply with a 2.1mm x 5.5mm DC connector. The LED matrix also works fine with a 1A power supply (like from a cell phone charger) applied through the USB connector of Arduino Uno.
Important links:
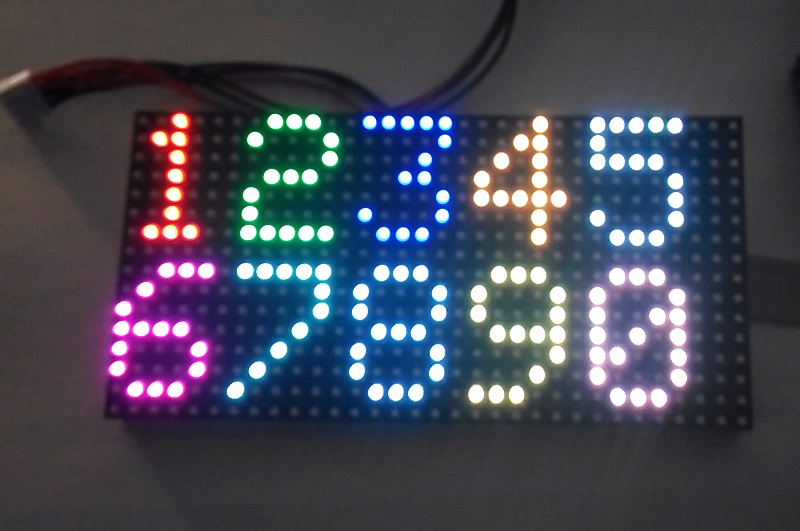
Check out the hookup guide and demo run with Arduino Uno board
Get this colorful display kit from our Tindie Store
Global Buyers can get this kit from Elecrow
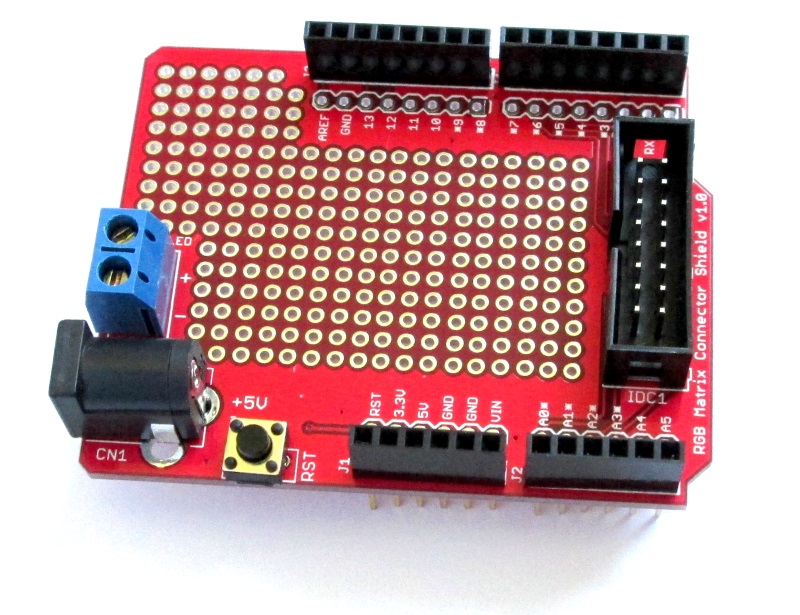
RGB Matrix Connector Shield
Update (Sep 22, 2016)
The RGB Matrix driver shield has been revised recently and the new version has the DS1307 RTC chip on board. The I2C signal lines are also hard wired to Arduino A4 and A5 pins.
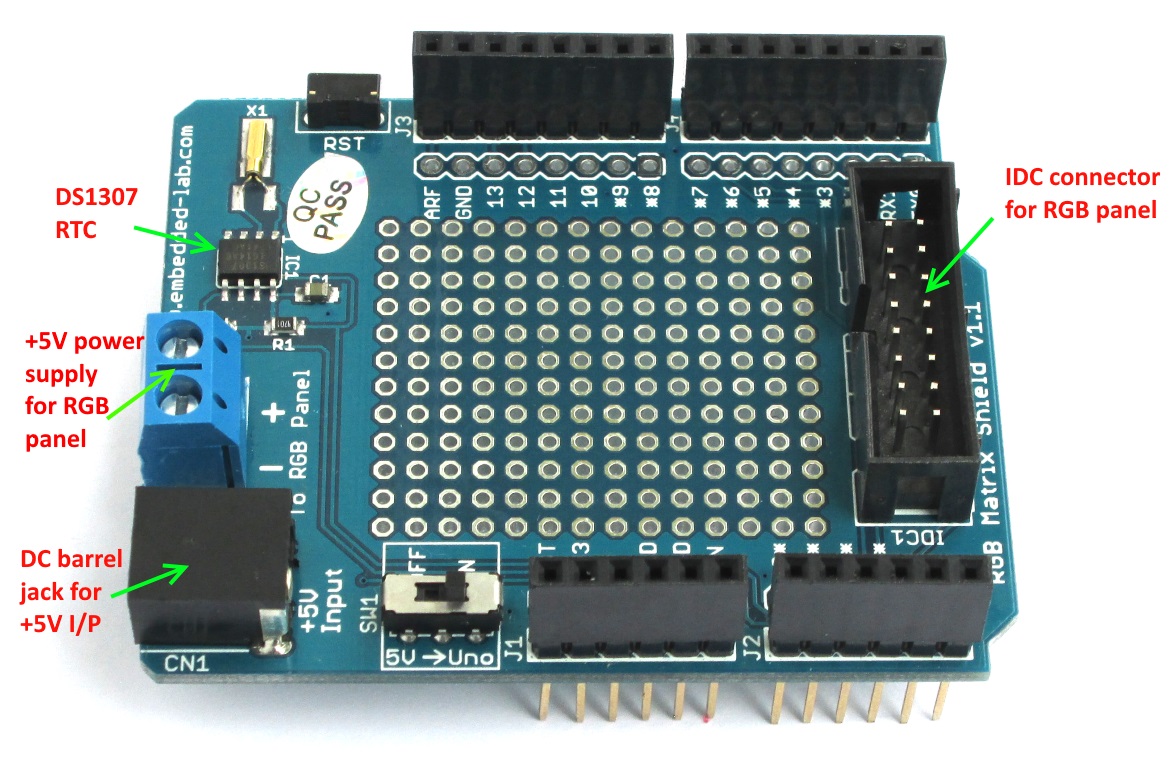
Revised RGB Matrix driver shield