LimiFrog- A STM32-L4 based wearable device with bluetooth and sensors
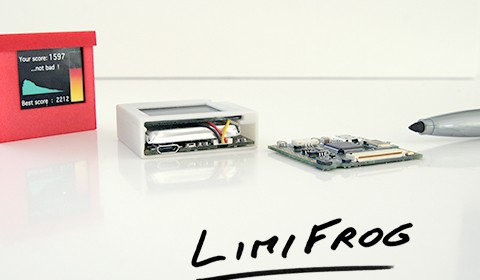
Xavier Cauchy introduces LimiFrog– an ultra-compact, Bluetooth-enabled, and multiple sensor-packed development board based on the powerful STM32-L4 microcontroller. The board weighs less than 25 grams and features a 160×128 color OLED display, 8MB data flash, 500 mAH LiPo battery, USB connectivity, and lots of sensors, which include temperature, pressure, light, sound, accelerometer, gyroscope, and magnetometer.
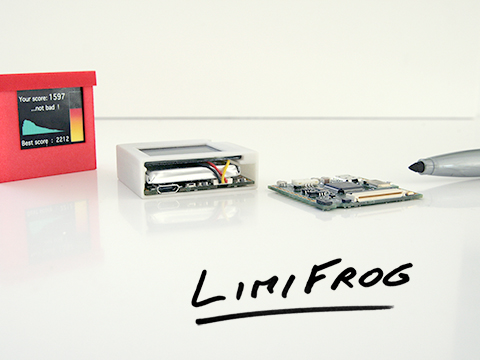
LimiFrog development board