Microsoft brings free Windows 10 for Raspberry Pi 2
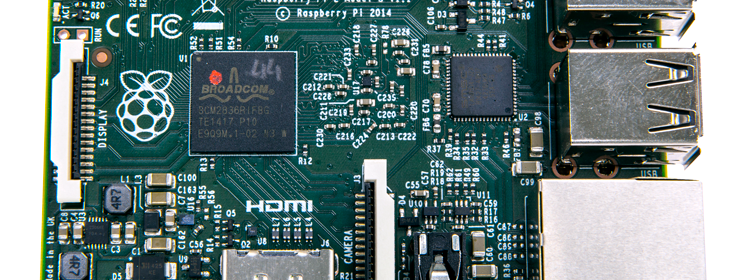
Microsoft has announced that it will give away a free version of Windows 10 that supports Raspberry Pi 2.
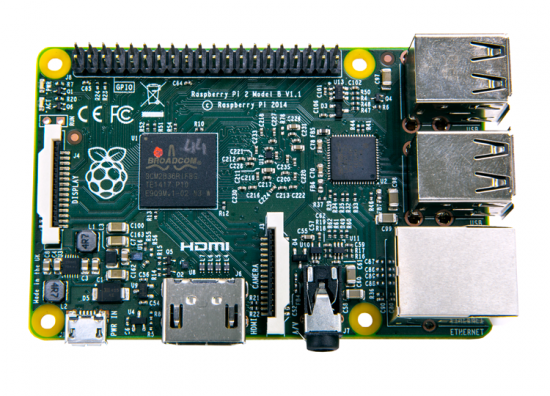
Free Windows for Raspberry Pi 2 is coming soon
We’re excited to announce that we are expanding our Windows Developer Program for IoT by delivering a version of Windows 10 that supports Raspberry Pi 2. This release of Windows 10 will be free for the Maker community through the Windows Developer Program for IoT.
Windows 10 is the first step to an era of more personal computing. This vision framed our work on Windows 10, where we are moving Windows to a world that is more mobile, natural and grounded in trust. With the Windows for IoT developer program we’re bringing our leading development tools, services and ecosystem to the Raspberry Pi community!
We see the Maker community as an amazing source of innovation for smart, connected devices that represent the very foundation for the next wave of computing, and we’re excited to be a part of this community.
We are excited about our partnership with the Raspberry Pi Foundation and delivering a version of Windows 10 that supports Raspberry Pi 2, and we will be sharing more details about our Windows 10 plans for IoT in the coming months.