Author Archives: R-B

Rotary dial phone gets GSM upgrade

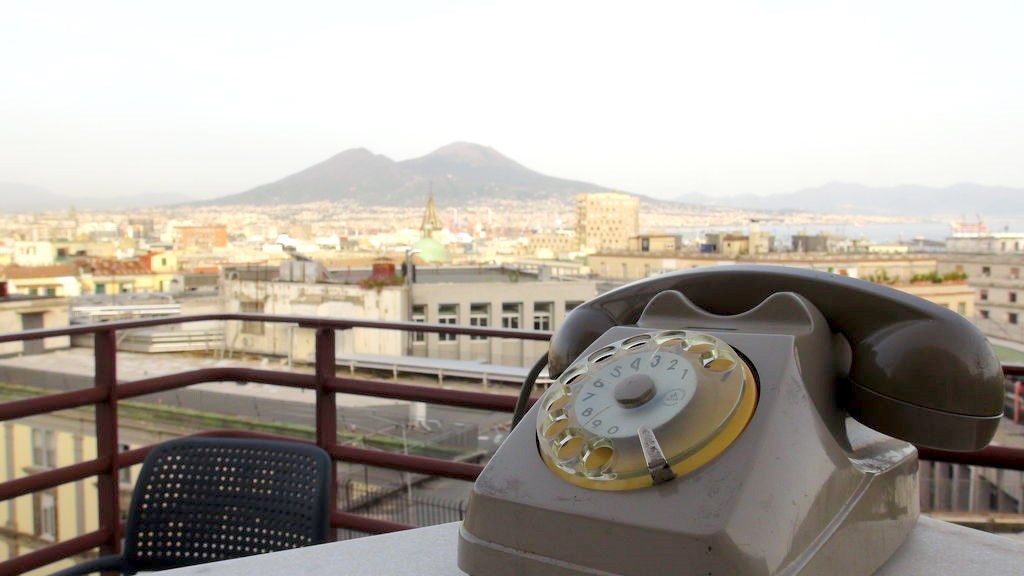
I found this nice Instructable from  on upgrading an old-school rotary dial telephone to a GSM phone using Arduino and a SIM900 GSM shield, while preserving the classical ringing sound, sluggish rotating dialer, and a heavy handset.

Rotary dial phone gets GSM upgrade

Rotary dial phone gets GSM upgrade

These kind of telephone cannot be used now days due to incompatibility between pulse and tone dialing. Before trash it i ask to myself: how can i transform it? My aim was to replay old feelings: classical ringing sound, rotating dialer and a heavy comfortable handset. Then i decided to relive that and so, in this instructables, i’ll show how to transform a rotary dialer telephone to GSM telephone using Arduino and a SIM900 GSM shield.

From late 60’s till 1985, the only Italian telephone company (SIP) furnished to each contract subscriber a basic rotary dialer telephone Siemens AUSO brand named “bigrigio”, that translated means “double-grey”. Expensive calls and slow number dialing didn’t help to people communications like today.
 

Incubator bodysuit for premature infants

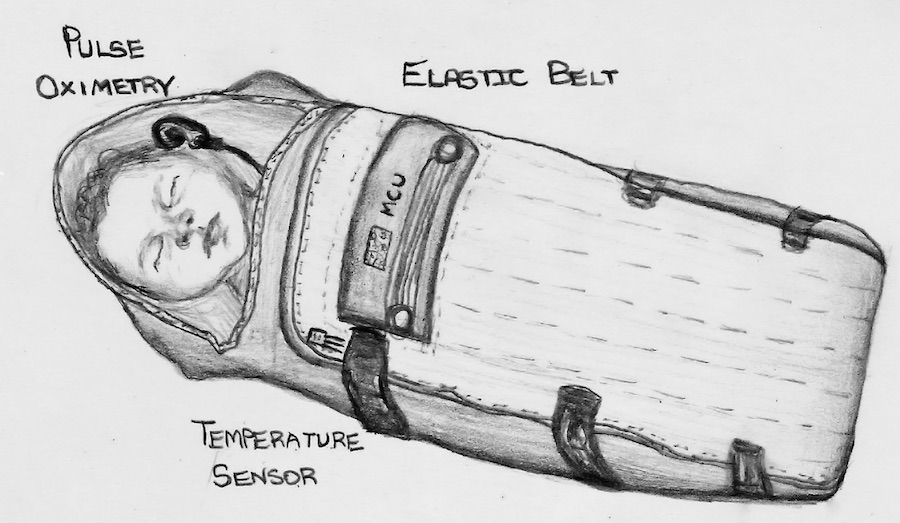
According to a WHO report, an estimated 15 million babies are born preterm (before the mother has reached 37 weeks of gestation) every year. More than one million of those infants die shortly after birth, and countless others suffer from some type of lifelong disorders. Because they are born too early, they have underdeveloped body parts and therefore kept inside incubators to maintain favorable environmental conditions for them. In developing countries, many premature babies die because of the lack of the care they needed.

ADITI: Affordable incubator suit for premature infants

ADITI: Affordable incubator suit for premature infants

Manoj Kumar and his team’s work is intended to design an affordable incubator bodysuit for premature babies that can measure heart rate, SpO2, temperature & respiration more comfortably. Since premature babies are born with less body fat, it’s difficult for them to stay warm. Their project, named Affordable DIagnostic Thermal Incubator (ADITI), consists of fabric based resistive filaments that safely provide the required warmth to the neonate. Similarly, pulse oximetry is achieved using MAX30100 device integrated to the baby’s hoodie and measure the blood oxygen saturation from the earlobe.

A powerful STM32F205 microcontroller is used for interfacing various sensors. Sleep modes are used frequently to increase the battery life of the wearable. A Broadcom BCM43438 module is used to provide wireless connectivity to the system and supports both Bluetooth Low Energy and WiFi. Even though WiFi is power consuming, we have used it to directly post the data to the cloud over WiFi in the prototype. The WiFi transmission is done in bursts to conserve battery.
A chip antenna was used to give a low profile design to the system. Commercially available components were chosen to design ADITI. The future iterations would use a Nordic Semiconductors nRF52832 BLE Micro controller for its extremely low power consumption and low cost. Further due to the presence of NFC in the MCU, Pairing would be extremely simple even for parents without prior education.

PCB assembly at Elecrow

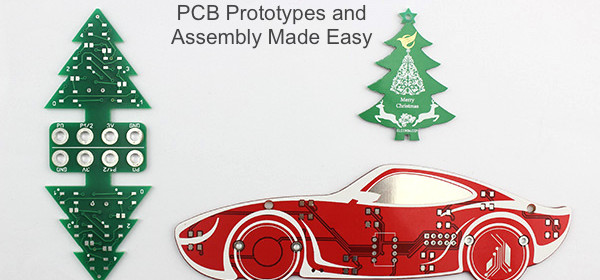
I have been asked a few times about where I make all of my PCBs and boards. So I thought I should share that experience here, which is what this blog post is about. In past 5 years, I have used PCB services from several companies, including Itead, Seeed, Elecrow, and Oshpark. There is no doubt that the Oshpark PCBs are far superior than the first 3 Chinese vendors. The downside of Oshpark is the cost of manufacturing is much higher, specially for larger size boards. Among Itead, Seeed, and Elecrow, I have never really noticed any differences in the quality of the PCBs that I received from them. In early 2013, when Itead and Seeed charged extra bucks for color PCBs (solder mask with different color than Green), I discovered Elecrow was offering it for free, and I started using their services over the other two. My biggest advantage of switching to Elecrow is they are able to source components for my boards at reasonable prices.

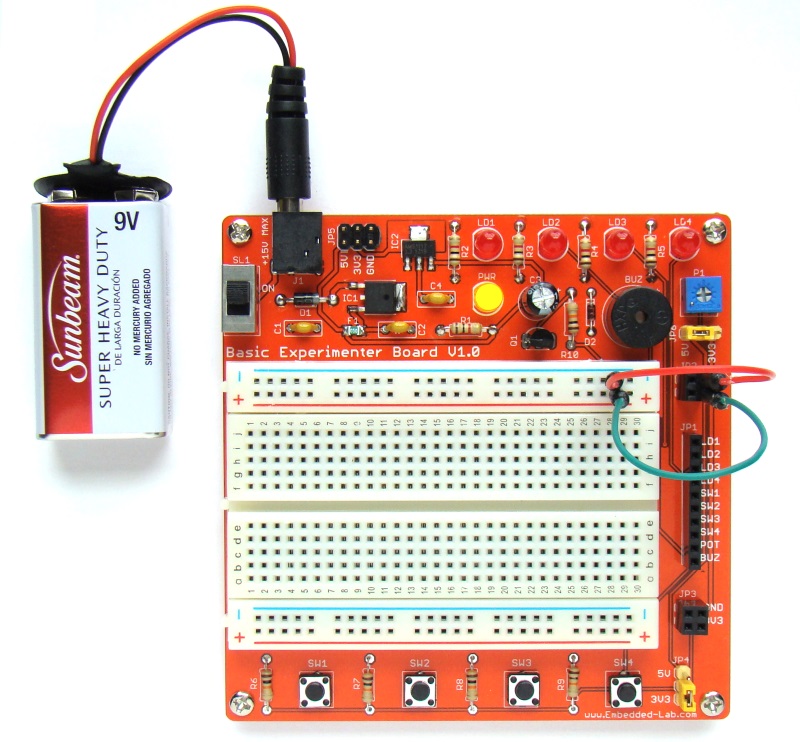
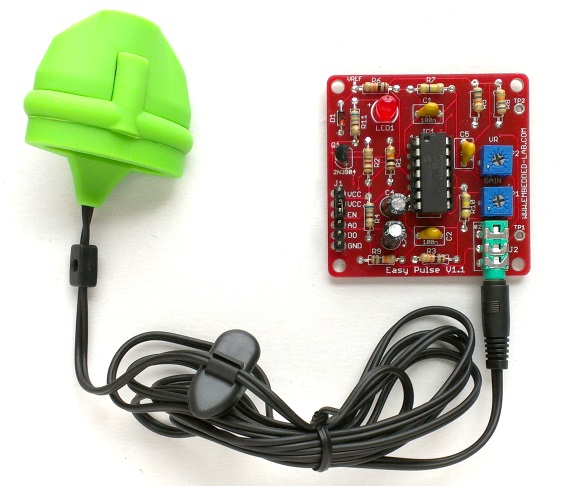
Elecrow is a small Shenzhen-based company who manufactures open-source hardware boards for Arduino and IoT platforms. Besides, they also provide excellent PCB manufacturing, PCB assembly, and laser-cut custom stencil services at affordable prices. All of my products at Tindie store are assembled by Elecrow. Here’s a showcase of some of these products.

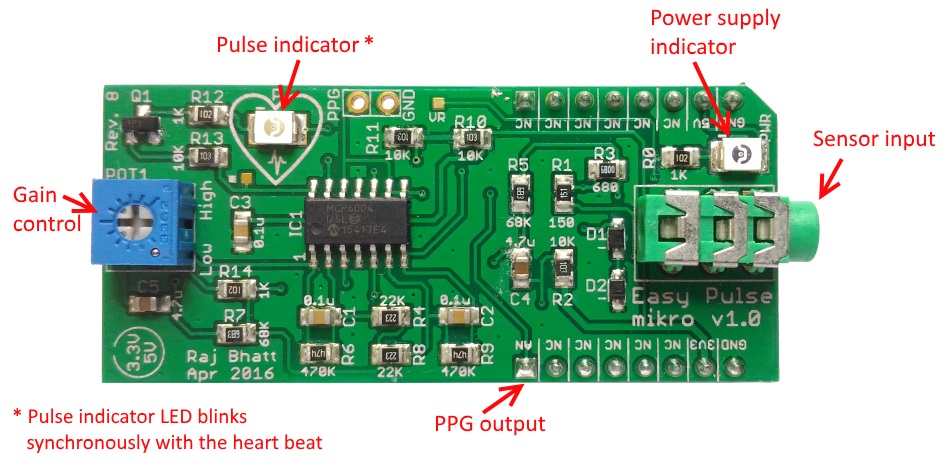
Experimenter board Easy Pulse sensor
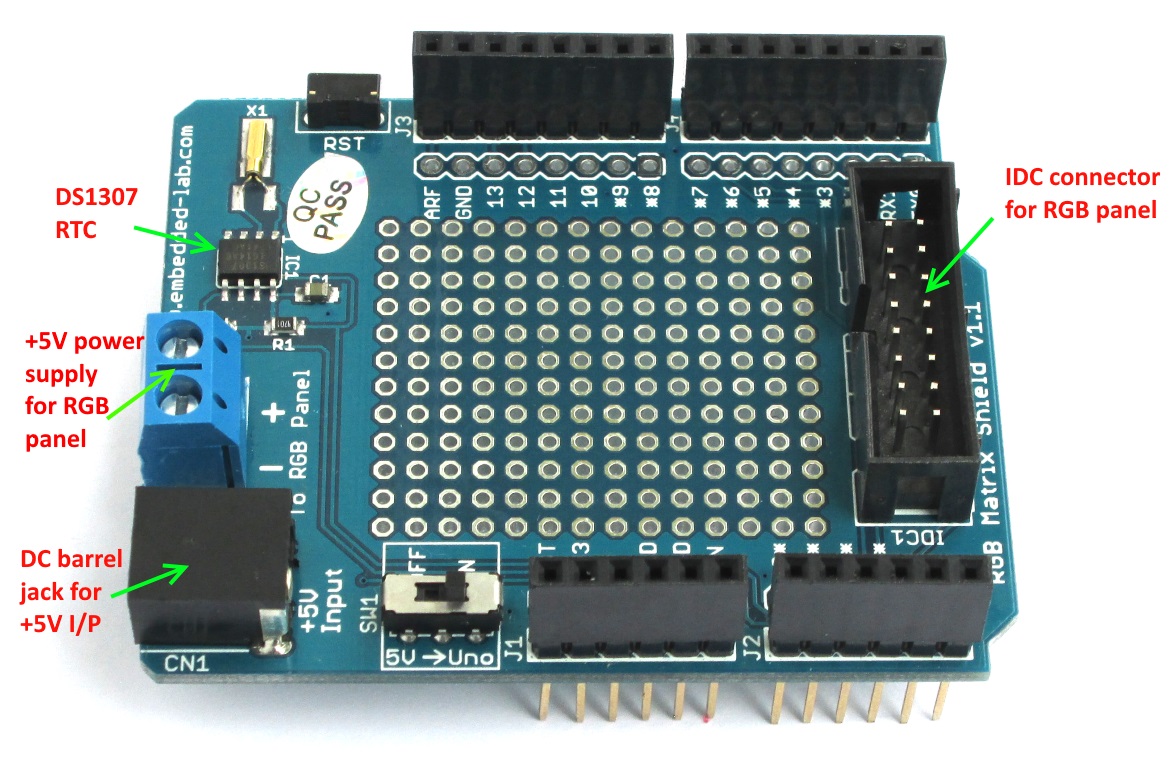
Easy Pulse Mikro RGB panel driver shield
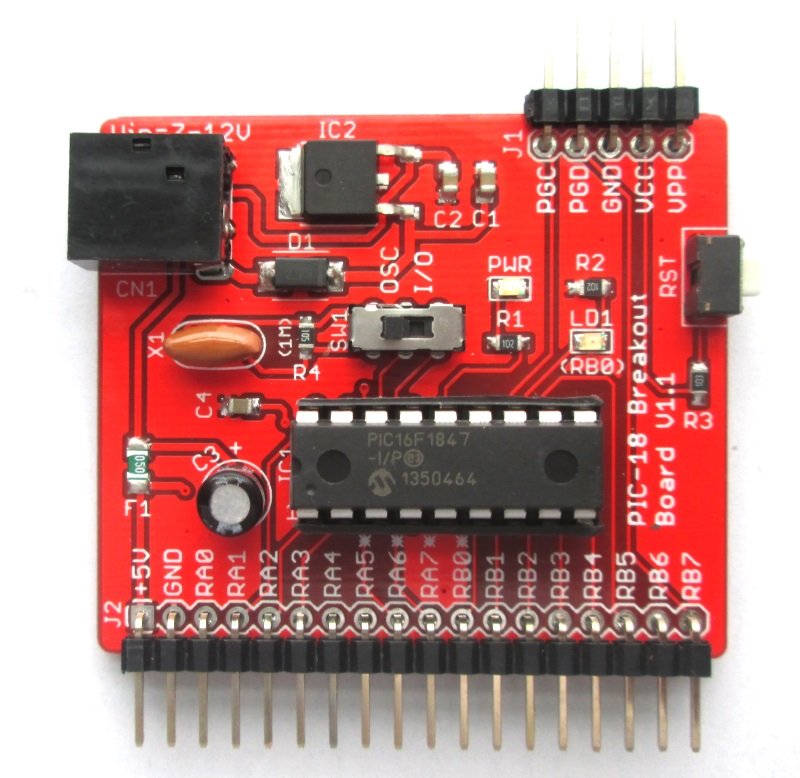
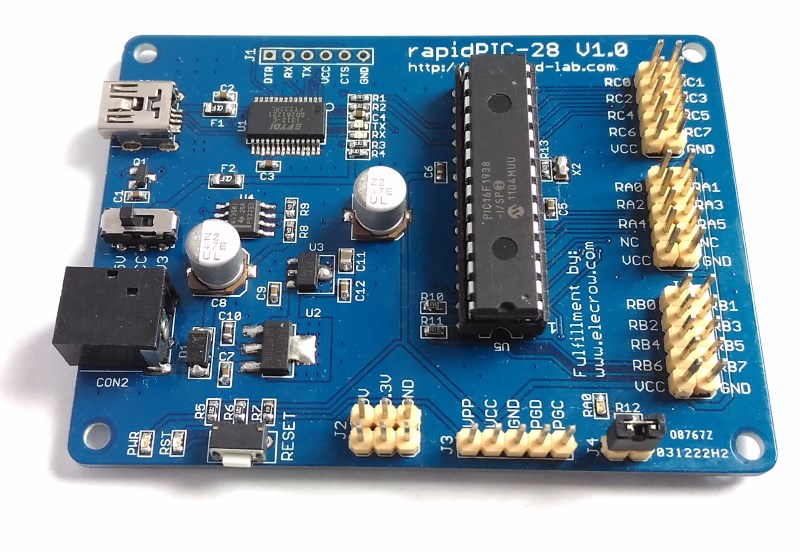
PIC16F development board PIC development board

It’s been over 3 years now using their services and collaborating on some joint products,
and I can confidently say that they have done a great job for me in bridging the gap from my hand-made prototypes to the actual products. There were a few instances where some of my assembled boards didn’t turn out exactly as I expected. But their customer service was great in handling those situations. They gladly admitted their fault when it’s theirs, and fixed the issues at no extra costs. Communicating with them has always been prompt and excellent.

elecrow-pcb

Disclaimer:

The reviews posted above are my honest and unbiased opinions based on my 3 years experience with the Elecrow team and I have not received any kind of benefit from them for writing this article.


Display traffic status on a wall clock

Navigation apps are handy these days to get live traffic updates and minimize the wait time on road. This Arduino based traffic status display clock does the same thing but in a cool way, using colorful RGB LEDs. It’s built with an ordinary wall clock and 12 RGB LEDs installed around the clock. The color changes based on the traffic condition. The Arduino board receives live traffic information using 1sheeld and Google Distance Matrix API. 1sheeld is a bluetooth-enabled shield and acts as a bridge for Arduino to access the smart features of the smartphone as well as allows to use the smartphone as various types of shields.

Wall clock displaying traffic status

Wall clock displaying traffic status


Measuring dielectric constant

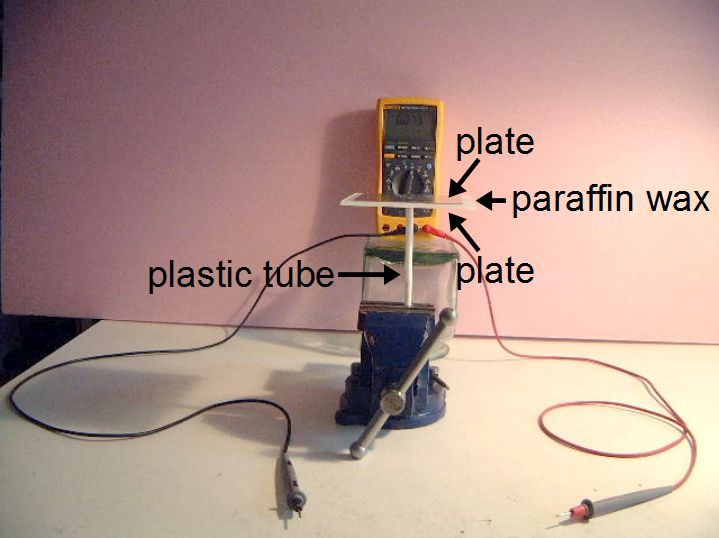
Dielectrics are insulators that are used to separate the charged plates in capacitors. The insertion of the dielectric material enhances the charge storing capacity, and hence the capacitance, of the charged plates. Dielectric materials are characterized by what is called dielectric constant, and is defined as the ratio of the capacitance using the material in between the plates, compared to a similar capacitor that has vacuum as its dielectric. Steven Dufresne from Hackaday covers in this tutorial article the basics of dielectric materials and a practical method to measure the dielectric constant using a multimeter.

Measuring dielectric constant of a dielectric material

Measuring dielectric constant of a dielectric material

Every now and then you need to make your own capacitor. That includes choosing a dielectric for it, the insulating material that goes between the plates. One dielectric material that I use a lot is paraffin wax which can be found in art stores and is normally used for making candles. Another is resin, the easiest to find being automotive resin used for automotive body repairs.

The problem is that you sometimes need to do the calculations for the capacitor dimensions ahead of time, rather than just throwing something together. And that means you need to know the dielectric constant of the dielectric material. That’s something that the manufacturer of the paraffin wax that makes it for art stores won’t know, nor will the manufacturers of automotive body repair resin. The intended customers just don’t care.

« Older Entries Recent Entries »