Author Archives: R-B

IoT enabled background radiation monitoring device
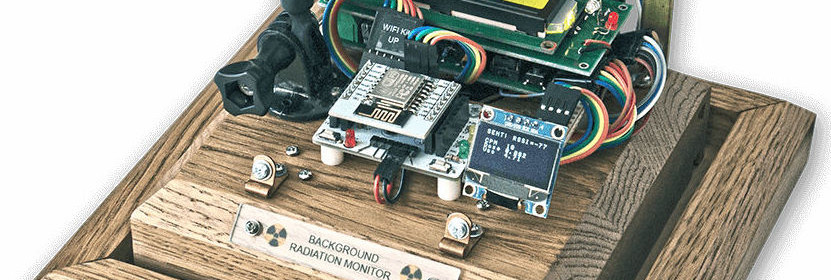
DIY Geiger counter projects are very popular among hobbyists. Geiger counters are used to detect beta particles and gamma rays radioactive emissions.They all use a Geiger-Muller (GM) tube, which is a glass tube filled with an inert gas such as helium, neon, or argon at low pressure, to which a high voltage is applied. The tube becomes conductive of electricity when it is impacted by a high-energy particle or photon. We have seen radiation monitor builds before based on 555 Timer IC and ESP8266Brett Oliver‘s IoT enabled Radiation Monitor is Arduino-based and WiFi-enabled using ESP8266 and it continuously monitor the surrounding radiation and log the data to Radmon, ThingSpeak and Sparkfun.

Features

  • 24/7 logging of background radiation to Radmon, Thingspeak and Sparkfun
  • Dual processors Arduino 328 for Geiger Counter and ESP8266 (Arduino core) for WIFI logging
  • LCD Display for setup and Radiation monitoring
  • IR remote control of setup functions and 7 segment display brightness
  • OLED display of logging and WIFI connection
  • Dual 8 digit 7 segment displays to show current CPM, Dose, Ave Dose and PK CPM
  • PIR activated of 7 segment displays to keep running costs down
  • Modular design minimal soldering required
  • Secondary LED display of detected radiation
  • Local temperature and Humidity logged
  • Rain sensor logged to ThingSpeak using an add on rain sensor can be used for alarm sensing instead if required
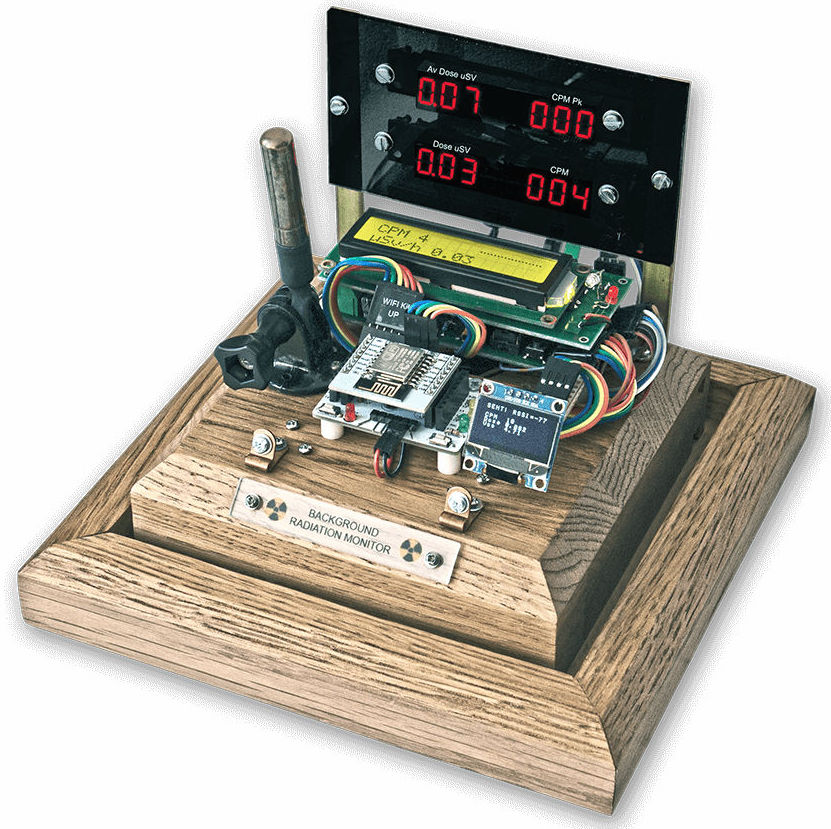
Radiation monitoring system using Arduino and ESP8266

Radiation monitoring system using Arduino and ESP8266

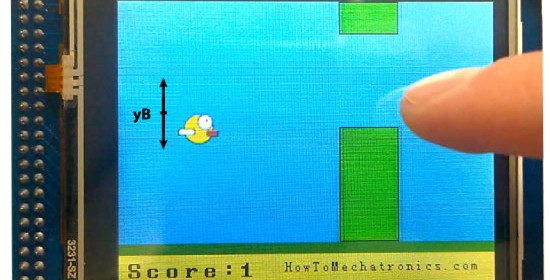
Arduino Flappy Bird game

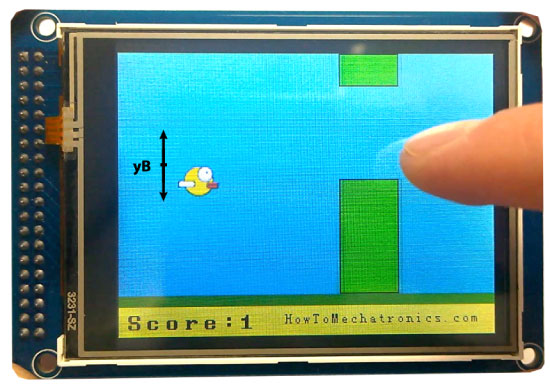
Dejan Nedelkovski from How To Mechatronics explains in this tutorial how to replicate the Flappy Bird game using an Arduino board and a TFT touchscreen.

Here’s the working principle of game: we have 50 pixels wide pillars which move from right to left and every next pillar has a different random height. In order to make them moving, logically, after each iteration we need to clear the screen and redraw the graphic with the pillars at their new position. However, we cannot do that because of the low refresh rate of the screen, which would cause flickering of the graphics. In order to activate all of its pixels the screen needs a bit more time so therefore we will have to improvise and redraw just those things that are moving.

Flappy bird game using Arduino

Flappy bird game using Arduino

ESP8266/ESP32 electronic sticky note using e-paper display

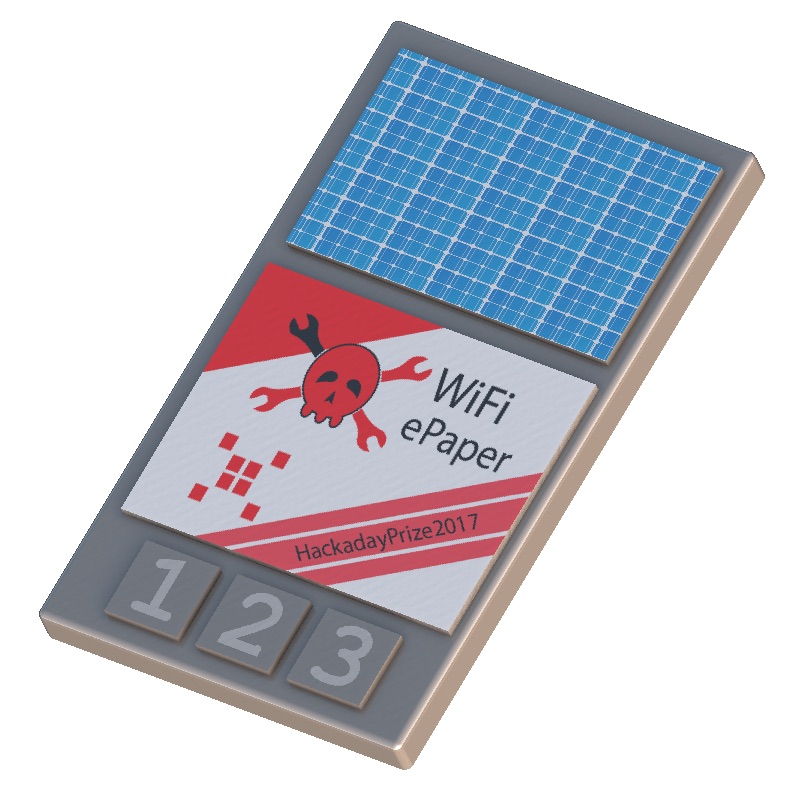
E-paper displays are new innovative commercial displays that resembles ink on paper, requires ultra-low power, and can retain the image displayed even in the absence of power. Frank Buss‘ entry to 2017 Hackaday Prize contest is a solar-powered e-Paper display driven by ESP32/ESP8266 and a sticky magnet on back that can be used as a sticky note on a fridge to display important information over WiFi.

Electronic sticky note using ESP8266 and ePaper

Solar-powered electronic sticky note using ESP8266 and ePaper

Frank writes,

The amazing thing about ePapers is that the image lasts without power forever (I tested it for months), and the contrast is very good. The idea is to build a small device with ePaper and solar cells, and then you can write or draw on the it with your smartphone, or even remotely from anywhere over the internet to show a message. The case will have magnets on the back to stick it on a fridge or other metal objects. It will use an ESP32, which polls a server once per hour to get a new image to display.

This is the electronic version of sticky notes. But the ability to update it over the internet opens up many novel applications. For example install it on the fridge of your grandma, who might not be very proficient in using modern internet connected devices. Then you can send her birthday wishes, or remind her of schedules. And the buttons could be used as a feedback channel, like confirming a date. Or when installed at a public place, it can act as a bulletin board. Or it can be used for a modern form of internet connected graffiti or other art projects. The possibilities are infinite.

a

Test output of ESP32 ePaper display

Find details of his project here.

DIY telescope controller based on Arduino Due

GoTo telescopes are very desirable among stargazers because of their ease to use. They are powered with microprocessors and bunch of motors to allow automatic access and tracking of sky objects with a handheld remote or a smartphone app. rDUINOScope is an Open Source, Arduino Due based Telescope Control System (GOTO) that uses database with THE BEST ~250 stellar objects ( Messier and Hidden Treasures Catalogues) and 200 stars, calculates their position on the sky and points the telescope. With a TFT touchscreen display, it is a standalone controller. It also supports Bluetooth and LX200 protocol to connect and be controlled by smart devices!

Arduino Due powered GoTo controller

Arduino Due powered GoTo controller

The best part of rDUINOScope is that it is an OPEN SOURCE SOFTWARE and HARDWARE! Few custom telescope makers have announced that they are adding or about to add it to their product line. In addition, few months ago a new HW shield board was born as a spin-off project to spare you the hassle of building your own rDUINOScope!

Another ESP8266 internet clock using LED matrix panels

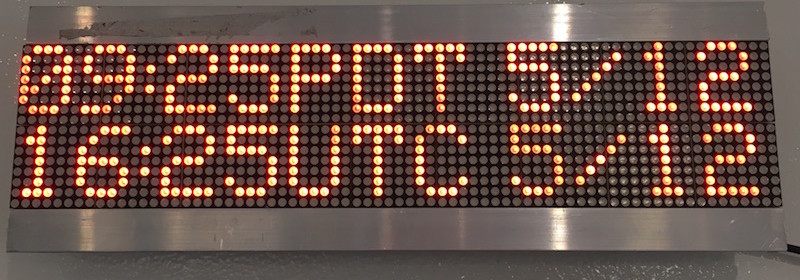
Internet has made it easy for computers to synchronize their clocks to an accurate clock value generated by a remote server. We discussed earlier how to make ESP8266-based internet clocks that utilizes National Institute of Standards and Technology’s (NIST) NTS service to retrieve accurate time information and display it on a 4-digit seven segment LED display and on a TFT display. This article from Ayzenberg describes a similar ESP8266-based internet clock that displays time on a large 16×72 LED matrix panel. It also features APIs for displaying messages or setting the display brightness.

ESP8266 internet clock with LED matrix panel

ESP8266 internet clock with LED matrix panel

« Older Entries Recent Entries »