Tag Archives: ESP8266 project


ESP8266 internet radio

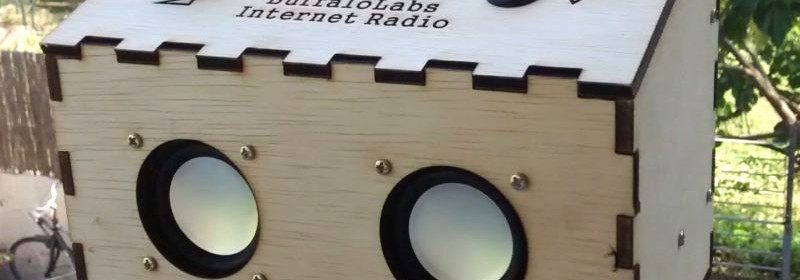
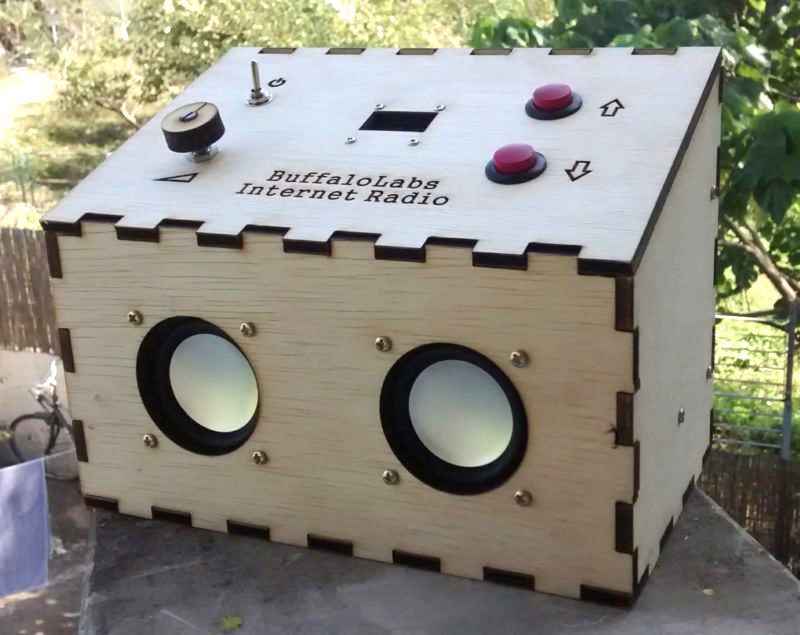
Tom Tobback built an ESP8266 internet radio based off Edzelf’s excellent Esp-radio project. It uses NodeMCU ESP8266 board for connecting to various internet radio stations and the VS1053 module for decoding the mp3 stream. A TFT display is used in the project to show relevant information such as which radio station is being played. The firmware for ESP8266 is developed using Arduino IDE. The radio also features a built-in web server to allow the user to configure settings and add/modify favorite radio stations. The radio box has a volume control knob and 2 push buttons for channel up and down functions. Tom also added an class-D audio amplifier to boost the output from VS1053 module and two18650 type Lithium ion cells for powering his radio station. For more details of his radio project, visit his project page.

ESP8266 radio station

ESP8266 internet radio box

ForEx: A compact desktop widget for foreign exchange rates display

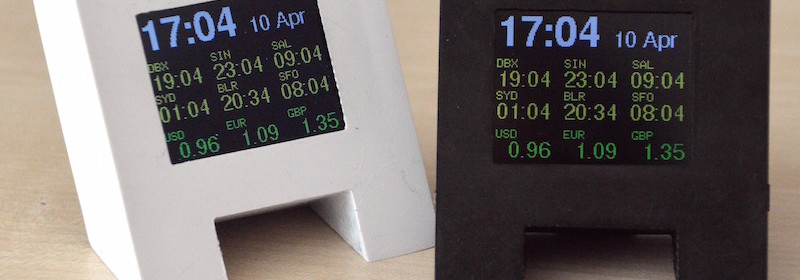
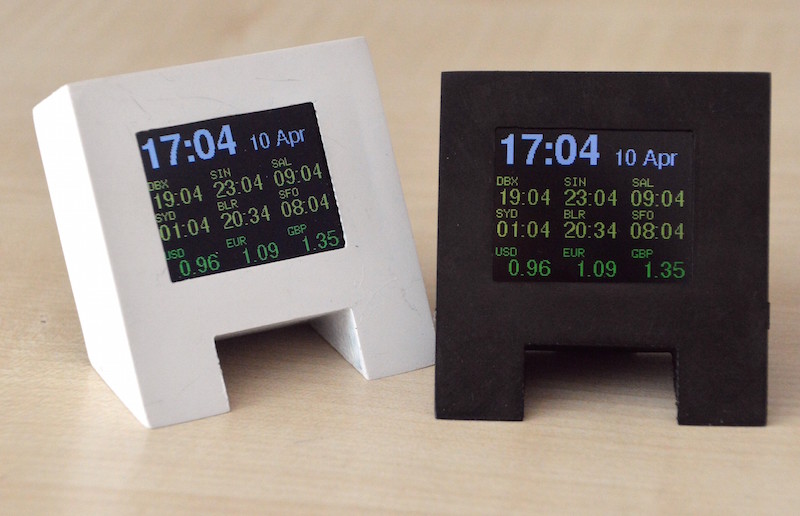
ForEx is a cute little desktop widget designed by Stefan for displaying major foreign exchange rates and the time of different locations using ESP8266.

ESP8266 displays foreign exchange rates on your desk

ESP8266 displays foreign exchange rates on your desk

The time zone references are fetched a bit complicated but this method works and deliver accurate results. Further it allows using the effective name of the city which makes easier to use. In a first step the coordinates of the desired city are evaluated using the API of openweathermap.org. This works by sending the name of the city in a format like “Sydney,au” to the API which will response with its coordinates. In the second step the momentary offset to UTC of this coordinates is calculated. This can be done by sending those coordinates to the worldweatheronline.com API.

With this UTC offset information the time at the current location and the time on the defined cities is calculated and displayed. The advantage of this slightly complicated method is the always respected day light saving state at any place including the actual location.

For the evaluation of the currency exchange rate the fixer.io API is used. There are forex API’s offering much more currencies with a shorter update cycle. But this API is simple to use, doesn’t require an API Key and can easily provide the exchange rate to a chosen reference currency.


WiFi deauthentication attacker using ESP8266

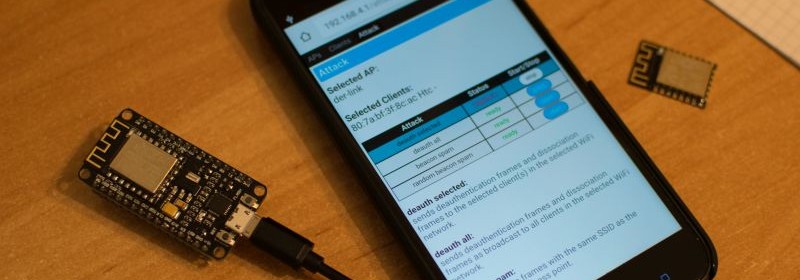
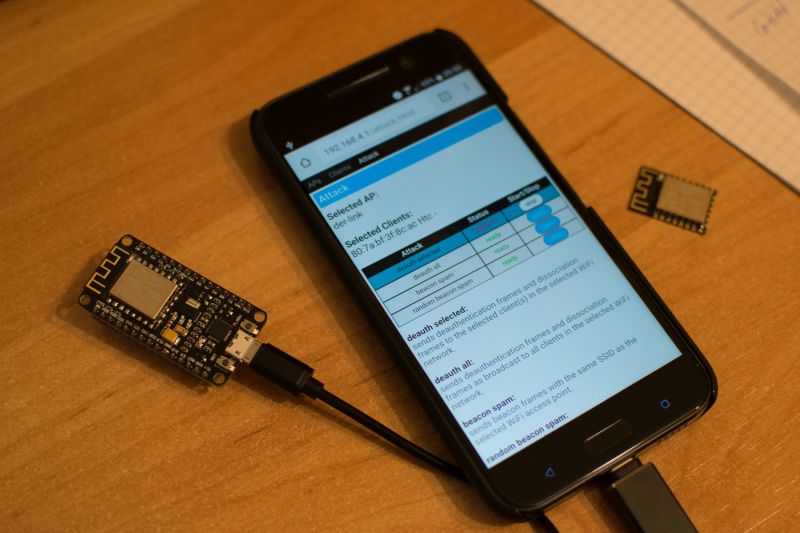
The IEEE 802.11 (Wi-Fi) protocol contains a so-called deauthentication frame that are used as management frames to disconnect the links between stations and access points. Because management frames are often unencrypted, it is fairly easy to perform deauthentication attacks using a WiFi device by spoofing the MAC address of the access point. Alternatively, it can also be done by sending deauthentication frames to the access point with a clients’ MAC address as a destination. Spacehuhn has shared his ESP8266 based implementation of a deauthentication attacker on Github. It can disconnect any client from a network by repeatedly sending fake deauthentication frames. The attacker does not even need to be connected to the same network.

Deauthentication attacker using ESP8266

Deauthentication attacker using ESP8266

Basically it’s a device which performs a deauth attack. You select the clients you want to disconnect from their network and start the attack. As long as the attack is running, the selected devices are not able to connect to the network.

PC stat monitor using ESP8266/Arduino

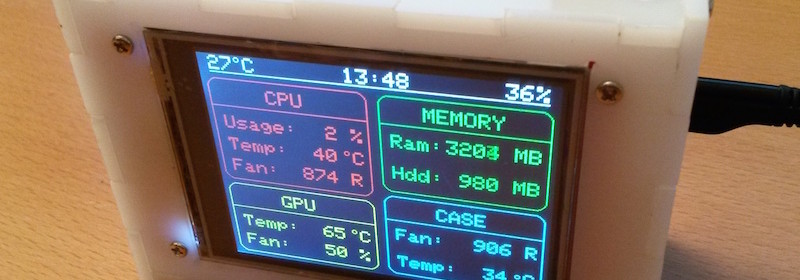
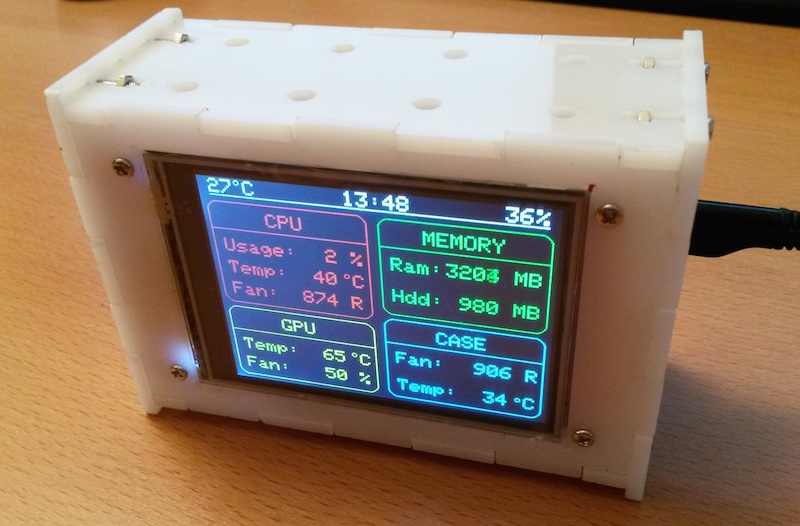
There are tons of PC applications you can install on your PC for monitoring essential stats for CPU, disk, memory, system temperature, etc. Here is a standalone hardware project that would receive the PC stat via USB port and display it on a dedicated 2.8″ TFT display. The project uses an ESP8266 hardware and a touchscreen-enabled ILI9341-based color LCD. On the PC side, a Python script gathers PC stats and send the data to the ESP8266 via USB-UART interface. With the built in WiFi capability of ESP8266, the PC stat can also be broadcasted over WiFi to a remote cloud server. The firmware is developed using Arduino IDE, so the standalone LCD version of this project would still be compatible with Arduino boards.

ESP8266 PC stat monitor

ESP8266 PC stat monitor


Tutorial 6: ESP8266 and BME280 make a local/remote weather station

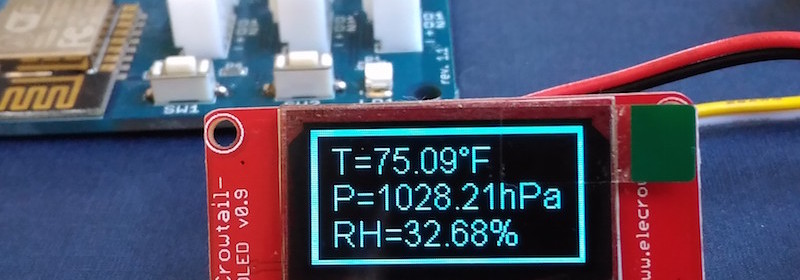
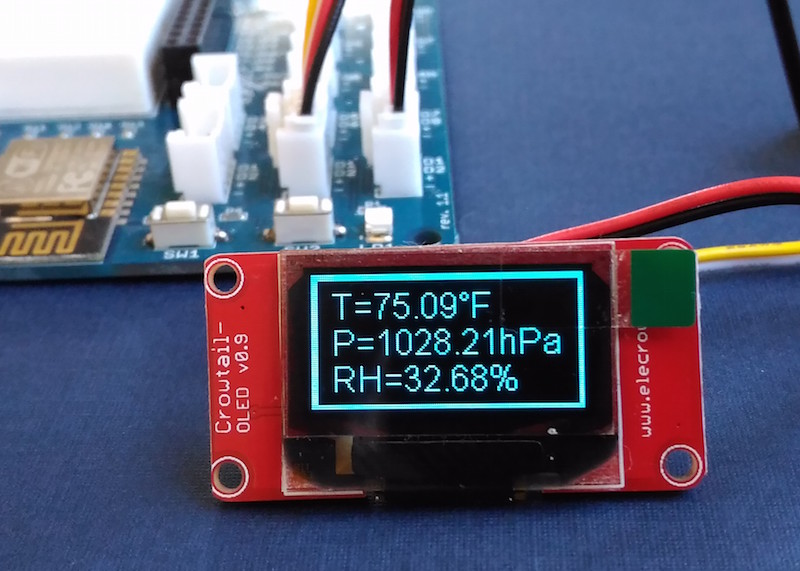
In previous tutorials, we explored how to connect an SSD1306-based I2C OLED to ESP8266 for displaying texts and graphics, as well as to setup an ESP8266-based web server. This tutorial combines the knowledge gained before to make a standalone weather station that will display the local weather data on an OLED screen. In addition, the weather station will also run a web server that would allow a remote computer to access the weather data via web browser.
dsds

BME280 weather station

Hardware Setup

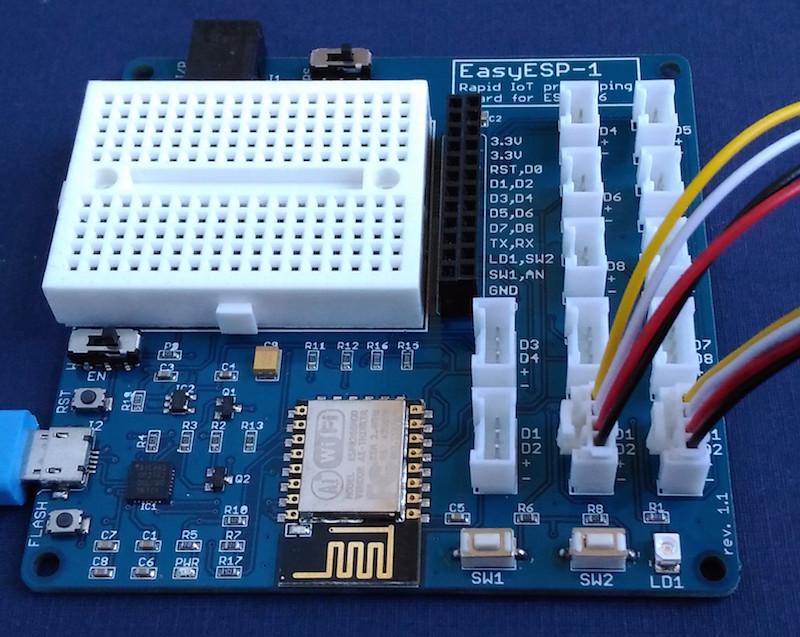
This project uses the EasyESP-1 board and the following hardware devices.

BME280 sensor module: BME280 is a fully integrated environmental unit from Bosch that combines sensors for pressure, humidity, and temperature in a tiny 8-pin metal-lid LGA package of size 2.5 x 2.5 x 0.93 mm³. Because of its compact size, ease of use (BME280 supports standard I2C and SPI interfaces), and availability of supporting open-source Arduino libraries, BME280 is very popular among weather enthusiasts. You can buy a BME280 sensor module in Grove form factor from Elecrow.

SSD1306 I2C OLED module: As described in Tutorial 3, the SSD1306 OLED controller supports both SPI and I2C interfaces. We will use an I2C version with a 0.96″ diagonal length and 128×64 monochrome pixels OLED Grove board. Despite its small size, the readability is pretty good due to its high contrast.

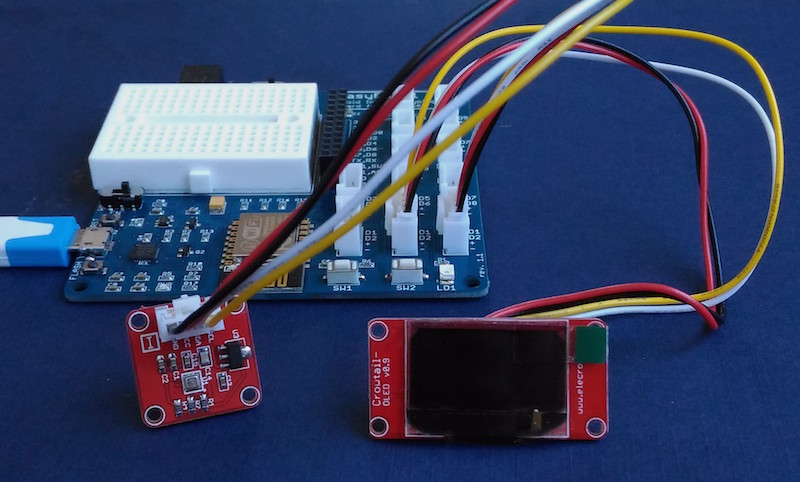
For this experiment, the 4-pin Grove connectors of BME280 and OLED modules are directly plugged into the two I2C ports on the EasyESP-1 board, as shown below. This connects the the SDA and SCK pins of BME280 and OLED modules to D2 and D1 pins of EasyESP-1, respectively.
Complete project setup
Complete project setup

BME280 and OLED connect to I2C Grove ports

BME280 and OLED connections to I2C Grove ports

Software

The ESP8266 firmware for this project is developed using Arduino IDE. You need to install the ESP8266 core to enable the Arduino IDE for ESP8266 programming. Instructions can be found here. You will also need the following Adafruit libraries for reading data from the BME280 sensor. The I2C address of BME280 sensor on Elecrow’s sensor board is 0x77, which is also the default address set in the Adafruit’s library.

Adafruit unified sensor library

Adafruit BME280 library

Besides, you also need Daniel Eichhorn‘s OLED library for ESP8266. Read Tutorial 3 for more details on this.

The complete code for this weather station project can be downloaded from the following link:

Download BME280 Weather Station Code

The code for a very basic HTML webpage with the BME280 sensor output and auto refresh meta tag is included in the code. Note that you need to edit the SSID name and password in the program to match with your WiFi network before uploading it to the EasyESP-1 board.

Output

After uploading the program to EasyESP-1, when the ESP8266 restarts it prints out on the serial monitor the local IP address that was allocated to it in the WiFi network. The BME280 sensor readings for temperature, pressure and humidity are displayed on the OLED screen. In order to access these data over the web server, you need to open a web browser on any computer, tablet, or smartphone connected to the same WiFi network and type in the ESP8266 IP address in the URL field and hit enter. On receiving a client request, the ESP8266 serves a webpage containing the BME sensor readings, as shown below.
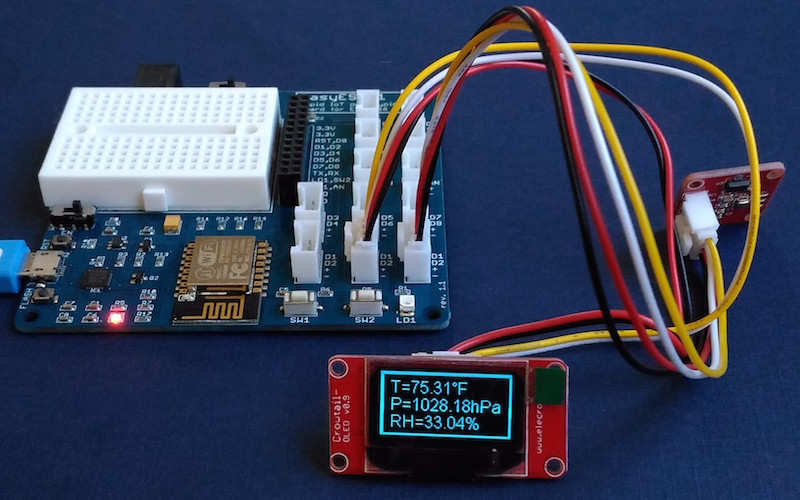
BME280 local weather station

BME280 local weather station

Web

Weather data displayed on client’s browser

Buy EasyESP-1 board

Buy BME280 sensor module 

Buy SSD1306 I2C OLED module

More tutorials

EASYESP-1: A RAPID PROTOTYPING AND DEVELOPMENT BOARD FOR ESP8266
TUTORIAL 1: SETTING UP THE ARDUINO IDE FOR EASYESP-1
TUTORIAL 2: EASYESP-1 “HELLO WORLD” EXAMPLE
TUTORIAL 3: CONNECTING AN OLED DISPLAY TO ESP8266
TUTORIAL 4: WORKING WITH ESP8266 WIFI SCAN CLASS
TUTORIAL 5: SETTING UP AN ESP8266 WEB SERVER
« Older Entries