Tutorial 4: Working with ESP8266 WiFi Scan Class
|
|
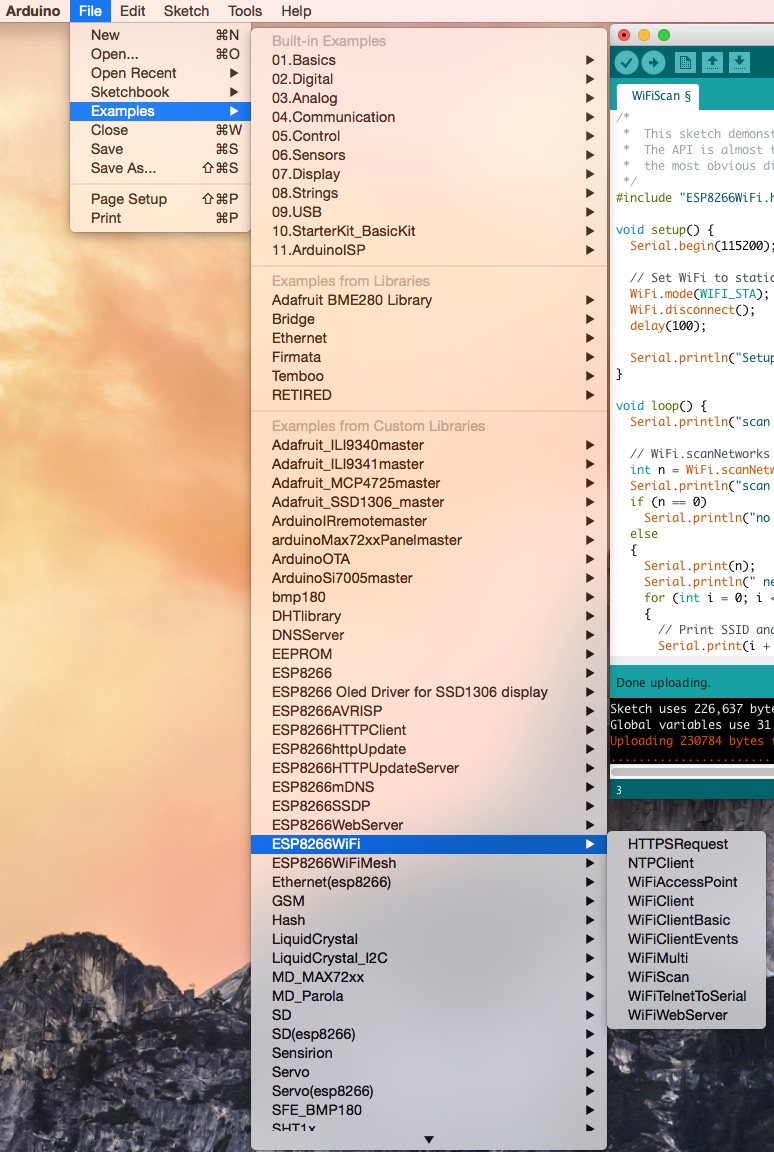
Working with ESP8266 WiFi functionality using Arduino IDE has been made surprisingly simple by the availability of the versatile ESP8266WiFi library that allows user to configure the ESP8266 as a WiFi network scanner, a WiFi station (connected to a WiFi network), a soft access point (creating it’s own WiFi network), etc. In this tutorial, we will explore the features of the Scan Class of the ESP8266WiFi library. The Scan Class allows you to scan and list the available WiFi networks in the range. In order to try this feature, open an example code from File->Examples->ESP8266WiFi->WiFiScan.
In the example code,
int n = WiFi.scanNetworks();
returns the number of WiFi networks found within the range. You can also print out the names and Received Signal Strength Indication (RSSI) values in dBm using WiFi.SSID() and WiFi.RSSI() functions.
WiFi Scanner example
The complete WiFi Scan example code is posted below.
/*
 * This sketch demonstrates how to scan WiFi networks.
 * The API is almost the same as with the WiFi Shield library,
 * the most obvious difference being the different file you need to include:
 */
#include "ESP8266WiFi.h"

void setup() {
 Serial.begin(115200);

 // Set WiFi to station mode and disconnect from an AP if it was previously connected
 WiFi.mode(WIFI_STA);
 WiFi.disconnect();
 delay(100);

 Serial.println("Setup done");
}

void loop() {
 Serial.println("scan start");

 // WiFi.scanNetworks will return the number of networks found
 int n = WiFi.scanNetworks();
 Serial.println("scan done");
 if (n == 0)
 Serial.println("no networks found");
 else
 {
 Serial.print(n);
 Serial.println(" networks found");
 for (int i = 0; i < n; ++i)
 {
 // Print SSID and RSSI for each network found
 Serial.print(i + 1);
 Serial.print(": ");
 Serial.print(WiFi.SSID(i));
 Serial.print(" (");
 Serial.print(WiFi.RSSI(i));
 Serial.print(")");
 Serial.println((WiFi.encryptionType(i) == ENC_TYPE_NONE)?" ":"*");
 delay(10);
 }
 }
 Serial.println("");

 // Wait a bit before scanning again
 delay(10000);
}
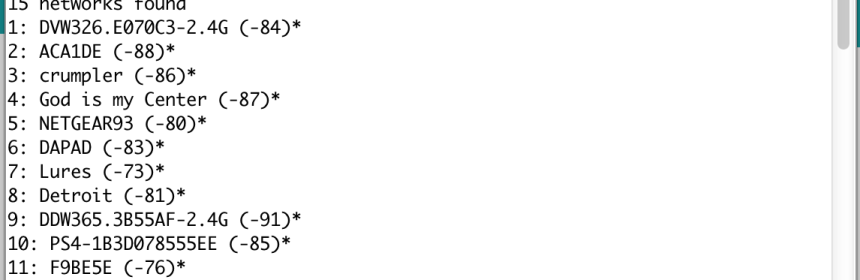
Upload the example code to your EasyESP-1 board and open the Serial Monitor window. You will see the ESP8266 prints out the list of available WiFi networks on the screen, as shown below.
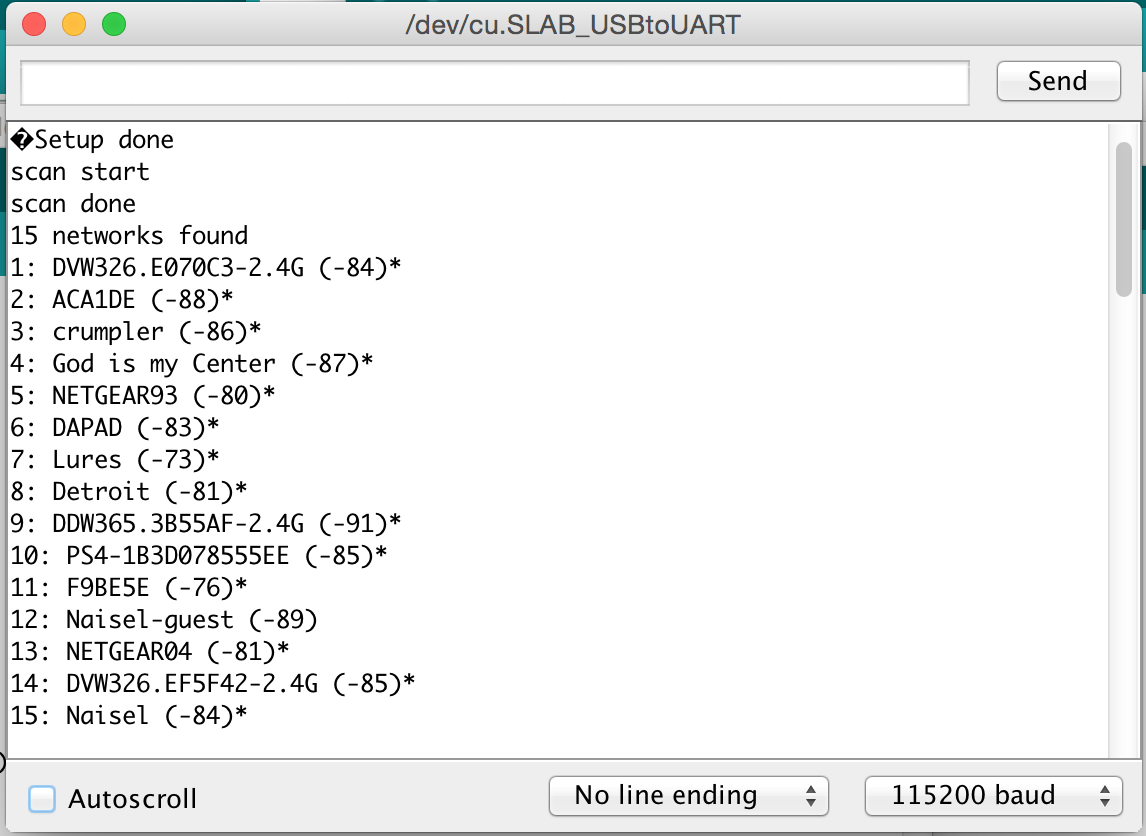
WiFi scanner output
Buy EasyESP-1 board
More tutorials
EASYESP-1: A RAPID PROTOTYPING AND DEVELOPMENT BOARD FOR ESP8266
TUTORIAL 1: SETTING UP THE ARDUINO IDE FOR EASYESP-1
TUTORIAL 2: EASYESP-1 “HELLO WORLD” EXAMPLE
TUTORIAL 3: CONNECTING AN OLED DISPLAY TO ESP8266
|
|
I uploaded the code successfully but I got no response in the serial console