Arduino powered liquid/powder dispenser system
|
|
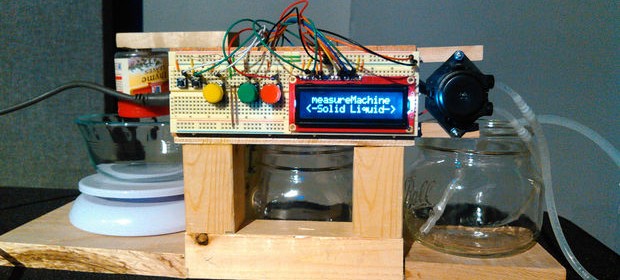
An accurate dispenser system for liquids and powder using Arduino.
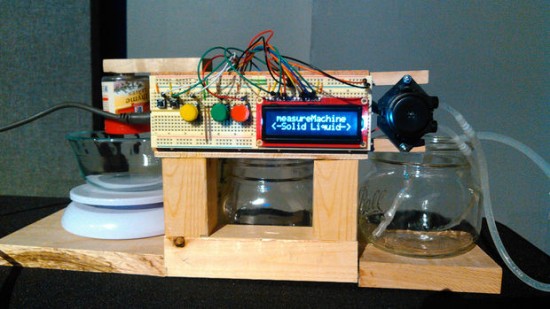
Arduino dispenser system
First things first, let’s put together the interface. It will make some of the calibration steps later a little easier. Starting with the LCD screen, and associated potentiometer dial (put on the pump circuit board), wire up a breadboard according to the diagram above. The potentiometer is only there to control the contrast on the screen, so it doesn’t need to be on the front panel, cramping the rest of the interface.
Next comes the buttons. The two little button were salvaged from the scale circuit board, so you can wait to put them in unless you have other buttons you’d rather use (bigger buttons might suit your fingers better). The green button is the GO button, the red button is the STOP button, and the yellow button is the OK button for menu navigation. The two little buttons are used as LEFT (cyan) and RIGHT (purple) to navigate the menus. Wire them up like the left breadboard in the diagram above.
|
|
Pingback: Arduino-Based Dispenser Delivers Liquids, Powders - zeax blog (ze-ax.com)
Pingback: Arduino-Based Dispenser Delivers Liquids, Powders | Hackaday