Arduino Crowtail and Easy Pulse Plugin
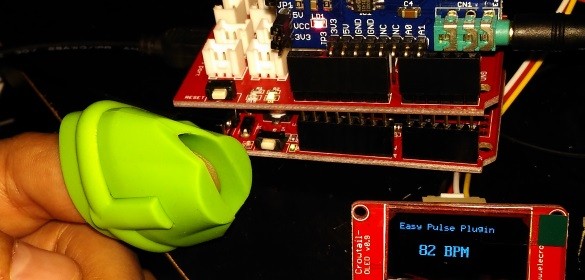
Arduino Crowtail is a modular and ready-to-use building block set from Elecrow for rapid prototyping with Arduino. It consists of a base Arduino Uno shield to which various sensor and I/O modules can be conveniently interfaced through standardized connectors. In this example, I am going to illustrate how to use the Easy Pulse Plugin sensor with a Crowtail base shield and a Crowtail OLED module to make a stand-alone pulse meter.
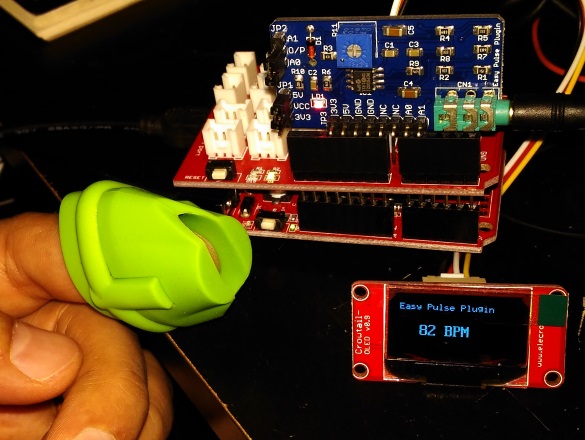
Easy Pulse Plugin and Grove shield