Basic Experimenter Board for easy prototyping of electronic circuits
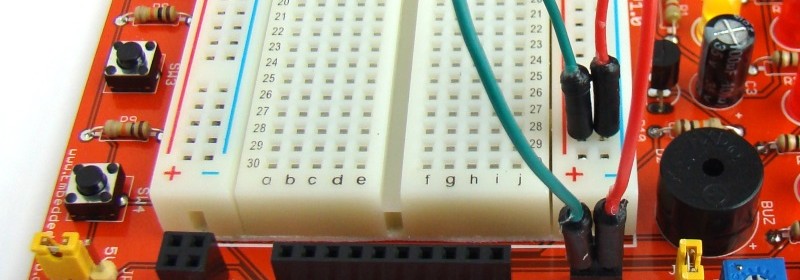
Most electronics projects require some common stuff like regulated power supply, input tact switches, and output LEDs during prototyping and testing phase. Wiring these things on a breadboard for every new project could be time consuming and boring. We introduce you the Basic Experimenter Board, a general purpose develoment tool that will not only reduce the prototyping time for your next project but also free up plenty of space on the breadboard. It features regulated 3.3V and 5.0V power supply on board along with four output LEDs, four input tact switches, one output buzzer with driver circuit, a potentiometer for simulating analog input, and a 480-point breadboard for rapidly prototyping and testing your electronic circuits.
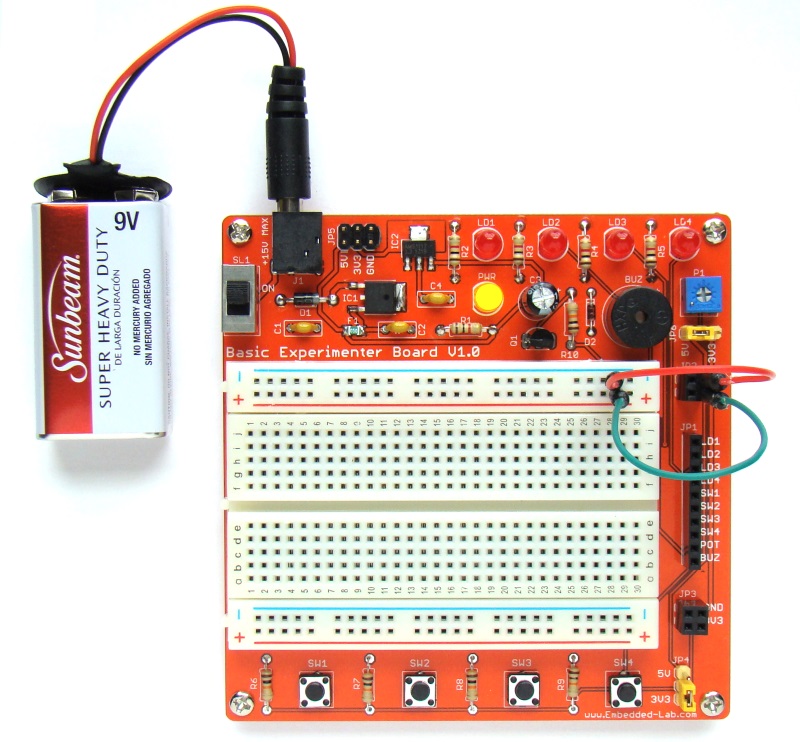
Basic Experimenter Board