PIC Tutorials: Experimenting with PIC Microcontrollers
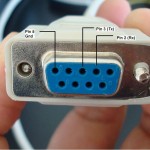 |
Lab 8: Asynchronous serial communicationThe PIC16F628A microcontroller has a built in USART hardware that allows to communicate with a wide range of serial devices such as memory chips, LCDs, personal computers, etc. This tutorial describes how to establish a full duplex asynchronous serial link between a PIC and a PC. Required Theory : Provided in the article |
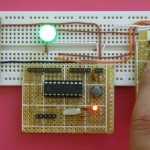 |
Lab 9: Pulse Width Modulation (PWM) using CCP moduleThe Capture/Compare/PWM module in a PIC16F628A microcontroller is very versatile in function. This experiment describes the use of CCP module to generate a PWM signal to control the brightness of LED. The same principle can be extended to control the power delivered to an electronic load using the principle of PWM. Required Theory : Provided in the article |
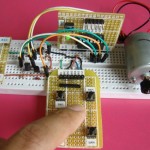 |
Lab 10: DC motor controlDC motors provide mechanical power to microcontrollers. This experimental tutorial provides information on interfacing DC motors to PICMicro. You will learn about the classic H-bridge circuit that can control a motor in clockwise and counterclockwise direction. Required Theory : Provided in the article |
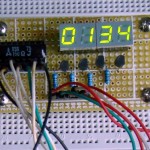 |
Lab 11: Multiplexing seven segment LED displaysMultiplexing is the most common technique for interfacing multiple seven segment LED displays to microcontrollers. Read this experimental tutorial to find out how this technique works. Required Theory : Provided in the article |
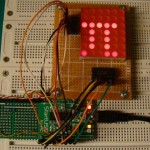
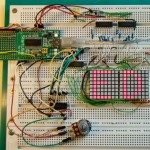
Lab 12: Basics of LED dot matrix displayLED dot matrices are very popular means of displaying information as it allows both static and animated text and images. This tutorial describes the basic structure of a monochrome LED dot matrix and its interface with a microcontroller to display static characters and symbols. Required Theory : Provided in the article |
|
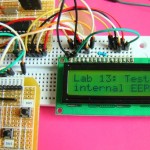 |
Lab 13: Read and Write to internal EEPROMEEPROMs are a type of non-volatile memory which can be programmed and erased electrically while within the circuit. PIC16F628A microcontroller comes with some built-in internal EEPROM. This tutorial describes how to perform the basic read/write operation to it. Required Theory : Provided in the article |
Lab 14: Inter-Integrated Circuit (I2C) communicationI2C is a very popular synchronous serial communication protocol that requires only two pins for data transfer. This tutorial describes the basics of I2C protocol and how to connect multiple I2C devices on a common bus. Required Theory : Provided in the article |
|
Lab 15: Scrolling text message on LED dot matrix displayThis is the continuation of Lab 12 and you will learn how to display a scrolling text message on an LED dot matrix. The matrix used is of size 8×16 (128 LEDs in total). Required Theory : Provided in the article |
Lab 16: Understanding interruptsInterrupts are powerful concept in embedded systems for controlling events in a time-critical environment. This tutorial first describes the interrupt system in general and then illustrates how it is handled in PIC micrcontrollers. Required Theory : Provided in the article |
|
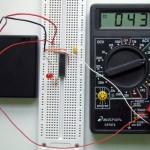 |
Lab 17: Sleep and Wake PIC microcontrollersPIC microcontrollers’ Sleep feature is an extremely useful mechanism to minimize power consumption in battery-powered applications. Read this tutorial to learn how to put a PICMicro into sleep and wake it up with an WDT time-out. Required Theory : Provided in the article |
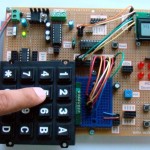 |
Lab 18: Matrix keypad interfacingMatrix keypads are very common input devices in embedded systems. They have simple architecture and are easy to interface. This tutorial describes two different approaches of reading input data from a 4×4 (16 keys) matrix keypad interfaced to a PIC microcontroller. The pressed key information is displayed on a character LCD. The microcontroller used in this experiment is PIC16F1827. Required Theory : Provided in the article |
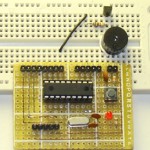 |
Lab 19: Play musical notesA PIC microcontroller can be programmed to play musical notes of a song tune by bit-banging one of its I/O pins high and low to generate square waves corresponding to the note frequencies. This experiment describes how to do it. The microcontroller used in this experiment is PIC16F1827, which plays the notes of the popular “Happy birthday to you” tune. Required Theory : Provided in the article |
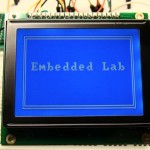 |
Lab 20: Interfacing a Graphical LCD (GLCD)The use of a graphical LCD (GLCD) drastically changes the look of your project. It provides more freedom for presenting data than the HD44870 based character LCDs. This tutorial will help you to get one in your next project. Required Theory : Provided in the article |
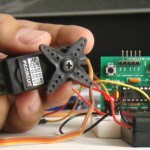 |
Lab 21: Servo motor controlA servo motor is a special geared DC motor equipped with an electronic circuit for controlling the direction of rotation, as well as the position, of the motor shaft. In this lab session, we will first explore what a servo motor consists of and how it works and then illustrate how to interface it with a PIC microcontroller. Required Theory : Provided in the article |
Pingback: Electronics-Lab.com Blog » Blog Archive » Experimenting with PIC Micro