Tag Archives: Tutorial


Mastering the SiLabs C8051 Microcontroller
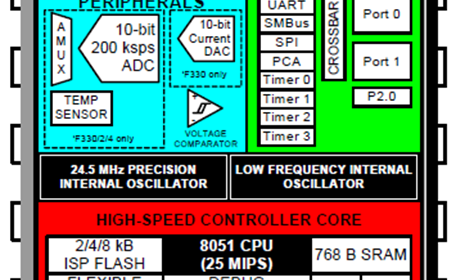
In a world where upgrades and advancements are constant, it is easy to overlook older technology in favour of newer, more advanced options. However, the case of 8051 microcontrollers defies this trend. Despite being considered relics of the past, there is still a significant demand for these microcontrollers. Manufacturers have revitalized the proven 8051 architecture by incorporating modern features such as ADCs and communication modules, transforming them into powerful, reliable and versatile devices.

Silicon Laboratories (SiLabs) is an American semiconductor-manufacturing company, similar to Microchip and STMicroelectronics. They are renowned for producing a wide range of semiconductor components, including both 8 and 32-bit microcontrollers. Notably, SiLabs is highly regarded for its RF chips and USB-Serial converters such as CP2102.

In terms of their 8-bit MCU product line-up, SiLabs offers microcontrollers based on the well-established 8051 architecture. However, their MCUs go beyond being simple, traditional 8051 devices. Like other manufacturers like Nuvoton and STC, SiLabs enhances their MCUs with additional modern hardware components such as DACs and communication peripherals.

SiLabs C8051 microcontrollers are recognized for their good performance, reliability, and scalability. They cater to the evolving needs of the embedded systems industry, whether it’s in the realm of consumer electronics, industrial automation, or smart home applications. These microcontrollers serve as a solid foundation for various projects, providing developers with a dependable and flexible platform.
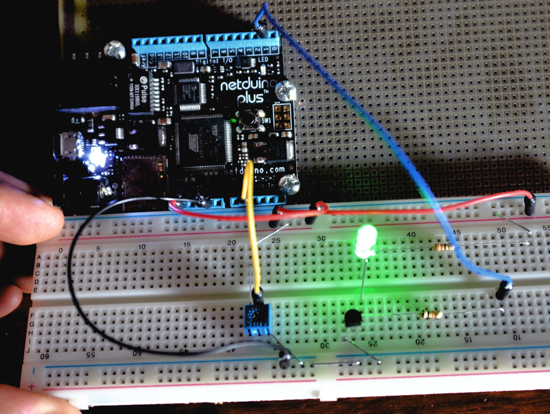
Netduino Day 1: Basic Input and Output

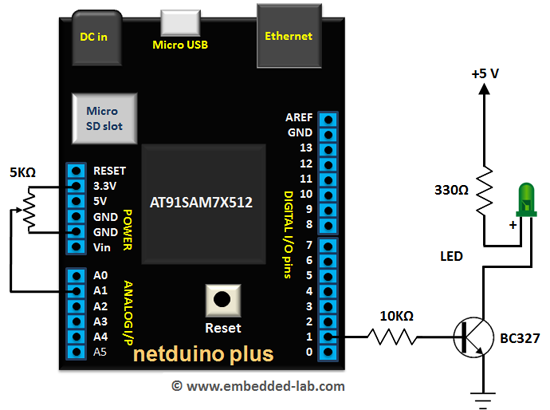
We will start our Netduino tutorial series with a very basic project of flashing an LED. The objective of this project is to explore basics of Netduino I/O pins as well as to make sure that everything is setup correctly, including software installation and hardware setup. In this project, we will use an Analog pin to read a potentiometer’s analog output, and a digital pin to flash an LED. The frequency of LED blinking is varied based on the potentiometer output. It will blink at an interval of 10 milliseconds to 1000 milliseconds based on the wiper position of the potentiometer. In Netduino, you can set the range for 10-bit ADC output of an analog port.Writing code will be carried out in Visual Studio with C# as programming language.

Netduino based Flashing LED

Read more

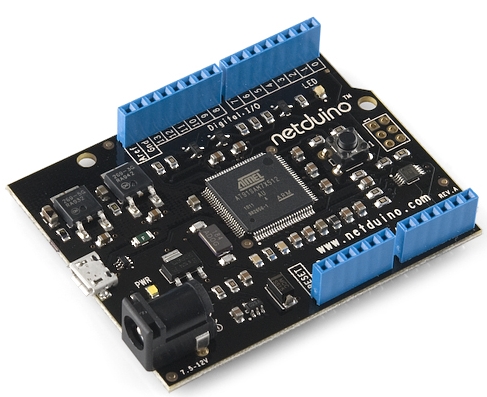
Getting Ready for Netduino / Netduino Plus Tutorials

Netduino

There are a few things that need to be done besides simply connecting the Netduino to the computer. I will be using Netduino Plus for the tutorials however Netduino and Netduino Plus are more or less the same for our tutorials. Let’s first list all the necessary tidbits:

  • Microsoft Visual Studio (C# or VB) Express 2010


  • .NET Micro Framework SDK v4.1


  • Netduino SDK v4.1.0


  • Netduino or Netduino Hardware


  • Basics electronics board and components.
  • It’s hard to list but at the minimum we will need a computer (of course), breadboard, connecting wires, LEDs, resistors, etc.


Once you have all these installed/accessed, plug your Netduino to your computer, and start your Visual Studio.  When Visual Studio is started for the first time it may ask you a few things, such as the language (VB or C#) that you are comfortable with.


Visual Studio

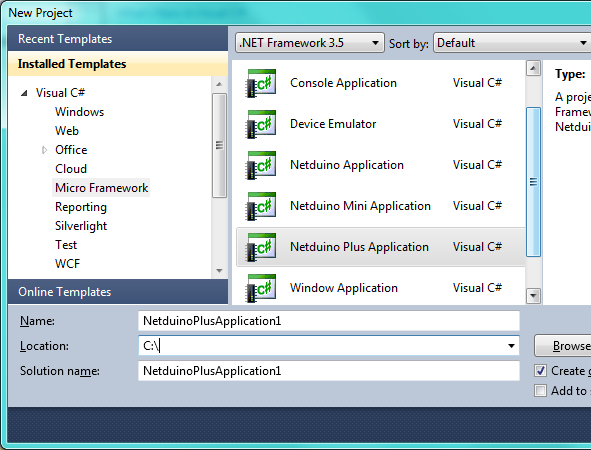
Visual Studio (VS) that I have installed is configured for CSharp.NET so when I start a Visual Studio and try to create a new project, it automatically selects CSharp (C#) section. To create a new project, from VS go to File > New > Project, this will display a New Project file open dialog-box, as shown below. Under C# and Micro Framework, highlight Netduino Application or Netduino Plus Application and give Name, Location then click OK button. (I will be using Netduino Plus.)

New Project Window Visual Studio

New Project dialog of VS

Read more