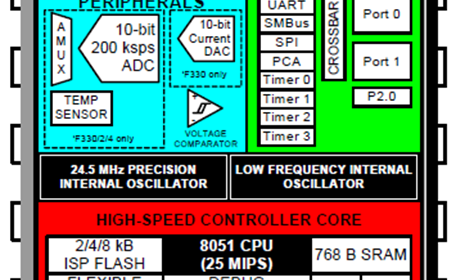
Mastering the SiLabs C8051 Microcontroller
|
|
How to use MikroC Pro for 8051?
MikroC Pro for 8051 is very simple to use. Like many C compilers, it uses a projected-based file-folder structural approach.

Thus, after running it, we should start by opening a new project unless we already have created one before.

Once we click “New Project”, a project wizard pops up and it guides us in creating a new project in a step-by-step approach.
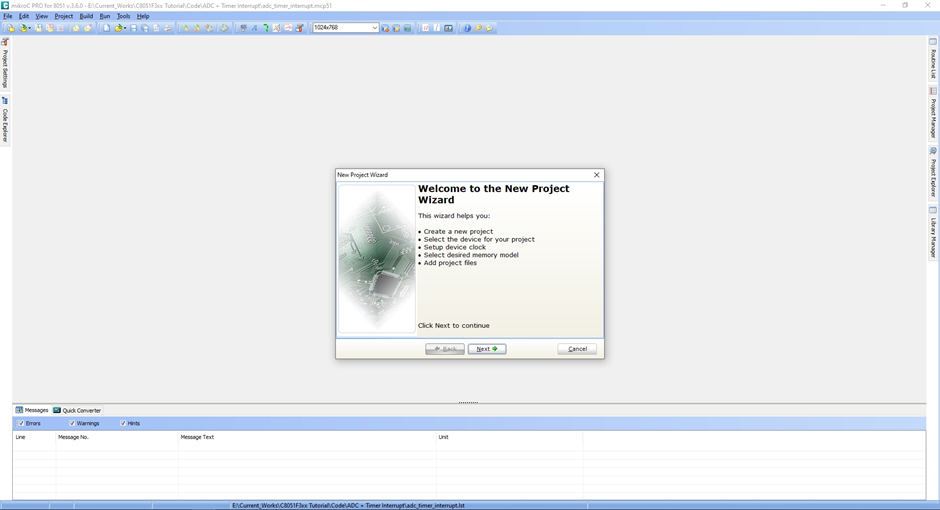
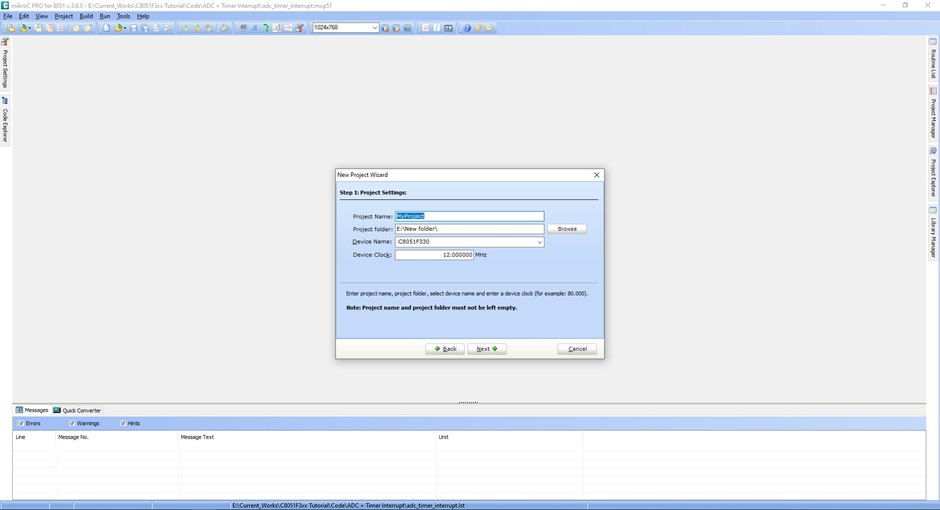
The important things that we need to define when creating a new project are:
- Project Name
- Project Location in our computer
- Part Number or MCU
- Clock Speed
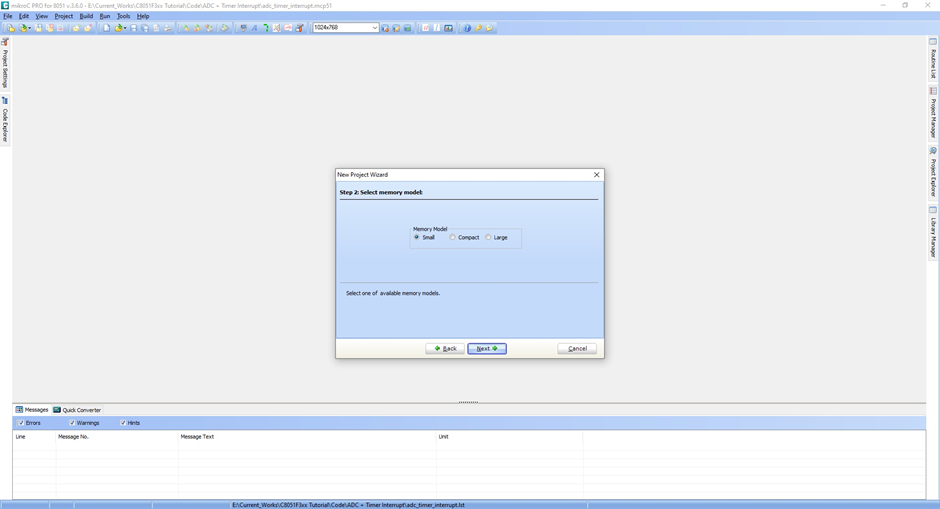
Next, we have to define the memory model. In most cases, the “Small” memory model is chosen. Details about the memory model are discussed here.
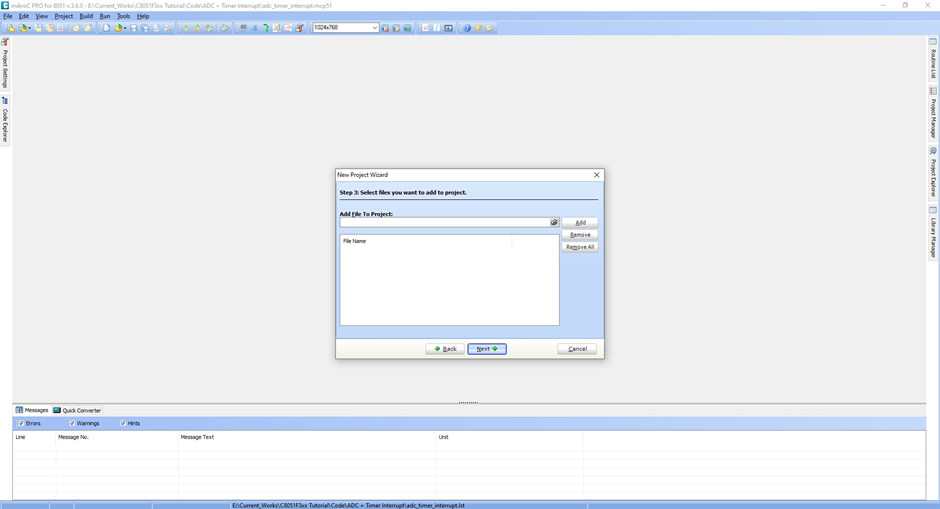
There is an option to add additional user files such as custom libraries and files such as images, notes, etc. that are needed to be associated with the project under construction. Usually, I keep it empty and add my own fabricated libraries manually.
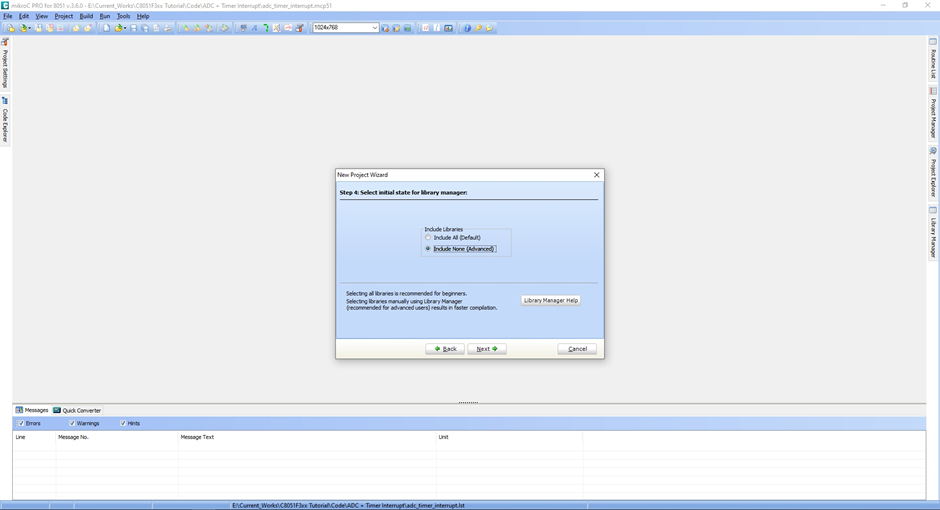
Lastly, the MikroC compiler comes with many prebuilt libraries. We should not include them at this stage as code conflicts are likely the other way.
This completes a new project construction.
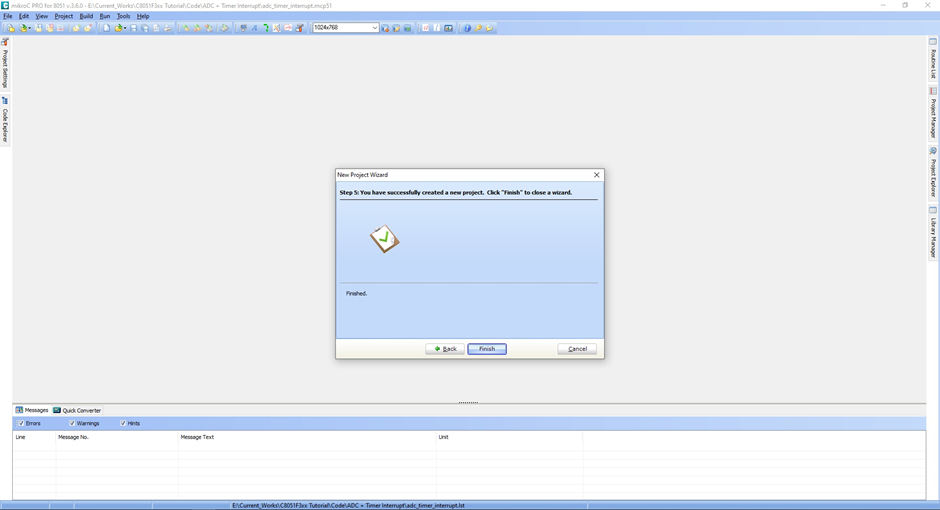
Once the wizard is completed and closed, we are good to go for coding.
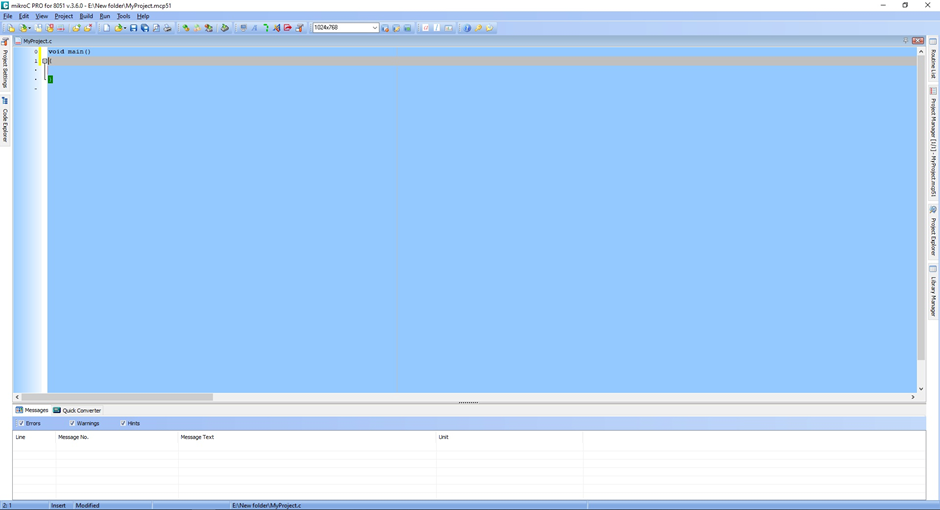
We can begin coding by copying code generated by Configuration Wizard 2 and adding necessary built-in and personally-coded libraries.

On successful code compilation, we get messages regarding memory usage (RAM and ROM) and generated files. Likewise, when there is an error, we get error messages, stating the source and cause of that error.
|
|
Thanks for the feedback….