Mastering the SiLabs C8051 Microcontroller
|
|
How to use Configuration Wizard 2 Code Generator?
After running the software, the following screen would show up first.
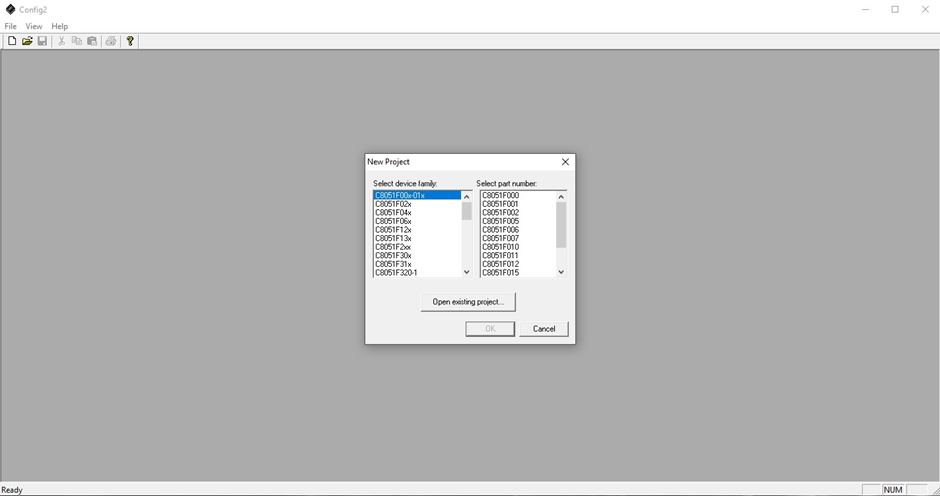
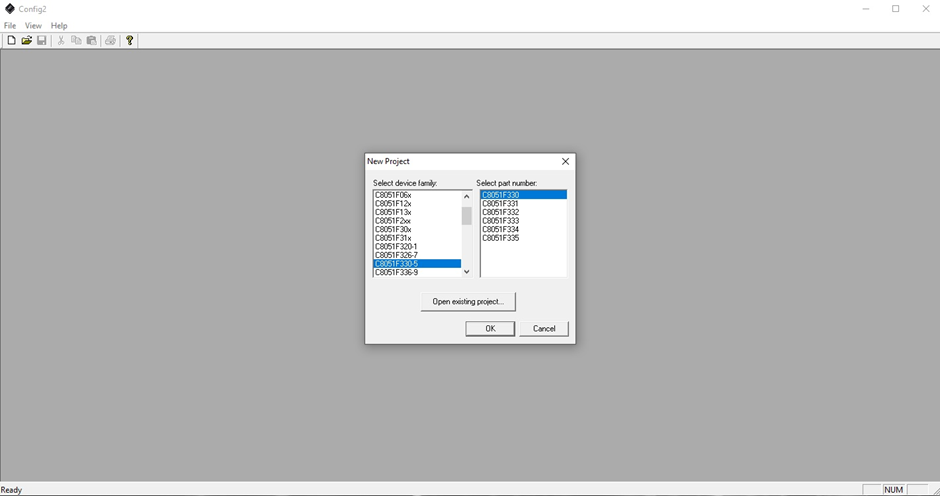
From here we have to choose the target microcontroller from family and part number.
The following screen pops up after chip selection. Note that it is empty as no peripheral has been initialized.
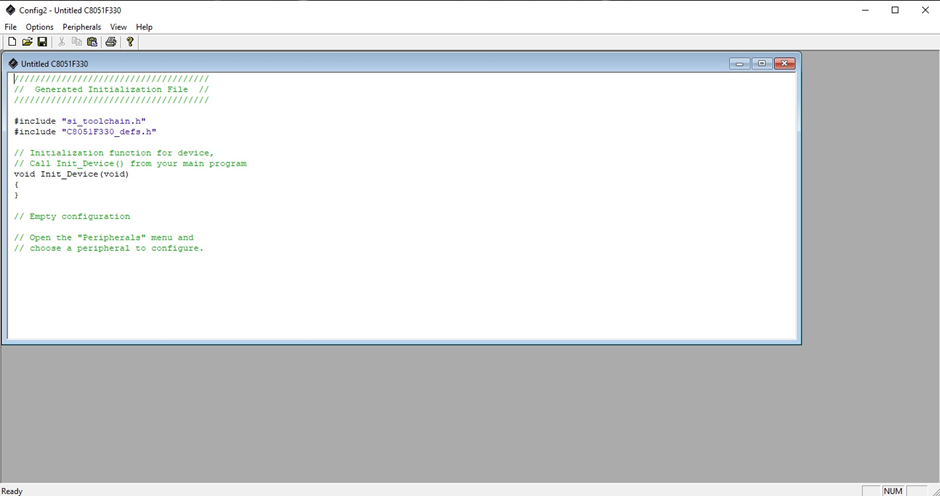
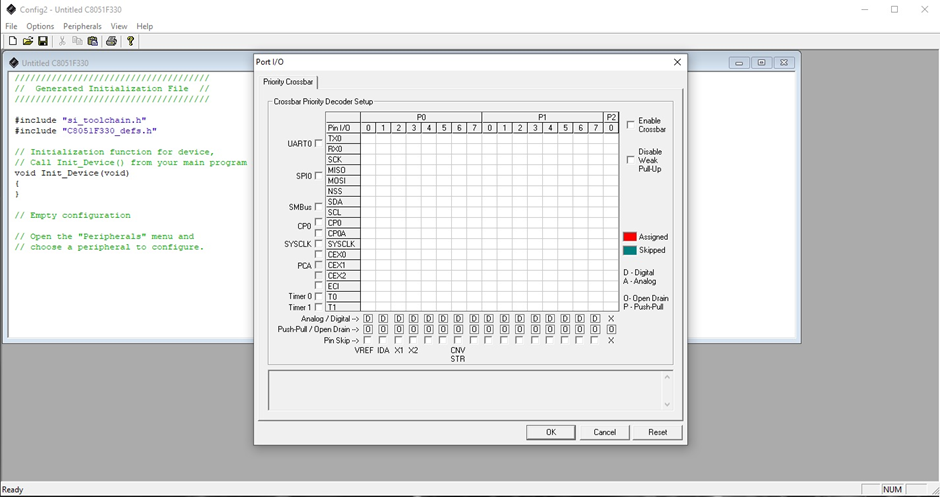
Now we have to click the “Peripherals” tab and explore what peripherals the selected chip offers.
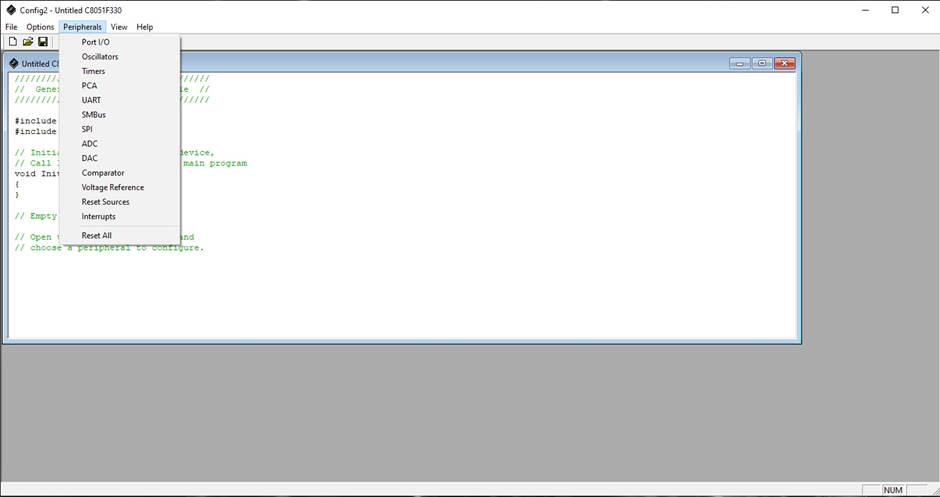
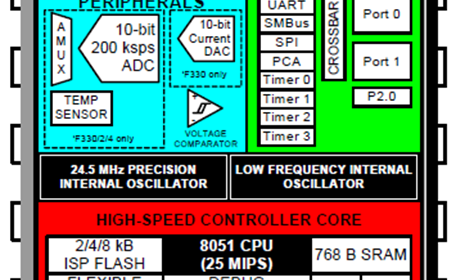
As an example, let’s see the Port I/O peripheral. On selecting it, the following window pops up and it shows all the GPIOs and the options we have for them.
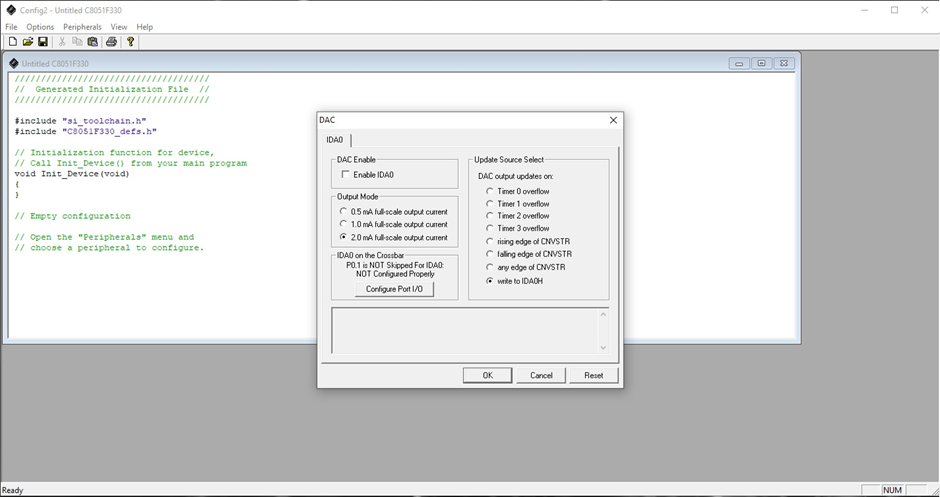
The same applies to other peripherals such as the internal DAC.
After setting up the hardware peripherals as per need, the software automatically generates a temporary initialization code with comments. The comments give some overview of our initialization. We can save it for future reference or just copy it to the MikroC compiler. In case of copying, we do not need to copy the #include directives. All we need are the register values.
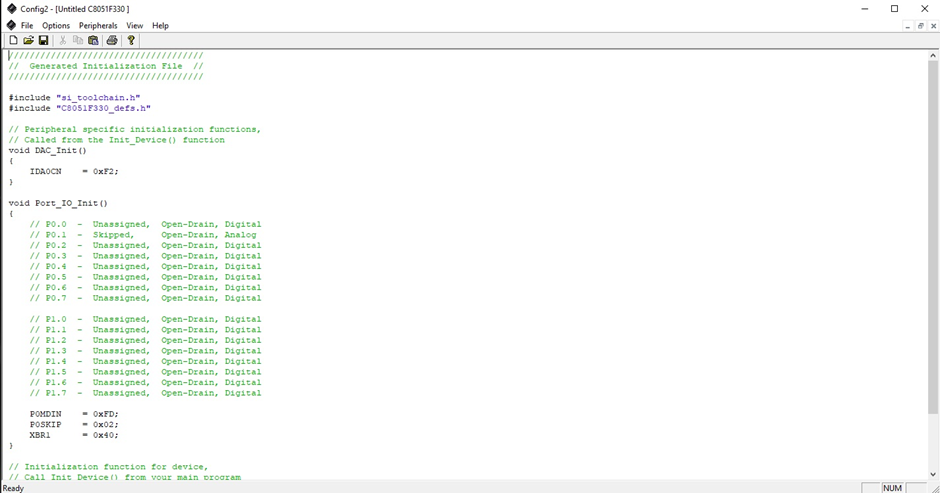
When changes are made in hardware peripheral settings, the generated code is automatically regenerated.
|
|
Thanks for the feedback….